Advertisement
● Thank you for purchasing KOSO Fuel meter , please read the instruction throughly befor installing.
Notice
1.The lcd meter is apply for DC 12V.
2.For installation, please follow the steps described in manual. Any damage caused by wrong installation shall be imputed to the users.
3.Don't break or modify the wire terminal. To avoid the short circuit, please don't pull the wire when installing.
4.Do not disassemble or change any parts excluding the manual description.
5.The interior examination or maintenance should be executed by our professionals.
◎ MARK MEANING:
You could get the installation details from the information behind the mark.
Some processes must be followed to avoid the affection caused by wrong installation.
WARNING!
Some processes must be followed to avoid damages to yourself or the public.
CAUTION!
Some processes must be followed to avoid the damage to the vehicle.
1-1
Accessory
1
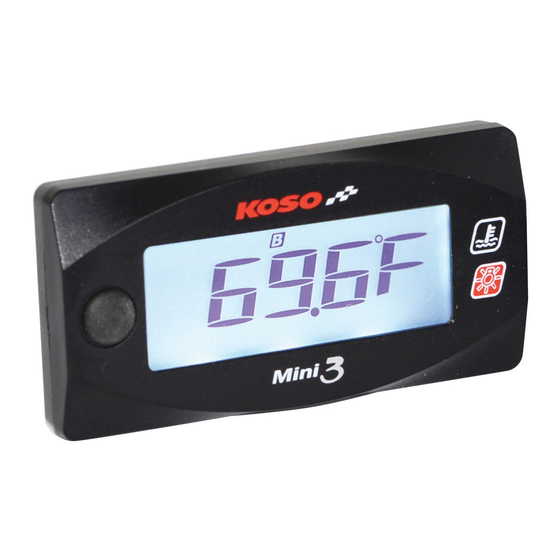
LCD meter X1
Please contact the local distributor if the items you open are not the same, with the above-listed one.
2 Wiring installation instructions
Use the velcro (Accessory 3 ) to
install the meter (Accessory 1) to
the place you want to put it on.
Original meter
3-1 Basic function instruction
30
60
11.5
Design and specifications are subject to change without notice!
INsTRUCTION
2
Mid-way connect X3
Red / "+"Wire connect key on
DC 12V main power switch
Mid-way connect (Accessory 2)
Black / Ground wire connect to the
vehicle body or the engine (it must
be a good ground)
Green-Fuel (-)
cut
Gauge Fuel Tank
●Fuel level
●Digital fuel meter
○Fuel gauge resistance setting
○Fuel warning setting
● Effective voltage
● Effective temperature range
● Meter standard
● Meter size (W X L X H)
● Meter weight
3
Velcro X 1set
Original Fuel Level Signal Wire
Fuel Pump
Display range: 10 levels
Display unit: Each level represents 10%
Display range: 0~100%
Display unit: 1%
Setting range: 100 Ω , 180 Ω , 250 Ω , 270 Ω , 510 Ω , 700 Ω , 1200 Ω, user
Setting range: 0~25%
Setting unit: 1%
DC 12V
-10~60°C
JIS D 0203 S2
W60 X L30 X H11.5 mm
Around 22g
PRESS THE
BUTTON
ONE TIME
Main switch wiring reference:
Key on
Power
Red
Brown
YAMAHA
Red
Red / Black
HONDA
Black
SUZUKI
Brown
KAWASAKI
White
Black
KYMCO
Red
Black
SYM
Red
Orange
Red / White
PGO
The color listed above may differ depending
on the model.
Fuel indicator wiring reference:
YAMAHA
Green
KYMCO
Yellow / White
HONDA
SYM
SUZUKI
Yellow / White
PGO
KAWASAKI
Black / L Green
The fuel sensor is electronic type, please don't
parallel connection with the original- otherwise
the fuel gauge won't display.
The wrong installation of the fuel wiring may
cause the meter break.
PRESS THE
BUTTON 3
SECONDS
Ground
Black
Green
Green
Black / Yellow
Green
Green
Black
Yellow / White
Yellow / White
Gray
wh003ba51a
Advertisement
Table of Contents

Related Manuals for Koso Mini3


Summary of Contents for Koso Mini3
- Page 1 INsTRUCTION ● Thank you for purchasing KOSO Fuel meter , please read the instruction throughly befor installing. Notice 1.The lcd meter is apply for DC 12V. 2.For installation, please follow the steps described in manual. Any damage caused by wrong installation shall be imputed to the users.
- Page 2 The fuel meter setting instruction ●3-2-1 The fuel gauge resistance setting ●3-2-3 Fuel learning setting ● In main screen, Hold pressing the button for ● In setting screen, press the button to 3 seconds to enter the setting screen. choose ●...
Need help?
Do you have a question about the Mini3 and is the answer not in the manual?
Questions and answers