Advertisement
●Thanks for purchasing our Ambiant Temperature meter. Before operating this unit, please read the instruction carefully and retain them for
future reference.
Notice
1.This lcd meter is work on DC 12 volts applications only.
2.For proper installation, please follow the steps described in instruction. Any damage caused by wrong installation shall be imputed to the users.
3.Don't break or modify the wire terminals. To avoid short circuit, do not pull the wires out of the terminal when installing.
4.Do not disassemble or change any parts.
5.Opening the instrument will void any warranty. Maintenance or repair should be excecuted by our professionals only.
MARK MEANING:
Some procedures must be followed to avoid damages to the instrument.
WARNING!
Some procedures must be followed to avoid injuries to the user or others.
CAUTION!
Some procedures must be followed to avoid the damages to the vehicle.
1-1
Accessory
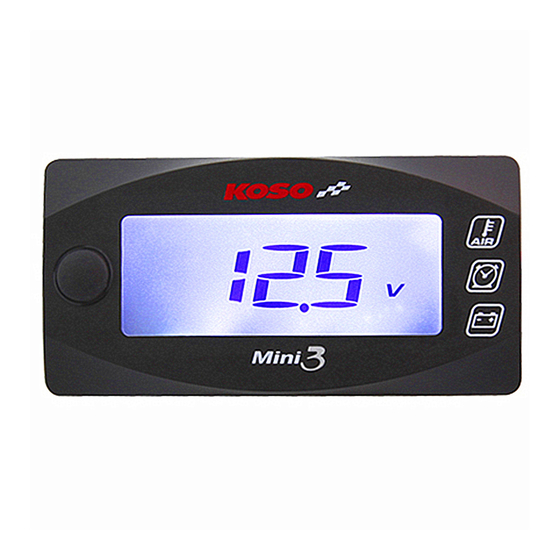
1
Meter X 1
Please contact your local distributor if the items received are not the same as the one listed above.
2
Wiring installation instruction
3
Function instruction
30 mm
60 mm
11.5 mm
Design and specifications are subject to change without notice.
INsTRUCTION
2
Temp sensor wire set X 1
Meter (Accessory 1)
Temperature-Yellow/Green
●Thermometer
●E ective voltage
●Effective temperature range
●Meter standard
●Meter size
●Meter weight
3
Mid-way connector X 2
Mid-way connector (Accessory 3)
Red / "+"Wire connect to the DC 12v igniton switch
Black / Ground wire connect to the vehicle body or
the engine (must be a good ground)
Temp sensor wire set
Display range -30~120
℃ (
-22~248
:
Display unit:0.1℃ (℉ )
DC12V
o
(-4 ~+140F)
-20~+60 C
JIS D 0203 S2
60 X 30 X 11.5 mm
Around 22 g
PRESS THE
PRESS THE
BUTTON ONCE
BUTTON 3
SECONDS
4
Velcro X 1 set
Accessory
2
(
)
℉ )
wh003ba110-B
Advertisement
Table of Contents

Related Manuals for Koso Mini 3


Summary of Contents for Koso Mini 3
- Page 1 INsTRUCTION ●Thanks for purchasing our Ambiant Temperature meter. Before operating this unit, please read the instruction carefully and retain them for future reference. Notice 1.This lcd meter is work on DC 12 volts applications only. 2.For proper installation, please follow the steps described in instruction. Any damage caused by wrong installation shall be imputed to the users. 3.Don't break or modify the wire terminals.
- Page 2 Centigrade / Fahrenheit adjustment ●The default temperature unit setting is in Centigrade. Hold the button for 3 seconds to switch the temperature to Fahrenheit. Temperature display unit can be set on ℃ ℉ WARNING! To avoid accident, do not check the instument reading while riding. ●Now the temperature unit is changed to Fahrenheit.
Need help?
Do you have a question about the Mini 3 and is the answer not in the manual?
Questions and answers