Sign In
Upload
Download
Table of Contents
Contents
Add to my manuals
Delete from my manuals
Share
URL of this page:
HTML Link:
Bookmark this page
Add
Manual will be automatically added to "My Manuals"
Print this page
×
Bookmark added
×
Added to my manuals
Manuals
Brands
REMKO Manuals
Heater
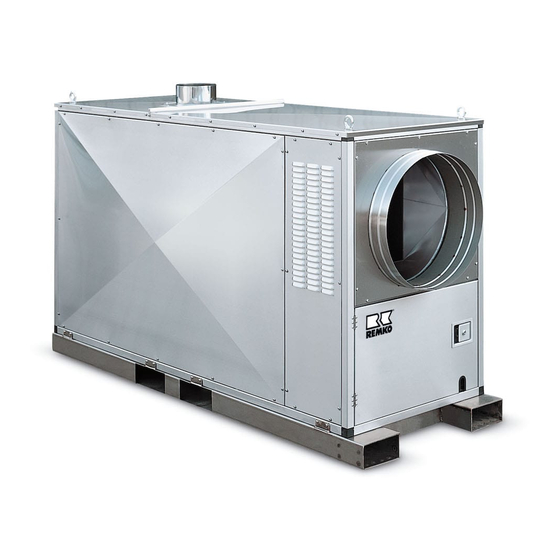
HTL 250-EC
Operating manual
REMKO HTL 250-EC Operating Manual
Oil heating system
Hide thumbs
1
2
Table Of Contents
3
4
5
6
7
8
9
10
11
12
13
14
15
16
17
18
19
20
21
22
23
24
25
26
27
28
page
of
28
Go
/
28
Contents
Table of Contents
Troubleshooting
Bookmarks
Table of Contents
Table of Contents
Safety Notes
Unit Description
Installation Instructions
Unit Installation
Safety Equipment
Commissioning
Shutdown
Care and Maintenance
Commissioning of Forced-Air Oil Burners
Troubleshooting
Intended Use
Customer Service and Guarantee
Environmental Protection and Recycling
Exploded View of the Unit
Spare Parts List
Electrical Wiring Diagram
Maintenance Protocol
Technical Data
Advertisement
Quick Links
1
Installation Instructions
Download this manual
REMKO HTL 200-EC
REMKO HTL 250-EC
Oil heating systems
Operation · Technology · Spare parts
Edition GB – J10
Table of
Contents
Previous
Page
Next
Page
1
2
3
4
5
Advertisement
Table of Contents
Need help?
Do you have a question about the HTL 250-EC and is the answer not in the manual?
Ask a question
Questions and answers
Subscribe to Our Youtube Channel
Related Manuals for REMKO HTL 250-EC
Heater REMKO HTL 150 FB Operation,Technology,Spare Parts
Mobile oil-fired heating centers (20 pages)
Heater REMKO HTL 250 FB Operation,Technology,Spare Parts
Mobile oil-fired heating centers (20 pages)
Heater REMKO HTL 150-FB Operation,Technology,Spare Parts
Automatic oil heater (16 pages)
Heater REMKO HTL 250-FB Operation,Technology,Spare Parts
Automatic oil heater (16 pages)
Heater REMKO HTL 200-EC Operating Manual
Oil heating system (28 pages)
Heater REMKO CLA 50 Operating Instructions Manual
Automatic oil/gas heaters (12 pages)
Heater REMKO GPS 20 Operating And Installation Manual
Efficient, wall-mounted, automatic heater with modulating gas burner (56 pages)
Heater REMKO CLK Series Operating And Installation Instructions
Automatic oil/gas heaters (28 pages)
Heater REMKO CLK 20 Operation,Technology,Spare Parts
Mobile heaters (20 pages)
Heater REMKO PGM Series Operating And Installation Instructions
Propane gas heating systems (24 pages)
Heater Remko PG 12 Operating Instructions Manual
(12 pages)
Heater REMKO VRS Series Operation,Technology,Spare Parts
Universal oil/gas automatic heaters (32 pages)
Heater REMKO Allmat Operation,Technology,Spare Parts
Automatic slow combustion heater (16 pages)
Heater REMKO SQW400 Operating Manual
Heater for anti-freeze protection (12 pages)
Heater REMKO ATK Series Operating And Installation
Automatic oil heater with built-in oil burner and tank with exhaust gas connection (20 pages)
Heater REMKO ATK 25 Operation,Technology,Spare Parts
Automatic oil heater with built-in oil burner, tank and exhaust gas connection (20 pages)
This manual is also suitable for:
Htl 200-ec
Table of Contents
Print
Rename the bookmark
Delete bookmark?
Delete from my manuals?
Login
Sign In
OR
Sign in with Facebook
Sign in with Google
Upload manual
Upload from disk
Upload from URL


Need help?
Do you have a question about the HTL 250-EC and is the answer not in the manual?
Questions and answers