
Related Manuals for Clarke STRONG-ARM CTJ2QLP


Summary of Contents for Clarke STRONG-ARM CTJ2QLP
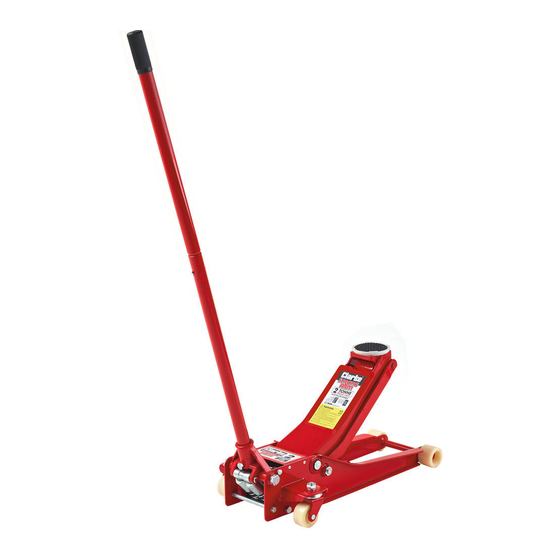
- Page 1 2 TONNE GARAGE JACK MODEL NO: CTJ2QLP PART NO: 7621820 OPERATION & MAINTENANCE INSTRUCTIONS ORIGINAL INSTRUCTIONS GC0120 - ISS -2...
-
Page 2: Specifications
INTRODUCTION Thank you for purchasing this CLARKE Garage Jack. Before attempting to use this product, please read this manual thoroughly and follow the instructions carefully. In doing so you will ensure the safety of yourself and that of others around you, and you can look forward to your purchase giving you long and satisfactory service. -
Page 3: Safety Precautions
9. Do not try to lift more than the rated load for the jack, (See “Specifications” on page 2.) 10. Do not use the jack if an oil leak is apparent. Consult your Clarke dealer. 11. Consult the vehicle handbook to determine the correct lifting points. -
Page 4: Unpacking And Assembly
UNPACKING AND ASSEMBLY 1. Remove the retaining clip by pressing the handle yoke down- wards and pulling the clip away. 2. Loosen the bolt in the yoke until the lower handle can be inserted fully into the handle socket. • The lower handle has a groove which should engage with the bolt once it is re-tightened. -
Page 5: Maintenance
4. Pump the handle to raise the saddle until it reaches the jacking point. 5. Take care that no obstruction prevents a clean lift. Keep all personnel at a safe distance before lifting the vehicle. NOTE: The jack may move slightly during operation. It is important therefore, that the floor is clean and completely free from debris. -
Page 6: Checking /Maintaining The Oil Level
2. Remove the cover plate and the oil filler plug. • The oil should be almost level with the bottom of the oil filler hole. • il can be topped up using Clarke Hydraulic Oil (p/no 3050830 for 1 litre). -
Page 7: Troubleshooting
Purge the system as on p 5 Jack will not Return spring may be Return to your Clarke dealer for lower completely faulty repair If any of these remedies fail to restore your jack, consult your Clarke dealer DECLARATION OF CONFORMITY... -
Page 8: Component Parts - General Assembly
COMPONENT PARTS - GENERAL ASSEMBLY... - Page 9 COMPONENT PARTS-GENERAL ASSEMBLY Description No Description Circlip 20mm Upper handle Washer 12mm Lower handle Front wheel Screw M6 x 35 Chassis frame U-joint Nut M16 Hydraulic unit Washer M16 Return spring Screw M5x12 Circlip 22mm Rear castor assembly Connecting block Screw M10x 12 Split pin A4 x 55 Washer M10...
- Page 10 COMPONENT PARTS - HYDRAULIC PARTS Description No Description Sealing ring High pressure piston housing Reservoir O-ring 10 x 2.65 # Sealing ring Retaining ring 15 x 10.6 x 1.25 O-ring 29x3.55 # High pressure piston Top nut Spring Dust cover Circlip 30mm Spring base Ram base...
- Page 11 COMPONENT PARTS - HYDRAULIC PARTS...
Need help?
Do you have a question about the STRONG-ARM CTJ2QLP and is the answer not in the manual?
Questions and answers