LulzBot TAZ Quick Start Manual
Hide thumbs
Also See for TAZ:
- User manual (120 pages) ,
- Quick start manual (9 pages) ,
- Start here manual (8 pages)
Advertisement
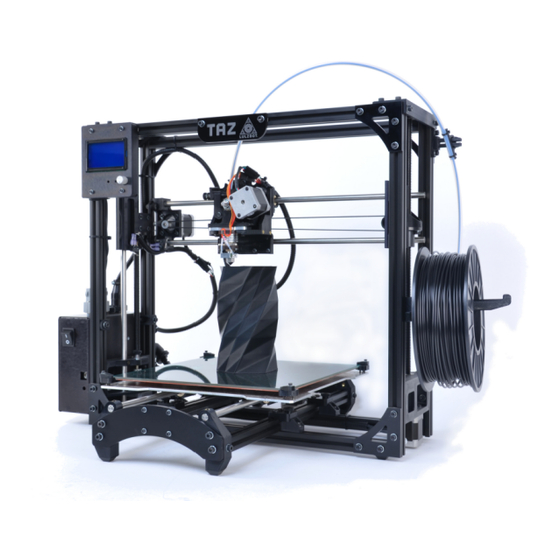
Start Here:
Unpacking Your
TAZ 3D Printer
Read this Quick Setup Guide for the
correct unpacking and setup.
View a video of the
Save all packing materials, packing clips,
inserts, and the box in case you need
Quick Setup Guide
to ship your printer.
lulzbot.com/support/taz-unpacking
1
Remove the Accessory Tray foam insert from
the box, set aside.
2
While keeping
printer in the
box, pick up by the
black aluminum
frame and rotate the
printer and foam 90
degrees — setting it
upright within the
box. Make sure name
plate at top is UP.
3
Remove top foam.
View a video of
the Quick Setup Guide
lulzbot.com/support/taz-unpacking
4
A Remove the
printer bed
assembly (Y-axis)
packed in the body of
the printer by sliding
it up 6", freeing it from
the packing foam.
B Rotate printing bed
assembly, tilting the
bottom toward front
of box.
C Lower entire bed
into box so it is parallel
with printer frame,
then lift out and
set aside.
5
While pushing
down on bottom
foam, carefully remove
printer frame from box.
Set it on a sturdy, flat
surface for assembly.
NEXT STEP:
Share ideas and collaborate at Forum.LulzBot.com
A
B
C
Setting up your printer.
Advertisement
Table of Contents

Subscribe to Our Youtube Channel
Related Manuals for LulzBot TAZ


Summary of Contents for LulzBot TAZ
- Page 1 While pushing plate at top is UP. down on bottom foam, carefully remove printer frame from box. Remove top foam. Set it on a sturdy, flat surface for assembly. NEXT STEP: Setting up your printer. Share ideas and collaborate at Forum.LulzBot.com...
- Page 2 Mounting Printer Bed (Y Axis) axis assembly. to Printer Frame Place the TAZ frame and Y axis assembly on a flat and level surface. Remove the protective bubble wrap from printing bed. Note: Before completely tightening the Y axis bolts, make sure the printer bed (Y axis) aluminum bars are pushed down against the TAZ frame lower bars.
- Page 3 Locate the power supply and USB connectors, and DC conditioner vent. power receptacle on the back of the TAZ electronics enclosure. Remove Protective Pieces Locate and remove the gray foam block next to the printer head used to hold the extruder assembly in place during shipping.
- Page 4 The filament guide attaches to the filament guide mount which can be found on the top right side of the printer frame The filament guide easily pops on to the guide mount. www.LulzBot.com Buy printers, parts, and plastics at LulzBot.com...
Need help?
Do you have a question about the TAZ and is the answer not in the manual?
Questions and answers