LulzBot TAZ 6 Start Here Manual
Hide thumbs
Also See for TAZ 6:
- User manual (93 pages) ,
- Operation (36 pages) ,
- Operation manual (3 pages)
Advertisement
Quick Links
Advertisement

Related Manuals for LulzBot TAZ 6


Summary of Contents for LulzBot TAZ 6
- Page 3 LulzBot.com/contact/ Read the included Safety and Warnings sheet completely before beginning this guide. Find the full printed user manual for your LulzBot TAZ included with your printer, or view the digital version on the SD card or online at LulzBot.com/TAZ.
-
Page 4: Know Your Machine
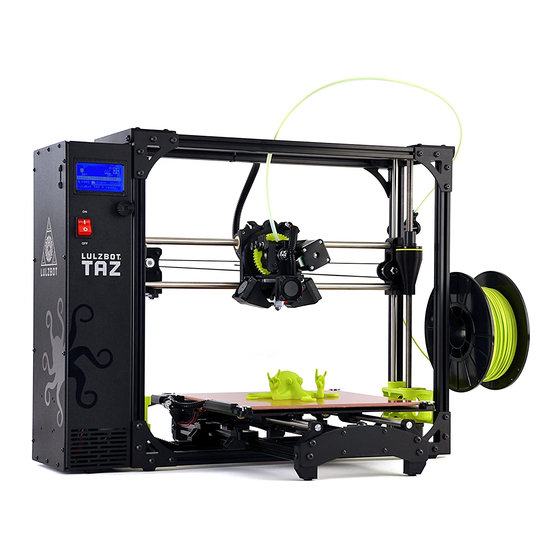
KNoW your MachiNe Graphical LCD SD Card Slot Control Knob Power Switch Extruder USB Port (back) Power Port (back) Rock2pus PEI Print Surface Y-Axis Assembly... - Page 5 Aluminum Frame Smooth Rod Hinged Idler Lead Screw Drive Gear Tool Head LulzBot v2 Hot End Nozzle Filament Reel The Cartesian Coordinate Robot The LulzBot TAZ can move on three linear axes that define its movement, X, Y, and Z.
- Page 6 STEP Position Box for Unpacking Both box handles should be up. Soft floors may be damaged by your 3D printer. Hard floors may do damage to your 3D printer. Exercise caution by using a cloth, towel, carpet, or rug for padding during unboxing.
- Page 7 Look inside the yellow and black arrow sticker on the packing foam. Carefully lay the box flat on the floor so that the arrow points up.
- Page 8 STEP Remove the 3D Printer and Components When moving your 3D printer, always grab the black aluminum frame. Lifting the printer by any plastic parts, smooth rods, lead screws, etc. may damage it. Grab the lower frame of the printer and gently slide the printer out of the box, leaving all foam pieces in place.
- Page 9 Carefully remove the protective foam piece that is supporting the Y-axis assembly. STEP Continued...
- Page 10 Lift the front of the Y-axis assembly up, then pull it out of the 3D printer frame. You may need to push the Y-axis assembly back before lifting so that it clears the frame.
- Page 11 Remove foam from the bottom of the printer frame. Stand the printer frame upright and remove the final two pieces of protective foam. STEP Continued...
- Page 12 Remove the small accessory and tool head boxes. Carefully remove tool head from the tool head box. Empty contents of accessory box onto a clean, flat work surface.
- Page 13 Remove tape and cardboard from the Y-axis assembly.
- Page 14 Your LulzBot TAZ comes with an octopus that was made by your 3D printer during the final stage of quality assurance. A tool kit for maintaining your LulzBot TAZ is included that you can learn more...
- Page 15 STEP Mount the Y-Axis Assembly Remove the four (4) Y-axis thumbscrews from the middle of the 3D printer frame. STEP Continued...
- Page 16 Set the Y-axis assembly onto the base of the printer frame, carefully lining up the four (4) mounting brackets. The print bed wiring should be on the left side as shown. Do not press down on the print surface or the smooth rods.
- Page 17 Gently slide the print surface to the back and install the two (2) front thumbscrews. Hand tighten until snug. Do not use a tool to tighten the thumbscrews. STEP Continued...
- Page 18 Gently slide the print surface to the front and install the two (2) rear thumbscrews. Hand tighten until snug. Do not use a tool to tighten the thumbscrews.
- Page 19 STEP Connect the Wires and Cables With the print surface still positioned toward the front, plug in the Y-axis motor. STEP Continued...
- Page 20 Remove and discard packaging tape securing Y-axis cable bundle.
- Page 21 Locate the three cables found on the left side of the print surface. STEP Continued...
- Page 22 Connect the three sets of corresponding wire connectors, as shown below.
- Page 23 STEP Secure the Print Surface Cable Press the print surface cable into the black cable mount.
- Page 24 STEP Mount the Tool Head Unscrew the tool head mounting screw counter-clockwise from the X-axis carriage with the included 2.5mm hex key. The tool head carriage is parked to the right side of the X-axis for shipping. You may want to slide it toward the center of the X-axis to make it easier to access for this step.
- Page 25 Place the bottom of the tool head into the X-axis carriage, allowing it to settle and self-center. Hold the tool head in place with one hand. Reinsert and tighten the tool head mounting screw clockwise with the 2.5mm hex key to secure the tool head. Support the tool head with your hand to prevent it from falling onto the print surface.
- Page 26 STEP Connect the Tool Head Remove protective gray foam from tool head wiring connector. Use care not to bend the wiring connector pins. Verify the labels are aligned before plugging in the connector. Plugging this connector in the wrong way can damage your tool head.
- Page 27 STEP Prepare Filament Reel Holder and Guide Tube Remove packaging tape securing the filament reel holder and filament guide tube bracket. STEP Continued...
- Page 28 Rotate filament filament reel holder and guide tube bracket clockwise into position.
- Page 29 Slide filament guide tube onto the bracket.
-
Page 30: Check Connections
STEP Check Connections Check every connector on the machine to verify they are fully and properly connected. Not sure where to check? Review each previous step in this guide. - Page 31 STEP Power On Your LulzBot TAZ Locate and unwrap the AC power cable included in the accessories box. Verify that the power switch is in the off position. Plug the AC power cable into your 3D printer and plug the other end into an AC power outlet.
- Page 32 The Graphical LCD controller should display a “LulzBot TAZ 6 ready” message. If your Graphical LCD controller shows any error messages or does not seem to power on properly, unplug the printer and then check all connections made in previous steps. Visit LulzBot.com/Support for more assistance.
- Page 33 STEP Proceed to Operation Guide! Ensure your LulzBot TAZ is in a well-ventilated area, on a flat and level surface with 30 centimeters (12 inches) of clearance in every direction. Your LulzBot TAZ 6 is now fully unboxed, assembled, and ready for operation! To start printing, move to the Operation Guide which will walk you through your first 3D print.
- Page 34 Colophon This document was created with 100% Free/Libre Software GNU/Linux Scribus Inkscape GNU Image Manipulation Program...
Need help?
Do you have a question about the TAZ 6 and is the answer not in the manual?
Questions and answers