LulzBot TAZ Quick Start Manual
Hide thumbs
Also See for TAZ:
- User manual (120 pages) ,
- Quick start manual (9 pages) ,
- Start here manual (8 pages)
Advertisement
Quick Links
Download this manual
See also:
User Manual
Quick Start Guide
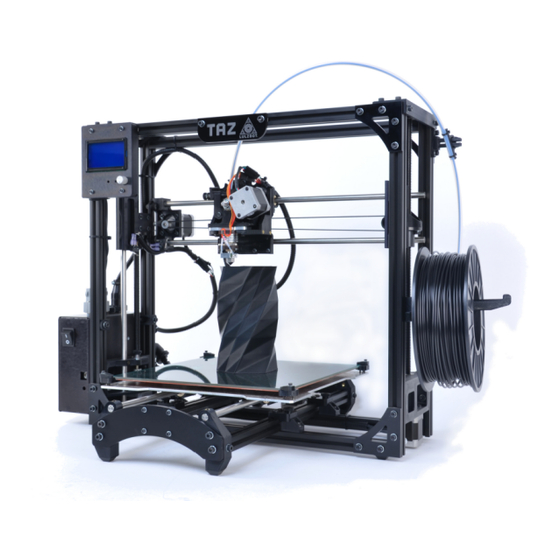
setting up Your
TAZ 3D Printer
View a video of the
Quick Start Guide
lulzbot.com/support/taz-setup
READ THE ENCLOSED USER MANUAL COMPLETELY BEFORE POWERING UP YOUR TAZ 3D PRINTER.
Remove Protective Pieces!
Locate and remove the gray foam block
used to hold the X axis carriage in place
during shipping.
Remove red protective packing clips.
Download this document: www.LulzBot.com/QuickStartGuide
Mounting Printer Bed (Y Axis)
to Printer Frame
1
Place the TAZ frame and Y axis assembly on a fl at and
level surface. Remove the protective bubble wrap from
printing bed. Remove four pieces of tape from print bed.
2
Locate the four Y axis bolts (see green circles below).
Turning counter clockwise, remove each Y axis bolt
and set aside.
Share ideas & collaborate: Forum.LulzBot.com
2
Advertisement

Subscribe to Our Youtube Channel
Related Manuals for LulzBot TAZ


Summary of Contents for LulzBot TAZ
- Page 1 TAZ 3D Printer View a video of the Quick Start Guide lulzbot.com/support/taz-setup READ THE ENCLOSED USER MANUAL COMPLETELY BEFORE POWERING UP YOUR TAZ 3D PRINTER. Mounting Printer Bed (Y Axis) to Printer Frame Remove Protective Pieces! Place the TAZ frame and Y axis assembly on a fl at and level surface.
- Page 2 Locate the four Y axis mount brackets on the TAZ frame. Locate the two connectors to the left of the print bed. Connect the matching female and male large 2-pin heat bed connectors and the small 2-pin connectors. With the print surface facing up and the stepper motor...
- Page 3 Connect the DC locking plug into the DC connector the orange/red wire connector pair for the hot end and the on the TAZ electronics enclosure. The plug is keyed, mixed color wired connector pair for the extruder motor. which may require rotating the plug until the keys line up Connect the matching pairs together so they lock and click.
- Page 4 Printrun software section in the complete distance between the nozzle tip and the print surface. Press TAZ 3D printer manual. Use the homing buttons to home the the Home Z button to home the Z axis. The tip of the nozzle X and Y axis.
Need help?
Do you have a question about the TAZ and is the answer not in the manual?
Questions and answers