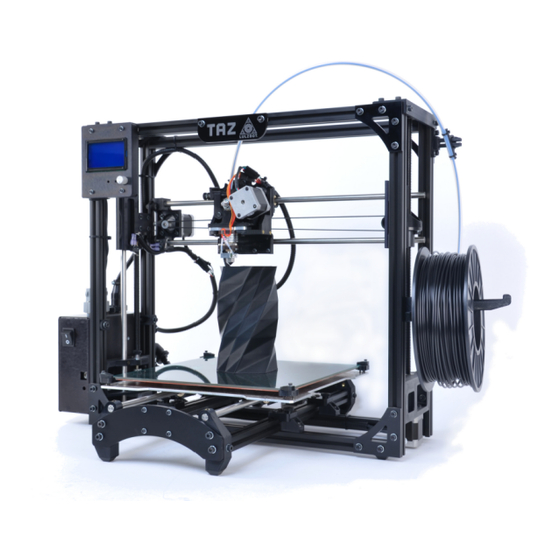
LulzBot TAZ Quick Start Manual
Hide thumbs
Also See for TAZ:
- User manual (120 pages) ,
- Start here manual (8 pages) ,
- Quick start manual (4 pages)
Table of Contents
Advertisement
Quick Links
Start Here
Save all packing materials,
packing clips, inserts,
documents, and the box in case
you need to ship your printer or
contact customer support.
Remove the Accessory Tray foam insert from the
box, set aside.
Slide out the tool bag and foam padding from the
left side of the printer frame.
While keeping the printer in the box, pick up by
the black aluminum frame and rotate the printer
and foam 90 degrees - setting it upwright within
the box. Make sure name plate at top is UP. Remove
top foam.
Download this document:
www.LulzBot.com/StartHere
Remove the printer bed assembly (Y-axis)
packed in the body of the printer by sliding it up
6", freeing it from the packing foam.
Rotate printing bed assembly, tilting the bottom
toward front of box. Lower entire bed into box so it is
parallel with printer frame, then lift out and set aside.
Carefully remove printer frame from box and set it
on a sturdy, flat surface - you're ready for
assembly
Setting Up your printer
Share ideas & collaborate:
Forum.LulzBot.com
Advertisement
Table of Contents

Subscribe to Our Youtube Channel
Related Manuals for LulzBot TAZ


Summary of Contents for LulzBot TAZ
- Page 1 Start Here Save all packing materials, packing clips, inserts, documents, and the box in case you need to ship your printer or contact customer support. Remove the printer bed assembly (Y-axis) Remove the Accessory Tray foam insert from the packed in the body of the printer by sliding it up box, set aside.
- Page 2 Mounting Printer Bed Y Axis) to Printer Frame Remove Protective Pieces Place the TAZ frame and Y axis assembly on a flat and level surface. Remove four pieces of tape from the print bed. Gently remove the tape from each end-stop switch.
- Page 3 Locate the four Y axis mount brackets on the TAZ Y Locate and remove, with the included 2.5mm hex axis. driver, the tool head 3mm screw in top center of the X axis carriage. Remove the extruder head from the Accessory Tray foam insert.
- Page 4 Avoid placing your printer near a drafty window or air conditioner vent. Locate the USB plug on the front of the TAZ electronics enclosure. Plug in the USB cable, square B plug end, into the USB receptacle on the front of the electronics enclosure.
- Page 5 Printrun software section in the complete TAZ 3D nozzle tip and the print surface. Press the printer manual. Use the homing buttons to home the X Home Z button to home the Z axis.
- Page 6 Create Your First 3D Print Before printing, load a reel of filament onto the filament Feed the end of the plastic filament into the filament arm, which holds 1kg and 5lb plastic reels but can be feed hole and push the filament through the extruder by modified to work with other reel and spool types.
- Page 7 Load the octopus.gcode file: http://download.lulzbot.com/TAZ/4.0/novelties/ Load the file in Pronterface, bring the hot end 230C ABS/185C PLA) and the heated bed 85C ABS/60C PLA) up to printing temperature.
- Page 8 Your go-to outlet for the highest quality filament and parts. We personally test all materials - because efficient innovation shouldn't be slowed by less-than-perfect materials. Buy printers, parts, and plastics at LulzBot.com...
Need help?
Do you have a question about the TAZ and is the answer not in the manual?
Questions and answers