Advertisement
Quick Links
Upgrading the color
sensor board
Learn how to replace the 4.2 color sensor board with the new 6.0 color sensor board.
Affected products
These instructions apply to the following projectors with this style of guard:
•
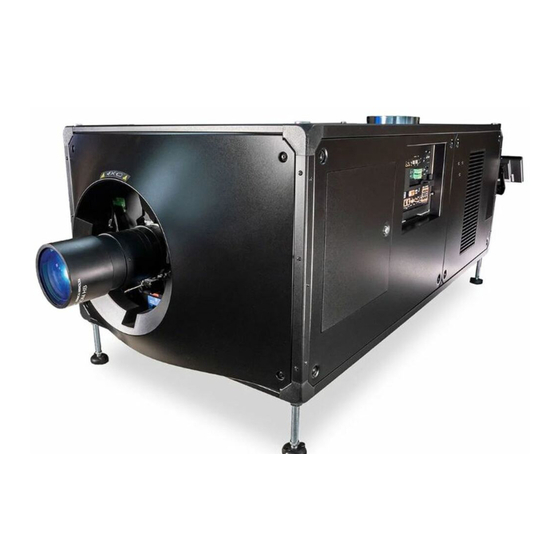
CP43XX-RGB series projectors
•
4K40-RGB series projectors
Required tools and parts
Before replacing components in the projector, ensure the following tools and parts are available:
•
Color sensor board and housing upgrade kit (P/N: 003-006740-XX)
•
2mm hex driver or key
•
2.5mm hex ball-drive
•
3mm hex ball-driver
•
Lint-free gloves
•
Color meter (not provided)
Upgrading the Color Sensor Board Instruction Sheet
020-103100-01 Rev. 1 (06-2019)
Copyright
2019 Christie Digital Systems USA, Inc. All rights reserved.
©
1
Advertisement

Subscribe to Our Youtube Channel
Summary of Contents for Christie CP43XX-RGB Series
- Page 1 2mm hex driver or key • 2.5mm hex ball-drive • 3mm hex ball-driver • Lint-free gloves • Color meter (not provided) Upgrading the Color Sensor Board Instruction Sheet 020-103100-01 Rev. 1 (06-2019) Copyright 2019 Christie Digital Systems USA, Inc. All rights reserved. ©...
- Page 2 5. Remove the cover and set it aside. 6. Locate and loosen the four captive fasteners on the color sensor housing (B). Upgrading the Color Sensor Board Instruction Sheet 020-103100-01 Rev. 1 (06-2019) Copyright 2019 Christie Digital Systems USA, Inc. All rights reserved. ©...
- Page 3 11. Slide the metal guard from the shoulder screws holding it in place. Discard the guard. 12. Remove the two shoulder screws holding the board to the housing. Discard the screws. Upgrading the Color Sensor Board Instruction Sheet 020-103100-01 Rev. 1 (06-2019) Copyright 2019 Christie Digital Systems USA, Inc. All rights reserved. ©...
- Page 4 3. Disconnect all external card cage connections and any input sources. 4. Using a 3 mm driver, remove the two screws securing the electronics bracket and remove bracket. Upgrading the Color Sensor Board Instruction Sheet 020-103100-01 Rev. 1 (06-2019) Copyright 2019 Christie Digital Systems USA, Inc. All rights reserved. ©...
- Page 5 7. Disconnect the two harnesses (J17, J18) from the backplane board. 8. Loosen the four captive screws securing the card cage. Upgrading the Color Sensor Board Instruction Sheet 020-103100-01 Rev. 1 (06-2019) Copyright 2019 Christie Digital Systems USA, Inc. All rights reserved. ©...
- Page 6 Side intake cover b. Radiator module Radiator fan intake module d. Light engine fan intake module e. HKBB cover (A) Upgrading the Color Sensor Board Instruction Sheet 020-103100-01 Rev. 1 (06-2019) Copyright 2019 Christie Digital Systems USA, Inc. All rights reserved. ©...
- Page 7 Take care when removing the hose as there is a square hole on the underside of the unit which may have sharp edges. Upgrading the Color Sensor Board Instruction Sheet 020-103100-01 Rev. 1 (06-2019) Copyright 2019 Christie Digital Systems USA, Inc. All rights reserved. ©...
- Page 8 This connection can be a direct connection to the management port on the FMAIN through Wired/wireless network. Upgrading the Color Sensor Board Instruction Sheet 020-103100-01 Rev. 1 (06-2019) Copyright 2019 Christie Digital Systems USA, Inc. All rights reserved. ©...
- Page 9 Due to the manufacturing tolerance of the color sensor board and the LOS system, calibrate the LiteLOC v1 response to the light intensity as the temperature of the laser devices changes. 1. Contact Christie Technical Support for a copy of the Horizon Factory Calibration Procedure spreadsheet.
- Page 10 16. To execute the script, click the red arrow. A confirmation that the command has been executed is displayed, and the projector noise level goes down. Upgrading the Color Sensor Board Instruction Sheet 020-103100-01 Rev. 1 (06-2019) Copyright 2019 Christie Digital Systems USA, Inc. All rights reserved. ©...
-
Page 11: Technical Support
The calibration data is saved to the color sensor board. 28. (CP43XX-RGB series projectors only) Close the LOS port. The port must be closed. a) To close the direct communication to Photon, connect the laptop to the projector using...


Need help?
Do you have a question about the CP43XX-RGB Series and is the answer not in the manual?
Questions and answers