Advertisement
Quick Links
Component List
Designed by Matthew Weatherly
These distinctive product configurations are protected by US and international
patents, trade dress, and/or copyright laws.
"Novia" and BDI are trademarks of Becker Designed, Inc.
All Rights reserved. ©2009, BDI
Made in China. 8429-2REV100609v2
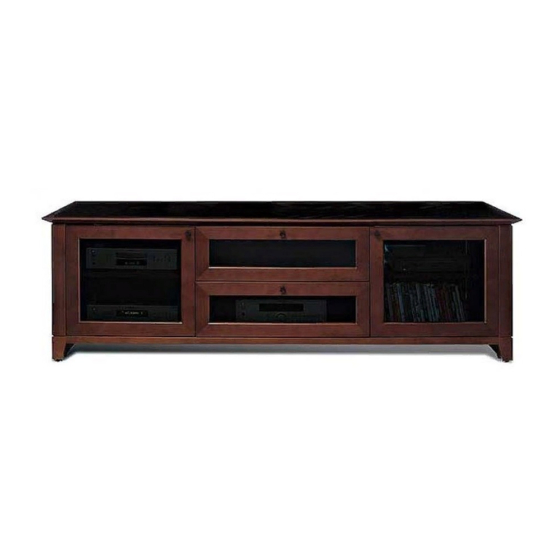
Novia
®
8429-2
A - 4mm Hex Driver
x 1
B - Phillips Screwdriver
x 1
C - Leveler Wrench x 1
D - Glass Panel x 1
E -Assembled Cabinet x 1
F - Knob Screw x 4
G - Knob x 4
H - Adjustable Shelf x 2
I - Back Panel x 2
a s s e m b l y i n s t r u c t i o n s
®
Novia
is engineered for easy assembly. Carefully follow this
procedure to prevent any damage.
Placement and Maintenance
®
Novia
is designed for indoor use on level floors. Clean glass with
glass cleaner; steel parts and wood veneer with a moist cloth.
Step 1
Unpack and Identify
Unpack and identify the components at left. The assembly
workspace should be a non-marring surface such as carpet. For
missing hardware pieces, please contact BDI Customer Service
at customerservice@bdiusa.com. For all other concerns, please
contact your BDI Retailer.
Step 2
Install Glass Panel (D) on top of Assembled Cabinet (E).
For more information about the adjustable
levelers and troubleshooting, be sure to
check out "Fine tuning your new BDI Novia
Home Theater Furniture" at the end of these
instructions.
1
.
bdiusa
com
customerservice
@
.
bdiusa
com
D
E
Advertisement

Related Manuals for BDI Novia 8429-2


Summary of Contents for BDI Novia 8429-2
- Page 1 Home Theater Furniture” at the end of these instructions. Designed by Matthew Weatherly These distinctive product configurations are protected by US and international patents, trade dress, and/or copyright laws. “Novia” and BDI are trademarks of Becker Designed, Inc. All Rights reserved. ©2009, BDI Made in China. 8429-2REV100609v2...
- Page 2 Install Back Panel (I) to the rear side of cabinet in the pre-determined slots. Velcro straps are included as wire management for your convenience. Optional Flat Panel TV Mount This BDI cabinet is compatible with BDI’s Flat- Panel TV Mount #9970 (sold separately) with the following features: •...
- Page 3 In order to do this, follow the steps below. Drawer Note: Optional glass panel insert is available. Contact BDI Customer Service at: customerservice@bdiusa.com Fully extend drawer and locate Simultaneously on the LEFT side of drawer, lift UP on plastic lever plastic lever on drawer slide.
- Page 4 This allows easier cabinet movement for greater access to rear panels and wire-management, and permits easier cleaning/vacuuming underneath the cabinet. By following the steps in this guide, you can be sure that your BDI cabinet is in optimum tune and adjustment. If you need additional assistance, contact BDI at customerservice@bdiusa.com.
Need help?
Do you have a question about the Novia 8429-2 and is the answer not in the manual?
Questions and answers