Advertisement
Quick Links
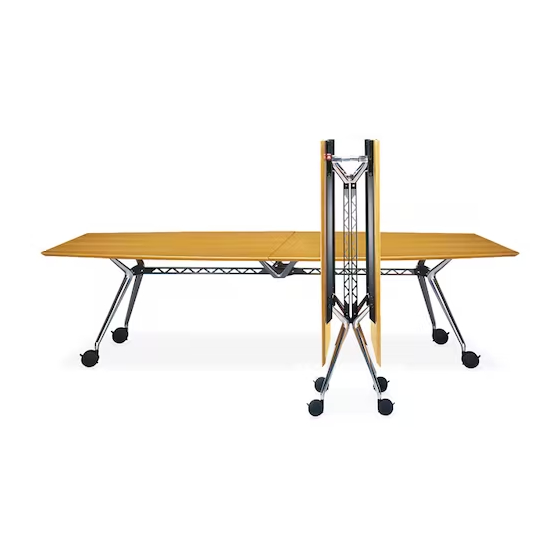
Aspire
®
2-Piece and 4-Piece Folding
Table Top Replacement
Tools Required
#4 Hex Driver
Package Contents
2-piece Replacement Top
Or,
Installation
Note: This instruction explains basic installation of Aspire
folding table replacement tops. Aspire folding tables have
spring-tensioned cables and rollers. For safety and ease of
installation, all tables must be in the fully unfolded and locked
position.
Note: The table top flush adjustment instructions are
applicable to the Aspire 2-piece Static (non-folding) top.
1. Unfold and lock table. (Figure A).
2. Remove all machine screws holding table tops to frame.
(Figure B).
Note: Save all the removed screws. They will be used to attach
the new top.
3. Before removing old top, note direction of grain and
matching edges to insure proper placement of new top
pieces. (Figure C).
Note: On the 4-piece top, the two beveled edges meet at the
very center of the table top.
Then remove old pieces and set aside.
Proper product installation, in accordance with these instructions, is the responsibility of the installing agent.
If you have any questions concerning these instructions, please call Kimball Office Customer Care.
Part No. 1741651 Revision B-05
4-piece Replacement Top
Tables Assembly Instructions
Figure A
Figure B
Remove screws and save
Figure C
Note grain direction and
matching edges on old top
Page 1 of 3
Unfold
and lock
Beveled edges meet
on 4-piece top
Advertisement

Summary of Contents for Kimball Office Aspire
- Page 1 Beveled edges meet on 4-piece top Proper product installation, in accordance with these instructions, is the responsibility of the installing agent. If you have any questions concerning these instructions, please call Kimball Office Customer Care. Part No. 1741651 Revision B-05...
- Page 2 2-piece top adjustment screw location Proper product installation, in accordance with these instructions, is the responsibility of the installing agent. If you have any questions concerning these instructions, please call Kimball Office Customer Care. Part No. 1741651 Revision B-05...
- Page 3 Figure H Unlock to fold Proper product installation, in accordance with these instructions, is the responsibility of the installing agent. If you have any questions concerning these instructions, please call Kimball Office Customer Care. Part No. 1741651 Revision B-05...


Need help?
Do you have a question about the Aspire and is the answer not in the manual?
Questions and answers