ZKTeco FaceDepot-7BL Quick Start Manual
Hide thumbs
Also See for FaceDepot-7BL:
- Quick start manual (14 pages) ,
- User manual (89 pages) ,
- User manual (89 pages)
Table of Contents
Advertisement
Quick Links
Advertisement
Table of Contents

Related Manuals for ZKTeco FaceDepot-7BL


Summary of Contents for ZKTeco FaceDepot-7BL
- Page 1 Quick Start Guide FaceDepot 7BL Version: 1.1 Date: December 2019...
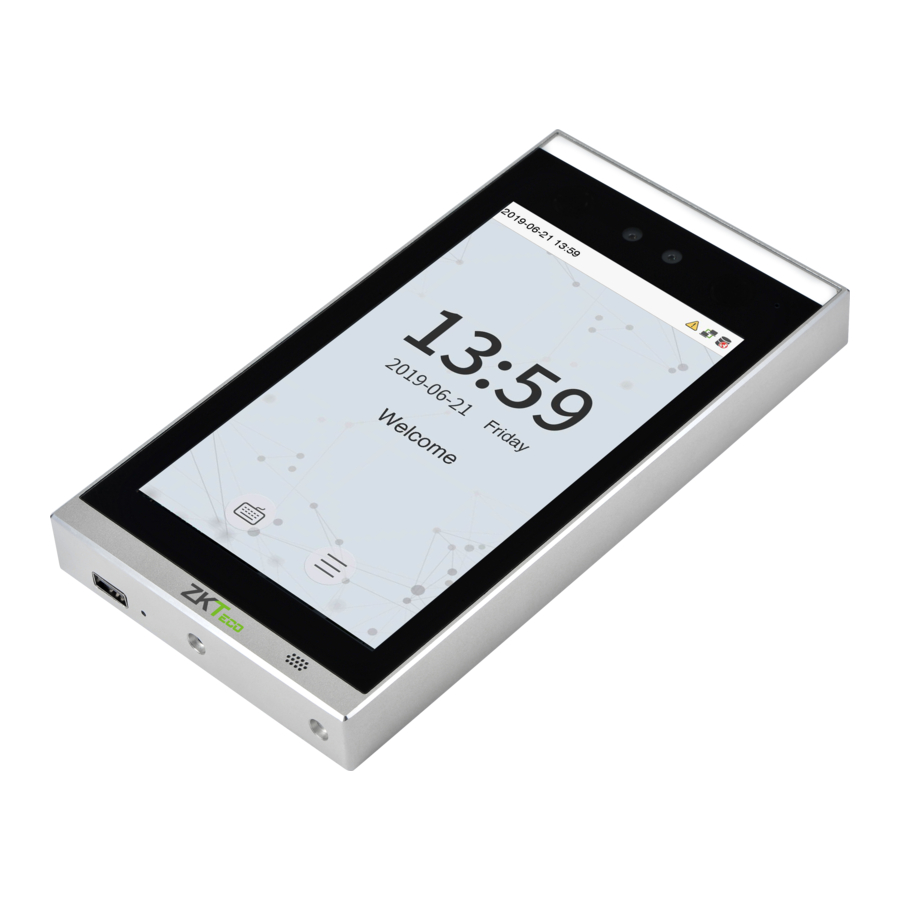
- Page 2 Overview Flash Microphone Camera Network interface Connection 7 inch touch screen interface Magnetic tamper switch Speaker Connection interface Reset USB port FP & RFID Reader (Optional) Fingerprint sensor Card reading area...
-
Page 3: Device Installation
Device Installation Method 1: Installation on the wall 1.5m ① Attach the mounting template sticker to the wall, and drill holes according to the mounting paper. Fix the back plate on the wall using wall mounting screws. ② Attach the device to the back plate. ③... -
Page 4: Standalone Installation
Standalone Installation Smoke Alarm detector Door Sensor Exit Button Lock ZKBioSecurity Card TCP/IP Reader Note: On this document, we just guide you to connect some normal components, if you want more connection of SRB, external fingerprint reader and so on, please check user manual document. -
Page 5: Lock Relay Connection
Lock Relay Connection The system supports Normally Opened Lock and Normally Closed Lock. The NO LOCK (normally opened at power on) is connected with 'NO' and 'COM' terminals, and the NC LOCK (normally closed at power on) is connected with 'NC' and 'COM' terminals. -
Page 6: Ethernet Connection
Barrier Connection Barrier gate Ethernet Connection ZKBioSecurity RJ 45 Default IP address: 192.168.1.201 IP address: 192.168.1.130 Subnet mask: 255.255.255.0 Subnet mask: 255.255.255.0 Click [COMM.] > [Ethernet] > [IP Address], input the IP address and click [OK]. Note: In LAN, IP addresses of the server (PC) and the device must be in the same network segment when connecting to ZKBioSecurity software. -
Page 7: Power Connection
Power Connection 12V DC Recommended power supply 1) 12V ± 10%, at least 00mA. 2) To share the power with other devices, use a power supply with higher current ratings. User Registration When there is no super administrator set in the device, click on to enter the menu. - Page 8 Method2: Register on ZKBioSecurity software Please set the IP address and cloud service server address on the device. 1. Click [Access] > [Access Device] > [Device] > [Search Device] to add the device to the software. When the device has set the server address and port, it can be added automatically.
- Page 9 Step 1 Step 2 Step 3 Step 4 2. Click [Personnel] > [Person] > [New] to register users in the software. 3. Add users to access levels. 4. Click [Access] > [Device] > [Device Control] > [Synchronize All Data to Devices]. For more details, please refer to the ZKBioSecurity User Manual.
- Page 10 2. The users will display in [Personnel] > [Temporary Personnel], click [Review]. Ethernet and Cloud Server Settings Click on > [COMM.] > [Ethernet] to set the network parameters. If the TCP/IP communication of the device is successful, the icon will be displayed in the upper right corner of the standby interface.
-
Page 11: Access Control Settings
Access Control Settings Click on > [Access Control] to enter the access control management interface and set relevant parameters of access control. - Page 12 ZK Building, Wuhe Road, Gangtou, Bantian, Buji Town, Longgang District, Shenzhen China 518129 Tel: +86 755-89602345 Fax: +86 755-89602394 www.zkteco.com Copyright©2019 ZKTECO CO., LTD. All rights reserved.
Need help?
Do you have a question about the FaceDepot-7BL and is the answer not in the manual?
Questions and answers