
Related Manuals for Clarke CHT403


Summary of Contents for Clarke CHT403
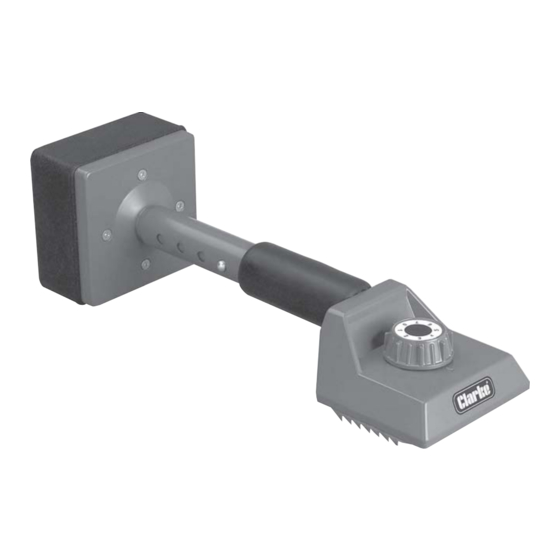
- Page 1 CARPET KNEE KICKER Model:CHT403 Part No: 1801403 OPERATING & MAINTENANCE INSTRUCTIONS GC02/12...
- Page 2 Parts & Service: 020 8988 7400/E-mail:Parts@clarkeinternational.com or Service@clarkeinternational.com...
-
Page 3: Specifications
GUARANTEE This CLARKE product is guaranteed against faulty manufacture for a period of 12 months from the date of purchase. Please keep your receipt as proof of purchase. -
Page 4: Safety Precautions
SAFETY PRECAUTIONS SAFETY PRECAUTIONS Important;- Failure to follow these precautions could result in personal injury, IMPORTANT and/or damage to property. Failure to follow these precautions could result in personal injury, and/or damage to 1. Take care handling the kicker. The head has sharp blades and teeth. property. - Page 5 The length of the kicker can be adjusted to best suit the user’s preference and working space. The teeth can be set to protrude to a depth to best suit the thickness of the carpet to be fitted. The protection cover should always be fitted when the kicker is not in use and should be left in place whilst adjusting the kickers’...
- Page 6 Kicker is stored with the grippers teeth protection cover in place. Gripper teeth and Gripper Blade pad assemblies are available from your CLARKE dealer - please see ‘SPARE PARTS’ for details. RENEWING A GRIPPER PAD ASSEMBLY Two gripper blade pad assemblies are each secured in place with two screws.
-
Page 7: Spare Parts
Replace the pads, ensuring the blade points face away from the padded end and is fully and properly seated in the recess. Refit the screws and tighten using a cross- head screwdriver. REMOVING THE TEETH BLOCK To remove the Teeth Block, firstly remove the gripper pads as described previously, then, using a protective glove or similar to hold the teeth block, rotate the teeth setting adjuster...
Need help?
Do you have a question about the CHT403 and is the answer not in the manual?
Questions and answers