
Subscribe to Our Youtube Channel
Related Manuals for Workrite Ergonomics Sierra HXL Crank


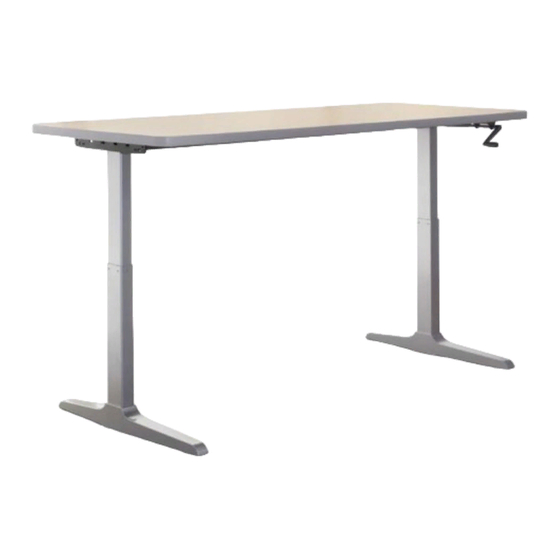
Summary of Contents for Workrite Ergonomics Sierra HXL Crank
- Page 1 Workrite Sierra HXL™ Crank Assembly Instructions for 2-Leg Crank models #1500191 - Rev A...
- Page 2 You will also need the following tools: you will also need: #2 tip Phillips screwdriver or drill bit #3 tip Phillips screwdriver or drill bit ⅛" pilot drill bit For Top-crank models only: ¾" spade type wood drill bit Workrite Ergonomics | 800.959.9675 www.workriteergo.com...
- Page 3 (A or N) using M6 × 12 mm Button Head Screws (I). To avoid stripping the threads, always insert and make the first few turns of the screw BY HAND with an Allen wrench (H), ensuring it is in straight. Workrite Ergonomics | 800.959.9675 www.workriteergo.com...
- Page 4 Leg Cap using M6 × 8 mm Button Head Screws (J). The Bracket should have the lip on top, facing away from the leg. Do not tighten screws completely - allow Left Leg back them to slide left and right in Bracket. Workrite Ergonomics | 800.959.9675 www.workriteergo.com...
- Page 5 - allow them to slide left and right in Bracket. Right Leg Attach Feet to Leg Assembly Attach Foot (R) to left leg with M6 ×16 mm Flat Head Machine Screws screws (K) and tighten securely. Repeat for right foot. Workrite Ergonomics | 800.959.9675 www.workriteergo.com...
- Page 6 Brackets (C), and Long Bracket (P). DO NOT FULLY TIGHTEN SCREWS! Tighten all of the M6 × 8 mm Button Head Screws (J) on the base to the brackets. Now tighten all of the #12 × ¾" Pan Pan Head Screws (M) into the top. Workrite Ergonomics | 800.959.9675 www.workriteergo.com...
- Page 7 DO NOT USE ¾" bit. Drill from bottom to avoid damaging top surface. Half the leg depth 1⅞" 1⅞" Trace Center of leg 1⅜" 1⅜" Trace Half the leg width Workrite Ergonomics | 800.959.9675 www.workriteergo.com...
- Page 8 Note: Force required to turn the front crank handle may be slightly higher for the first few sit-to-stand cycles. This is normal operation and the force necessary will decrease after initial use. Adjust Leveling Guides If necessary, adjust leveling guides on table feet to level the worksurface. HANDLE UP AND IN HANDLE DOWN AND IN Workrite Ergonomics | 800.959.9675 www.workriteergo.com...
Need help?
Do you have a question about the Sierra HXL Crank and is the answer not in the manual?
Questions and answers