
Related Manuals for Oneida Air Systems Mini-Gorilla


Summary of Contents for Oneida Air Systems Mini-Gorilla
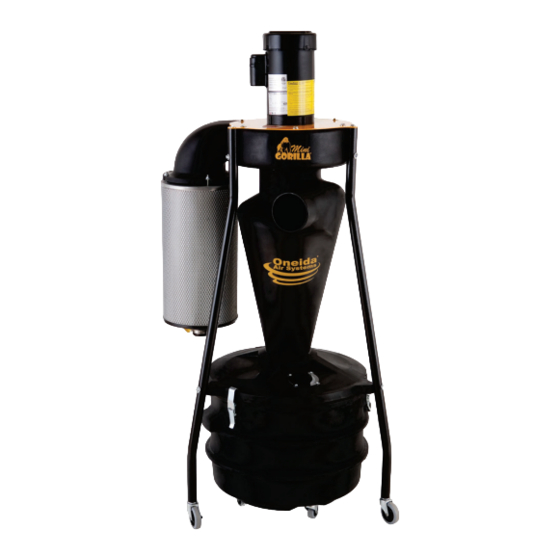
- Page 1 OWNER’S MANUAL Mini-Gorilla 110V / 220V # XXPM010100H # XXPM010100H220 U.S. Patent: # #7824457, #8377160, #8491686, #8496719, #7937803 Appearance may vary slightly Rev: 12/12/2019 Doc. #ZBM000024A...
-
Page 3: Table Of Contents
Table of Contents System Start-Up Information System Speci cations System Dimensions System Contents Assembly Instructions Maintenance Troubleshooting Recommended Accessories Warranty Information Notes oneida-air.com... -
Page 4: System Start-Up Information
5. Check amperage draw on motor with all gates open. Current draw should not exceed maximum motor amperage as stated on motor plate. (Oneida Air Systems is not responsible for damage to motors caused by improper installation, wiring or failure to follow these directions). - Page 5 System Start-Up Information (Continued) d. NFPA664 Code book, “Standard for the Prevention of Fires and Explosions in Wood Processing and Woodworking Facilities”, applies to woodworking operations that occupy areas of more than 5,000 sq. . or to areas where dust producing equipment requires an aggregate dust collection ow rate of more than 1,500 cfm (cubic feet per minute).
-
Page 6: System Speci Cations
Filter Surface Area 40 Sq. Ft. (3.7 sq m) SYSTEM DIMENSIONS AND CONSTRUC TION Barrel/Cyclone Body Molded Static Conductive Resin Inlet 5" (127 mm) Outer Diameter Overall Height 64.25" (1,632 mm) Overall Weight 85 lbs (38.5 kg) Oneida Air Systems... -
Page 7: System Dimensions
System Dimensions Nominal dimensions shown. Dimensions subject to slight variations in manufacturing. e Mini-Gorilla requires a 20 Amp outlet receptacle Top View 28" to be installed by a licensed electrician. See below outlet 711 mm receptacles needed based on the voltage of your unit. -
Page 8: System Contents
• 1/2" Socket Wrench • Flat-head Screwdriver • 7/16" Socket Wrench • Small Hammer • Razor Blade • 1/2" Wrench • Phillips Head Screwdriver • Channel Lock Pliers+ + e pliers are optional and are recommended for ease of installation. Oneida Air Systems... - Page 9 System Contents (Continued) Gasket & Bag Components Motor Attachment Hardware Leg Hardware & Casters Gasket & Bag Components Filter Attachment Hardware Leg Hardware & Casters Leg Hardware & Casters Gasket & Bag Components Leg Hardware & Casters oneida-air.com...
-
Page 10: Assembly Instructions
2a] Secure Stem Casters (C9G) to the threaded insert on the bottom of the legs. Finger tighten. [FIG. 2b] Note: For ease of assembly, we recommend channel lock pliers to tighten the casters. FIG. 2b SECTI SECTI DETAIL I SCALE 1 : 1 Oneida Air Systems... - Page 11 Assembly Instructions (Continued) Install Straight Fittings (C9D) into the recessed FIG. 3a FIG. 3b holes under the fan housing and near the bottom of the drum. [FIG. 3a] [FIG. 3b] Secure in place using the tting’s nut on the inside; using a Rubber Washer (C9E) between the nut and the inner wall.
- Page 12 [FIG. 6a] Note: If you do not want to use bags you MUST FIG. 6a use the Cap (C9F) to close o the tting inside the drum. [FIG. 6b] FIG. 6b 10 Oneida Air Systems...
- Page 13 Assembly Instructions (Continued) Latch the Drum to the cone assembly and connect the Vinyl Tubing (C9B) onto both Straight Fittings (C9D). Push tubing on until all barbs are covered. [FIG. 7] FIG. 7 Tap the U-Spring Nuts (C9R) onto each of the holes around the circle of the Fan Housing with a ball peen hammer.
- Page 14 Drum Latches (C2) and the Drum Window (C6) Note: If U-Spring Nuts (C9R) don't align with the motor plate holes, use a screwdriver to adjust misalignment. Hand tighten rst and then tighten down. Motor Plate FIG. 10 12 Oneida Air Systems...
- Page 15 Assembly Instructions (Continued) Li the Filter (B) up to the plenum elbow, FIG. 11a slotting the lter’s bolts into the four grooves. shown in [FIG. 11a]. Secure in place with four 5/16" Flat Washers (C9W) and four Nylock Nuts (C9X). [FIG. 11b] Note: DO NOT overtighten.
-
Page 16: Maintenance
6” away from the lter; closer blasts may damage the lter material. Direct air out and away from anyone in the area. Do not use this method when any hazardous material has been vacuumed up. 20º 14 Oneida Air Systems... -
Page 17: Troubleshooting
2. Heavy sanding with a drum sander or ne grit paper will cause the pleated lter media to bind sooner than with larger size dust. Clean lter more often with compressed air. If you continue to experience difficulty with your dust collector, call Oneida Air Systems’ Customer Service Department at 1-866-387-8822 or email support@oneida-air.com. oneida-air.com... -
Page 18: Faq
How do I connect the Mini Gorilla to my tools? e Mini-Gorilla's inlet measures 5" on the outer diameter, making it ideal for accepting raw (uncrimped) ductwork ttings over the inlet such as reducers and quick-connects. Crimped ductwork will not usually t into the inlet but can be done when necessary and secured in place with foil tape. - Page 19 Do you have a ductwork kit that includes everything I need to get started? Yes, we have a Mini-Gorilla Quick-Start Ductwork Kit (KDZ010100) that includes: a. DHF051000: Ten feet of 5" ex hose b.
-
Page 20: Recommended Accessories
• Detects when your power tools are on and automatically turns on the dust collector for you! • Includes 1 Remote Control with belt-clip. • Switch receives signals from up to 40' away in any direction. 18 Oneida Air Systems... - Page 21 Recommended Accessories (Continued) 5" Hose Quick Connect Adapter Kit #DQK050000 • Includes both the crimped and non-crimped quick release ex-hose adapter ttings. • Made from heavy-gauge, galvanized steel. • Perfect when using a single connection to switch between multiple tools. 5"...
-
Page 22: Warranty Information
Oneida Air Systems makes every e ort to accurately represent our products and prices, however Oneida Air Systems reserves the right to make changes to products and prices at any time. As a manufacturer, Oneida Air Systems reserves the right to change product speci cations at any time in an e ort to achieve better quality products. -
Page 23: Notes
Notes oneida-air.com... - Page 24 Regardless of where you purchased your system, if you have any questions or issues with missing / damaged parts, please call Oneida Air Systems rst to let us help resolve your problem. We fully stand behind the quality of our product and place the utmost value on our customer’s opinion.
Need help?
Do you have a question about the Mini-Gorilla and is the answer not in the manual?
Questions and answers