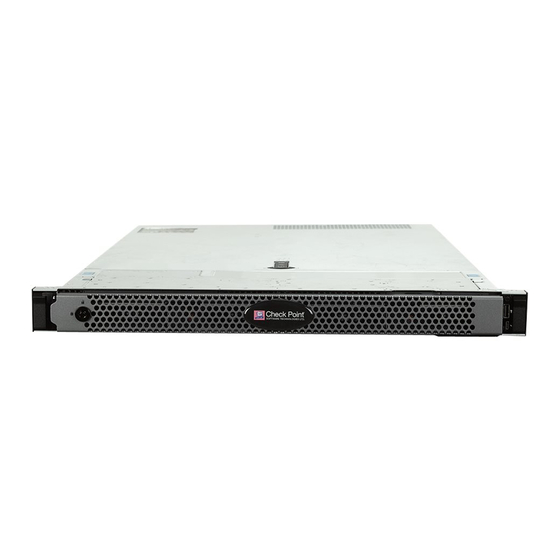
Check Point Smart-1 Series Installing And Removing
Units
Hide thumbs
Also See for Smart-1 Series:
- Manual (16 pages) ,
- Installing and removing (8 pages) ,
- Quick start manual (6 pages)
Advertisement
Quick Links
Smart-1 Installing and Removing
DC Power Supply Units
70587 3
Protecte d
2018
This document is for Smart-1 5050 and Smart-1 5150 models.
Safety Instructions
•
Whenever you need to lift the appliance, get others to assist you. To avoid
injury, do not attempt to lift the appliance by yourself.
•
Opening or removing the appliance cover, while the appliance is powered on
may expose you to a risk of electric shock.
•
Do not operate the appliance without the cover for a duration exceeding five
minutes. Operating the appliance without the cover can result in component
damage.
•
Many repairs may only be done by a certified service technician. You should
only perform troubleshooting and simple repairs as authorized in your
product documentation, or as directed by the technical support.
•
It is recommended that you always use an antistatic mat and antistatic strap
on your wrist, while working on components inside the appliance.
•
To ensure proper operation and cooling, all bays in the appliance and
cooling fans must be always populated with a component or a blank.
For more information, see the
Regulatory Information
containing the appliance.
Classification [Protected]
© 2018 Check Point Software Technologies Ltd. All rights reserved.
For a list of our trademarks, please refer to: www.checkpoint.com/copyright.html.
For a list of our Third Party Copyright notices, please refer to:
Enterprise Products Safety, Environmental, and
booklet supplied in the original shipping carton
www.checkpoint.com/3rd_party_copyright.html
P/N:705873
Advertisement

Summary of Contents for Check Point Smart-1 Series
- Page 1 Classification [Protected] P/N:705873 © 2018 Check Point Software Technologies Ltd. All rights reserved. For a list of our trademarks, please refer to: www.checkpoint.com/copyright.html. For a list of our Third Party Copyright notices, please refer to: www.checkpoint.com/3rd_party_copyright.html...
- Page 2 Important - We recommend that only experienced personnel install or remove hardware components. Installing or removing components incorrectly can permanently damage the Security Management Appliance. Important - Make sure that you are electromagnetically grounded when working with hardware components of the appliance. ESD (electrostatic discharge) can damage the appliance.
- Page 3 • When two PSUs are installed, they both must be of the same type and have the same maximum output power. • When two PSUs are installed, they both must receive the same input voltages. • When two identical PSUs are installed, power to the appliance is supplied equally from both PSUs to maximize efficiency.
- Page 4 Indicator lights for DC PSU Each DC PSU has a LED that serves as an indicator. The indicator shows whether power is present or a power fault has occurred. Indicator Description LED light A valid power source is connected to the DC PSU. Steady green The PSU is operational.
- Page 5 Indicator Description LED light Indicates a problem with the DC PSU. Flashing amber Power is not connected to the DC PSU. Wiring Instructions for a DC PSU Warning - For equipment using -(48-60) V DC PSUs, a qualified electrician must perform all connections to DC power and to safety grounds.
- Page 6 Required wires: • One UL 10 AWG, 2 m maximum (stranded) black wire [-(48-60) V DC]. • One UL 10 AWG, 2 m maximum (stranded) red wire (V DC return). • One UL 10 AWG, 2 m maximum, green with a yellow stripe, stranded wire (safety ground).
- Page 7 To assemble DC input power wires: 1. Strip the insulation from the ends of the DC power wires, exposing approximately 13 mm (0.5 inch) of copper wire. Warning - Reversing polarity when connecting DC power wires can permanently damage the PSU or the appliance. 2.
-
Page 8: Removing A Psu
Item Description Rubber cap for captive screws DC power socket on the DC PSU DC wire "-48 V" Removing a PSU Important Note - If you do not install the replacement PSU at this time, leave the failed PSU in place to ensure proper appliance cooling. 1. -
Page 9: Installing A Psu
Important - The appliance needs one working PSU for normal operation. When two PSUs are installed, remove and replace only one PSU at a time in an appliance that is powered on. Important - When only one working PSU is installed, it must be installed in the first PSU bay (see the markings on the appliance cover). - Page 10 Note - When installing, hot-swapping, or hot-adding a new PSU, wait for 10-15 seconds for the appliance to recognize the PSU and determine its status. The PSU redundancy may not occur until discovery is complete. Wait until the new PSU is discovered and enabled before you remove the other PSU. The PSU status indicator turns green to signify that the PSU is functioning properly.


Need help?
Do you have a question about the Smart-1 Series and is the answer not in the manual?
Questions and answers