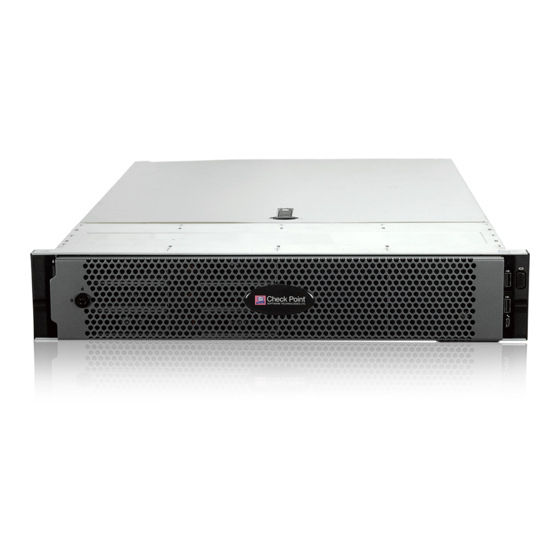
Check Point Quantum Smart-1 6000-L Manual
Hide thumbs
Also See for Quantum Smart-1 6000-L:
- Replacement manual (12 pages) ,
- Getting started manual (34 pages) ,
- Instruction manual (17 pages)
Advertisement
Quick Links
Advertisement

Summary of Contents for Check Point Quantum Smart-1 6000-L
- Page 1 17 February 2022 QUANTUM SMART-1 6000-L/6000-XL APPLIANCES REPLACING DC POWER...
- Page 2 Check Point. While every precaution has been taken in the preparation of this book, Check Point assumes no responsibility for errors or omissions. This publication and features described herein are subject to change without notice.
- Page 3 Latest Version of this Document in English Download the latest version of this document in PDF format. Feedback Check Point is engaged in a continuous effort to improve its documentation. Please help us by sending your comments. Revision History Date...
-
Page 4: Table Of Contents
Table of Contents Table of Contents Safety Instructions DC Power Supply Unit (PSU) Wiring Instructions for a DC PSU Removing a PSU Installing a PSU Quantum Smart-1 6000-L/6000-XL Appliances Replacing DC Power Supply Units | 4... -
Page 5: Safety Instructions
Installing or removing components incorrectly can permanently damage the Security Management Appliance. Important - Make sure that you are electromagnetically grounded when working with hardware components of the appliance. ESD (electrostatic discharge) can damage the appliance. Quantum Smart-1 6000-L/6000-XL Appliances Replacing DC Power Supply Units | 5... -
Page 6: Dc Power Supply Unit (Psu)
When two PSUs are installed, they must receive the same input DC voltages. When two identical PSUs are installed, power to the appliance is supplied equally from both PSUs to maximize efficiency. Quantum Smart-1 6000-L/6000-XL Appliances Replacing DC Power Supply Units | 6... - Page 7 DC Power Supply Unit (PSU) DC PSU Item Description Release latch External power connector (to connect the DC power cables) Internal power connector (to insert into the appliance) Handle Indicator LED Quantum Smart-1 6000-L/6000-XL Appliances Replacing DC Power Supply Units | 7...
- Page 8 Installing DC PSU and AC PSU together is not supported and triggers a mismatch event. Indicates a problem with the DC PSU. Flashing amber DC power is not connected to the DC PSU. Quantum Smart-1 6000-L/6000-XL Appliances Replacing DC Power Supply Units | 8...
-
Page 9: Wiring Instructions For A Dc Psu
(safety ground wire). 3. Connect the safety ground wire to the grounding post on the back of the system by using a #6-32 nut equipped with a locking washer. Quantum Smart-1 6000-L/6000-XL Appliances Replacing DC Power Supply Units | 9... - Page 10 4. Rotate the rubber cap clockwise to fix it over the captive screws. 5. Insert the mating connector into the PSU. Item Description DC wire "RTN" (RETURN or GROUND) DC power connector Captive screws Quantum Smart-1 6000-L/6000-XL Appliances Replacing DC Power Supply Units | 10...
- Page 11 Wiring Instructions for a DC PSU Item Description Rubber cap for captive screws DC power socket on the DC PSU DC wire "-48 V" Quantum Smart-1 6000-L/6000-XL Appliances Replacing DC Power Supply Units | 11...
-
Page 12: Removing A Psu
PSUs are installed, and the appliance is powered on, remove and replace only one PSU at a time. Important - When only one working PSU is installed, it must be installed in the first PSU bay - see the markings on the appliance cover. Quantum Smart-1 6000-L/6000-XL Appliances Replacing DC Power Supply Units | 12... -
Page 13: Installing A Psu
6. Connect the DC power connector to the PSU. 7. Make a loop and secure the power cable to the PSU using the retention strap. 8. Plug the power cable into a power outlet. Quantum Smart-1 6000-L/6000-XL Appliances Replacing DC Power Supply Units | 13...


Need help?
Do you have a question about the Quantum Smart-1 6000-L and is the answer not in the manual?
Questions and answers