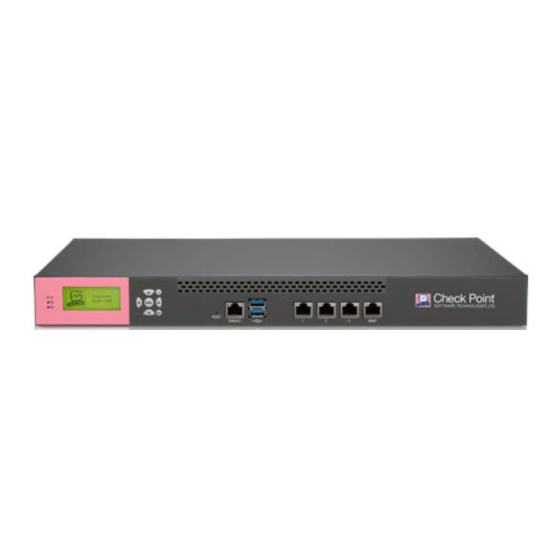
Check Point Smart-1 Series Manual
Installing and removing memory
Hide thumbs
Also See for Smart-1 Series:
- Installing and removing (10 pages) ,
- Quick start manual (6 pages) ,
- Replacing instructions (5 pages)
Advertisement
Quick Links
Smart-1 Installing and Removing
Memory
70730 5
Protecte d
2017
This document is for Smart-1 205, 210, 225, 3050 and 3150 models.
Important - We recommend that only experienced personnel install or
remove hardware components. Installing or removing components
incorrectly can permanently damage the Security Management
Appliance.
Preparing the Security Management
Appliance
Before you start to install or remove DIMMs, make sure that:
•
You can connect to the WebUI or CLI to shut down the Security Management
Appliance.
•
The Security Management Appliance is in a clean environment and on a
level surface.
•
You can physically access and open the cover of the Security Management
Appliance.
•
You have the Check Point DIMM upgrade kit.
Classification [Protected]
© 2017 Check Point Software Technologies Ltd. All rights reserved.
For a list of our trademarks, please refer to: www.checkpoint.com/copyright.html.
For a list of our Third Party Copyright notices, please refer to:
www.checkpoint.com/3rd_party_copyright.html
P/N:707305
Advertisement

Related Manuals for Check Point Smart-1 Series


Summary of Contents for Check Point Smart-1 Series
- Page 1 You have the Check Point DIMM upgrade kit. Classification [Protected] P/N:707305 © 2017 Check Point Software Technologies Ltd. All rights reserved. For a list of our trademarks, please refer to: www.checkpoint.com/copyright.html. For a list of our Third Party Copyright notices, please refer to:...
- Page 2 Important • To protect the Security Management Appliance and the memory modules from electrostatic discharge damage, make sure that you are properly grounded before you touch these components. For more, see the Health and Safety Information in: Smart-1 205/210 Appliances Getting Started Guide http://supportcontent.checkpoint.com/documentation_download?ID=32280 Smart-1 225/3050/3150 Appliances Getting Started Guide http://supportcontent.checkpoint.com/documentation_download?ID=32309...
- Page 3 The diagram shows how to remove the Smart-1 3150 cover. The Smart-1 205, Smart-1 210, Smart-1 225, and Smart-1 3050 covers are similar. Item Description Security Management Appliance cover Security Management Appliance cover screws ESD grounding point - location changes according to model...
- Page 4 Smart-1 205 and Smart-1 210 DIMM Configuration Item Description Security Management Appliance rear panel Sockets for DIMMs Security Management Appliance front panel The Smart-1 205 Security Management Appliance has a default memory configuration of 4GB: 2x2GB, with two DIMMs. The Smart-1 210 Security Management Appliance has a default memory configuration of 8GB: 2x4GB, with two DIMMs.
- Page 5 To upgrade to Procedure Slots DIMMs Smart-1 205 2x8GB Remove the two 2GB DIMMs and install 1 and 3 16GB two 8GB DIMMs in the same slots Smart-1 210 2x8GB Remove the two 4GB DIMMs and install 1 and 3 16GB two 8GB DIMMs in the same slots Default...
- Page 6 Smart-1 225 DIMM Configuration Item Description Security Management Appliance rear panel Sockets for DIMMs Security Management Appliance front panel...
- Page 7 The appliance has a default memory configuration of 16GB: 2x8GB, with two DIMMs. To upgrade to Procedure Slots DIMMs 32GB 4x8GB Install an additional two 8GB DIMMs Default Upgraded Item Description Memory socket with DIMM installed Expansion memory socket Top View Top View (front of the (front of the...
- Page 8 Smart-1 3050 and Smart-1 3150 DIMM Configuration Smart-1 3050 with open cover Smart-1 3150 with open cover Item Description Security Management Appliance rear panel Sockets for DIMMs Security Management Appliance front panel...
- Page 9 Smart-1 3050 The Security Management Appliance has a default memory configuration of 32GB: 8x4GB, with eight DIMMs. To upgrade to Procedure Slots DIMMs 64GB 16x4GB Install an additional eight 4GB DIMMs 128GB 16x8GB Replace all DIMMs with sixteen 8GB DIMMs. See diagram. 256GB 16x16GB Replace all DIMMs with sixteen 16GB...
- Page 10 Default Configuration for Smart-1 3050, Smart-1 3150: Top View (front of the Security Management Appliance is at the bottom of the diagram) Upgraded Configuration for Smart-1 3050: 64GB, 128GB, 256GB, and Smart-1 3150: 128GB, 256GB: Top View (front of the Security Management Appliance is at the bottom of the diagram) Item Description Memory socket with DIMM installed...
- Page 11 Removing the RAID Card on Smart-1 3050 The RAID Card on the Smart-1 3050 can interfere with the insertion of DIMMs. To make room, manually remove the card. To manually remove the RAID Card...
-
Page 12: Removing Dimms
Item Description RAID card DIMM sockets RAID card retention screw on swivel bracket RAID connector Swivel bracket for RAID card 1. Remove the top cover. 2. Find the RAID card. 3. Release the RAID retention crew. 4. Open the swivel bracket to release the card. 5. -
Page 13: Installing Dimms
Important - Only touch the rear corners of the DIMM. Pressing on the heat sink or other DIMM components can damage the hardware. If necessary, pull one end of the DIMM, then the other, to gradually release it from the contact pins. Important - Make sure that there are no leftover parts inside the Security Management Appliance. - Page 14 To install DIMMs in the Security Management Appliance: 1. Find the DIMM slots on the system board. The basic memory configuration of the Security Management Appliance ships with these DIMMs installed: • Smart-1 205: 2 • Smart-1 210: 2 • Smart-1 225: 2 •...
- Page 15 • DIMMs are not symmetrical. Use the hole in the DIMM to guide the DIMM into the raised tooth in the slot. 4. Press the new DIMM into the socket until it clicks into position. The retaining clips move into the lock position as you press the DIMM into position.
- Page 16 Attaching the Upgrade Sticker After you install new DIMMs, attach the upgrade sticker on the Security Management Appliance. To attach the upgrade sticker: 1. Make sure that the Security Management Appliance operates correctly. 2. Attach the upgrade sticker on the Security Management Appliance cover. Make sure that the upgrade sticker does not block the ventilation holes.
Need help?
Do you have a question about the Smart-1 Series and is the answer not in the manual?
Questions and answers