Check Point Smart-1 Quick Start Manual
Hide thumbs
Also See for Smart-1:
- Manual (16 pages) ,
- Installing and removing (10 pages) ,
- Replacing instructions (5 pages)
Advertisement
Advertisement
Table of Contents

Related Manuals for Check Point Smart-1


Summary of Contents for Check Point Smart-1
- Page 1 Smart-1 Quick Start Guide ™ Version R71 Includes Check Point Software Blades...
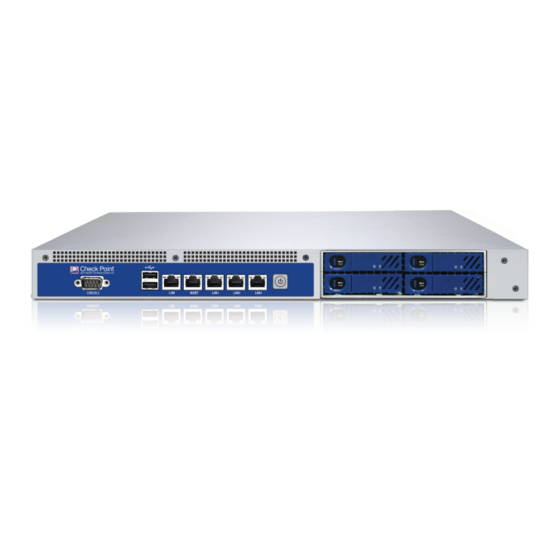
- Page 2 Power Up Your Check Point Smart-1 Appliance • Connect the power cable to the power port on the Smart-1 appliance ™ rear panel and plug it into a power outlet. • Turn the power on. Connect Your PC for Initial Setup •...
- Page 3 For Windows XP Operating Systems • Click > Settings > Control Panel > Network Connections. • Double-click Local Area Connection. • In the General tab, click Properties. • In the IP address field, enter 192.168.1.2. • In the Subnet mask field, enter 255.255.255.0.
- Page 4 Explorer 8.0 browser, you might receive a certificate error page due to a known, unresolved browser conflict. Click Continue to this Web site. Figure 2: Smart-1 Appliance Login page • Log in with the default system administrator login name/password, admin/admin, and click Login.
- Page 5 Registration and Technical Support Appliance Registration Smart-1 appliances require a license to be installed prior to operation. To license and register your appliance, please visit: http://register.checkpoint.com/cpapp If you are evaluating a Smart-1 appliance, you will have access to a 15-day evaluation license key.
- Page 6 ©2010 Check Point Software Technologies Ltd. All rights reserved. Check Point, the Check Point logo and Smart-1 are trademarks or registered trademarks of Check Point Software Technologies Ltd. or its affiliates. All other product names mentioned herein are trademarks or registered trademarks of their respective owners.
Need help?
Do you have a question about the Smart-1 and is the answer not in the manual?
Questions and answers