Advertisement
Quick Links
Advertisement

Summary of Contents for Arrow Shirley Caddy 445
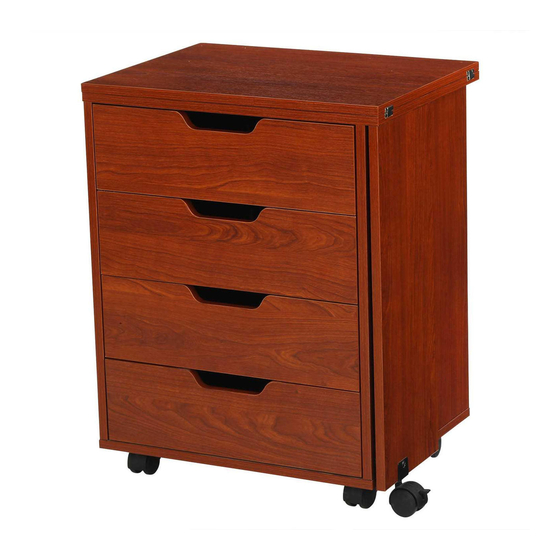
- Page 1 ASSEMBLY INSTRUCTION Shirley Caddy ITEM No.: 445 Teak 441 White...
-
Page 2: Limited Warranty
(detailed receipt), and photos of the product. Arrow will replace any defective part (at its sole option), excluding labor. Replacement parts will be warranted for only the remaining period of the original Warranty. - Page 3 Incorrect Incorrect Correct Clockwise Turning direction for attaching place a small bit of WD-40 or similar grease into the pre-installed cam bolt holes to help the cam bolts screw in better as pictured above...
-
Page 4: Parts List
PARTS LIST QTY. ITEM DESCRIPTION QTY. ITEM DESCRIPTION Top panel 6*35 Cam Bolt Left side panel 8*30 Dowel Pin Right side panel (¾") Cam Cover Bottom panel ® 4*16 Screw Panel ® 3.5*14 Screw Panels ® 3.5*30 Screw Drawer top panels 6*28 Bolt �... - Page 5 STEP 1 Preparation for top panels A,left side panels X,right side panels Z, panel G,K,K4,0 1, Insert cams bolts@ into panels A,X,Z,K,K4 and Gas illustrated above. 2, Insert dowel pins@)to panels X,Z,O as illustrated above.
- Page 6 STEP 2 Panels X , Z and O assembly. 1. Insert cam bolts @) on panels X,Z into cams on panel O and tighten in a clockwise direction as illustrated above. STEP 3 runner screw Bottom panel G assembly. 1. Remove the runners pre-assembled on panels X&Z,so you can see the cam holes on panels X&Z,then fix the bottom panel G to paenls X,Z,01 by @) and tighten in a clockwise direction as illustrated above.
- Page 7 STEP 4 ----- 5mm Back panel Back panel assembly. STEP 5 Top panel A assembly. 1. Insert cam bolts@)on panel A into cams on panels X,Z and tighten in a clockwise direction as illustrated above.
- Page 8 STEP 6 Drawer assembly. 1, Connecting K1 ,K2,K3 with screws@ as illustrated above. 2, Fix panel K as illustrated above. 3, Fix other drawers by the way as illustrated above. STEP 7 Drawer assembly.
- Page 9 STEP 8 ® Castors assembly. 1. Fix castors@ to panel G with screws @) as illustrated above. STEP 9...
- Page 10 STEP 10 Panel Y assembly. 1. Fix panel Y to panel Z with screws @ as illustrated above.
- Page 11 You have now successfully completed the assembly.


Need help?
Do you have a question about the Shirley Caddy 445 and is the answer not in the manual?
Questions and answers