Advertisement
Quick Links
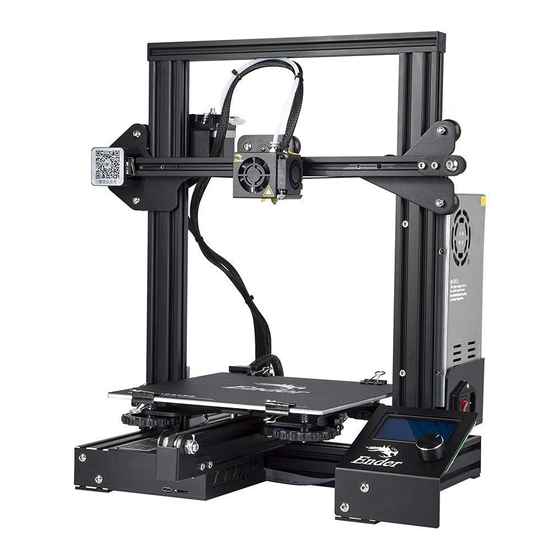
Creality Ender / CR-10
direct drive kit installation
License
This document is released under the Creative Commons Attribution-NonCommercial-ShareAlike
license, for more information on this license please visit https://creativecommons.org.
Disclaimer
The information contained in this document is provided as is, with absolutely no warranty expressed
or implied. Any use is at your own risk.
by the Alchemist's Pantry
thealchemistspantry.com
1
Advertisement

Related Manuals for Creality Ender


Summary of Contents for Creality Ender
- Page 1 Creality Ender / CR-10 direct drive kit installation by the Alchemist’s Pantry thealchemistspantry.com License This document is released under the Creative Commons Attribution-NonCommercial-ShareAlike license, for more information on this license please visit https://creativecommons.org. Disclaimer The information contained in this document is provided as is, with absolutely no warranty expressed...
- Page 2 Creality Ender 2 printer in this guide: The Ender 2 is one of the cheapest and simplest Creality 3D printers, and it is consequently one of the most accessible 3D printers while providing great value-for money. Since many Creality 3D...
- Page 3 Installation Start by making sure the printer hotend and heated bed are cold, the printer has been powered off and power has been disconnected, then cut off the zip ties which hold the Bowden tube and hotend wires together – make sure you do not damage the wires or the Bowden tube. When this is done disconnect the Bowden tube from the extruder motor assembly by pulling it out while pressing on the press fitting.
- Page 4 Now unscrew the other three screws which keep the extruder motor in place. Make sure you hold the extruder motor while unscrewing the screws, as otherwise it can fall down and get damaged or damage other things when you unscrew the last screw. You should now have these parts on your table.
- Page 5 Gently unplug the cable from the extruder motor. Now unscrew these two screws from the hotend carriage and loosen the hotend shroud. Note that the fan is still connected to the hotend shroud and the wire bundle, so you should not try to pull the shroud off completely, we just need to have the screws removed for now.
- Page 6 Depending on the quality of the press fitting and hotend assembly used in your specific printer (Creality makes changes to their printers without announcing it, so two Ender 2 printers may not look 100% identical) it may be difficult to remove the Bowden tube, make sure you do not damage the Bowden tube or other parts, to ensure you can put it back together again in case you want to use a Bowden setup again.
- Page 7 Insert the short PFTE tube included in the kit while pressing the press fitting, make sure it goes all the way in (to the nozzle) as otherwise it will be difficult to connect the PETG adaptor and extruder motor to the carriage – and it can give you problems with your extrusion. If your printer has been used to print before you make this modification and the Bowden tube was not properly in place, then there can be filament stuck inside the red heat sink which should be cleaned out before attempting this modification.
- Page 8 Now place the hotend shroud back on the carriage and align the PETG adaptor as shown below – screw the two short screws into the holes you unscrewed them from in step 6. You may want to have someone help you hold the pieces in place while you screw them in. Tighten the bolts gently, making sure you do not crack the plastic.
- Page 9 Put the spacer, wheel and bolt back on the big bolt. Tighten the big bolt gently, making sure that the carriage can move freely, while at the same time not being too loose. Assuming your printer was working fine before you made this modification, then you can use one of the other big wheel bolts as a reference for getting the tightness right.
- Page 10 PTFE tube. Now it is time to decide how you want to run the cables from the extruder. On this Ender 2 we opt for running the extruder cables to the left, and therefor we insert three ziplocks in the horizontal piece of the PTFE adapter as shown below –...
- Page 11 Place the extruder motor on the PFTE adapter, making sure that the wire connector faces in the direction you want: if you are using the horizontal piece of the PTFE adapter, then let the white wire connector face as shown below, if you are using the vertical piece of the PTFE adapter then the white wire connector should face away from you when the printer is placed as shown below.
- Page 12 Congratulations, that is the extruder assembeled! The remaining steps detail wire management and connecting the extruder motor to the motherboard. These steps will be different for different Creality printers, but the principles are the same. Here we show the process on the Ender 2.
- Page 13 Here we use the first zip tie to secure the heater and fan-hotend-wire bundle. Do not pull the wires tight and make sure you do not damage them. Connect the NEMA motor cable supplied with the kit to the motor – the connector at one end of the cable is wider than at the other end, use the widest connector to connect to the motor.
- Page 14 Wrap the wire wrap around the NEMA motor cable, starting at the second zip tie. Gently push the wire wrap towards the second zip tie, and tighten the third zip tie around the NEMA motor cable and the fan-hotend-wire bundle, again making sure you do not damage and of the wires.
- Page 15 Unscrew the three small screws indicated in the image below. Unplug the cable indicated below, it is the other end of the cable you unplugged in step 5, so if your machine is using a different control board with a different layout, then you can identify which cable to unplug by finding out where this cable plugs into the control board.
- Page 16 Plug in the other end of the NEMA motor cable supplied with the kit. Do not force it in, the plug only fits in one orientation. Some people choose to unplug the fan for the control board to make their printer quieter – if you use your printer in hot surroundings or it generally runs hot, then this is probably not a good idea.
- Page 17 You can now reconnect power, turn the printer on and start printing with your direct drive printer! You should optimize a printing profile to the printers new configuration – you can usually get away with a significantly reduced retraction compared to when you used the Bowden setup. Troubleshooting If temperature measurements are incorrect or if the hotend does not heat up then the thermistor cable or heater cartridge cable may have been damaged or come unplugged.
Need help?
Do you have a question about the Ender and is the answer not in the manual?
Questions and answers