Table of Contents
Advertisement
Quick Links
Advertisement
Table of Contents

Related Manuals for PPA DZ HUB


Summary of Contents for PPA DZ HUB
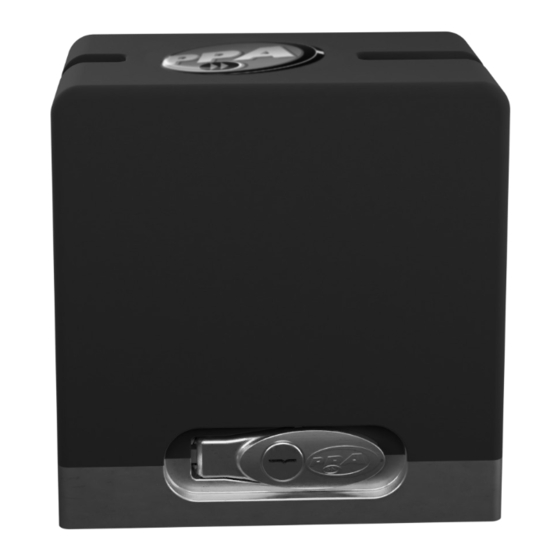
- Page 1 DZ HUB Technical Manual www.ppa.com.br 0800 550 250 WARNING: Do not use the device with- out referring to this manual first. MOTOPPAR INDUSTRY AND COMMERCE OF AUTOMATIC GATE OPERATORS LTD. 3526 Dr. Labieno da Costa Machado Avenue - Industrial District - Zip Code 17400-000 - Garça - SP - Brazil...
-
Page 2: Table Of Contents
CONTENTS IMPORTANT SAFETY INSTRUCTIONS ..................4 TECHNICAL FEATURES ........................5 BASIC TOOLS NEEDED FOR INSTALLATION ................6 ELECTRICAL CONNECTIONS ......................6 WIRING PRECAUTIONS ........................7 PRECAUTIONS WITH THE GATE BEFORE THE INSTALLATION..........8 INSTALLING AND MOUNTING THE OPERATOR ..............9 INSTALLING THE ANALOG LIMIT SWITCH ................14 TROUBLESHOOTING ........................16... -
Page 3: Important Safety Instructions
IMPORTANT SAFETY INSTRUCTIONS TECHNICAL FEATURES Recommendation: When istalling the operator, the PPA spe- cialist installer must comply with all the ins- TYPE OF GATE OPERATOR Sliding Sliding Sliding tructions present on both this TECHNICAL MOTOR Single-phase Jetflex 24V Brushless MANUAL and the USER MANUAL. -
Page 4: Basic Tools Needed For Installation
BASIC TOOLS NEEDED FOR INSTALLATION WIRING PRECAUTIONS Tools needed: In order to avoid damage to the wiring, it is important that all electrical conductors are properly connected to the operator. The passing of the cables must be carried out through conduits, inside the foundation, ensuring that none of the electrical conductors are stuck and damaged. -
Page 5: Precautions With The Gate Before The Installation
PRECAUTIONS WITH THE GATE BEFORE THE INSTALLATION Step 3: Check if the gate leaf does not jam when opening or closing. The gate track must be perfectly straight, level and periodically free of any obstruction or debris which could impair the movement of the gate on its complete course, as shown on the picture below. - Page 6 Step 2: The dimensions of the concrete foundation must be suitable to the ope- Step 4: Perform the pre-alignment of the operator with the gate, by placing the rator size. The concrete foundation must be approximately 20mm (~ 0.79 in) away toothed rack on the pinion and leaning this set to the gate.
- Page 7 Step 6: With the operator manually released, place the rack bar on the pinion, alig- Step 8: If the gate leaf is warped, provide holders to ensure the rack bar is aligned. ned to the gate. In cases where the rack bar is longer than the length of the gate, provide a Side It is necessary to leave an approximate 2-mm (~0.08 in) gap between the top of the Extension Bracket, so that the pinion does not slip when the operator starts.
-
Page 8: Installing The Analog Limit Switch
INSTALLING THE ANALOG LIMIT SWITCH Step 3: Run the motor and check if the reeds are correctly turning off. If necessary, reverse the connector of the control board. Step 1: With the gate closed, place the magnet holder assembly, placed facing the After mounting the magnet holder assemblies, perform the final adjustments, mo- ving them left / right or up / down, according to the desired adjustment. - Page 9 Central: Tamanho: board manual available to download Montagem: Carenagem: on www.ppa.com.br and perform all Engrenagem: connections and settings accordingly. TROUBLESHOOTING The table below contains useful information on some PROBLEMS — SYMPTOMS, PROBABLE CAUSES AND POSSIBLE SOLUTIONS which might affect your operator.
Need help?
Do you have a question about the DZ HUB and is the answer not in the manual?
Questions and answers