Advertisement
Table of Contents
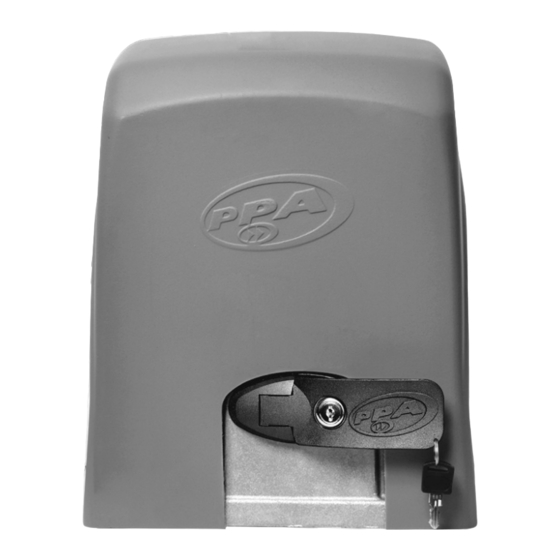
DZ 1500
IND
Technical Manual
ATTENTION:
Do not use this equipment
Manufactured by: Motoppar Indústria e Comércio de Automatizadores Ltda
without first reading the
Av. Dr. Labieno da Costa Machado, 3526 - Distrito Industrial - Garça - SP - CEP 17406-200 - Brasil
User's Manual.
CNPJ: 52.605.821/0001-55
P32461 - 03/2023
Rev. 0
www.ppa.com.br | +55 14 3407 1000
Advertisement
Table of Contents

Related Manuals for PPA Jet Flex


Summary of Contents for PPA Jet Flex
- Page 1 Manufactured by: Motoppar Indústria e Comércio de Automatizadores Ltda without first reading the Av. Dr. Labieno da Costa Machado, 3526 - Distrito Industrial - Garça - SP - CEP 17406-200 - Brasil User’s Manual. CNPJ: 52.605.821/0001-55 P32461 - 03/2023 Rev. 0 www.ppa.com.br | +55 14 3407 1000...
-
Page 2: Table Of Contents
CONTENTS IMPORTANT SAFETY INSTRUCTIONS Recommendation: The specialized PPA installer must follow all the instructions mentioned in this TECHNI- CAL MANUAL and the USER’S MANUAL to install the operator. With the USER’S MANUAL in hand, the in- IMPORTANT SAFETY INSTRUCTIONS ..................3 staller must show the operator’s informa-... -
Page 3: Technical Features
METERING TAPE GREASE GUN TECHNICAL FEATURES ELECTRICAL INSTALLATION TYPE OF GATE OPERATOR Sliding Sliding MODEL Jet Flex Jet Flex For the electrical installation, the network must have the following characteristics: POWER SUPPLY 220 V 127 V RATED FREQUENCY 60 Hz 60 Hz - Electrical network of 127 V or 220 V. -
Page 4: Precautions With The Electrical Installation
PRECAUTIONS WITH THE GATE BEFORE PRECAUTIONS WITH THE ELECTRICAL AUTOMATION INSTALLATION Before adapting the operator to the gate, check the sliding, following the instruc- To avoid damage to the wiring, it is important that all conduits are correctly at- tions below: tached to the operator. -
Page 5: Operator Installation And Fastening
step: Make sure the gate leaf does not get stuck in opening and closing move- step: The base dimensions must be appropriate for the operator dimensions. ments. The gate sliding rail must be perfectly straight, level, and periodically clear The concrete base should be at a distance of approximately 20 mm from the gate of any element or dirt that makes it difficult for the pulleys to slide along its entire leaf face. - Page 6 step: Pre-align the operator to the gate, position the rack over the gear, and step: With the operator unlocked, position the rack over the gear and align it place the assembly against the gate. Then mark the fixing holes in the floor or con- with the gate.
-
Page 7: Analog Limit Swtich Installation
ANALOG LIMIT SWITCH INSTALLATION step: Provide shims to ensure the rack alignment if the gate leaf is warped. There are cases where the rack must extend the leaf length. In this case, provide an angle bracket so no tooth is skipped when starting the operator. step: With the gate closed, place the magnet support on the rack facing the operator’s REED. - Page 8 step: Fully open the gate and place the other magnet bracket on the rack, fac- step: Start the motor and check if the REEDs are shutting down correctly. If ing the operator’s REED. This magnet will act as the opening limit switch. necessary, reverse the plate connector.
- Page 9 Technology: model on the side). After that, refer Voltage: the electrical power supply. to the control board manual avail- Board: Size: able for download at www.ppa.com. Assembly: Fairing: br and make all the connections and Gear: DEFECTS PROBABLE CAUSES CORRECTIONS configurations.
Need help?
Do you have a question about the Jet Flex and is the answer not in the manual?
Questions and answers