Page 1
DZ RIO Technical manual Technical manual www.ppa.com.br 0800 550 250 ATTENTION: Do not operate the equip- ment without fi rst reading the instruction manual. MOTOPPAR INDÚSTRIA E COMÉRCIO DE AUTOMATIZADORES LTDA. Av. Dr. Labieno da Costa Machado, 3526 - Distrito Industrial - CEP 17400-000 - Garça - SP - Brasil...
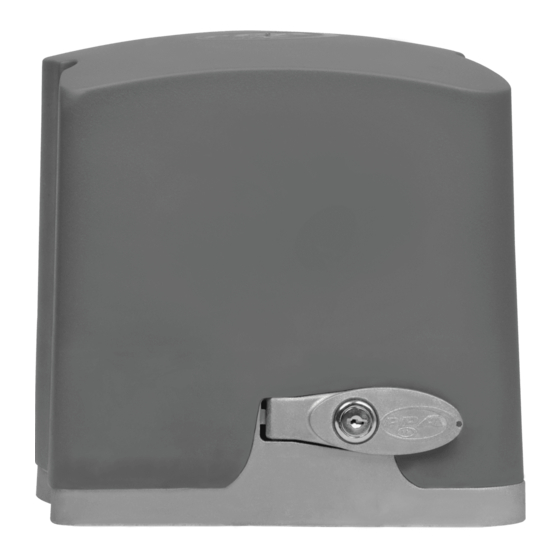
Page 2
INDEX IMPORTANT SAFETY INSTRUCTIONS Recomendation: For the installation of the equipment, it is important that the specialized PPA installer follow all the instructions quoted in this TECHNICAL MANUAL and in the USER’S MANUAL. IMPORTANT SAFETY INSTRUCTIONS ..................3 With the USER’S MANUAL, the installer TECHNICAL CHARACTERISTICS ....................
Page 3
DZ RIO BRUSHLESS 400 / DZ RIO BRUSHLESS 700 AUTOMATION TYPE Sliding Sliding MODEL BRUSHLESS-400 BRUSHLESS-700 DZ RIO 350 JET FLEX NOMINAL VOLTAGE 220 V / 127 V 220 V / 127 V AUTOMATION TYPE NOMINAL FREQUENCY 60 Hz 60 Hz...
Page 4
REQUIRED TOOLS FOR INSTALLATION DZ RIO 500 / DZ RIO 700 (HIGH POWER ENGINE) Here are some tools required to install the automation: AUTOMATION TYPE Sliding Sliding MODEL Single-phase Single-phase NOMINAL VOLTAGE 220 V/ 127 V 220 V/ 127 V NOMINAL FREQUENCY 50 /60 Hz 50/60 Hz...
Page 5
CAUTIONS WITH THE ELECTRICAL GRID CARE WITH THE GATE BEFORE AUTOMATION To avoid damage to the wiring, it is important that all conductors are properly Before adapting the machine to the gate, check the sliding by following the attached to the automation. Wiring must be done through conduits, passing instructions below: internally through the base of the fl oor, ensuring that none of the wiring conductors Step 1: Before Installing the automation, check if the gate is in good mechanical...
Page 6
Step 3: Make sure that the door leaf does not jam in the opening and closing Step 2: Base dimensions should be appropriate for the dimensions of the movement. The sliding gate rail shall be perfectly rectilinear, level, unobstructed automation. The concrete base should be at a distance of approximately 20 mm periodically from any element or dirt which makes it difficult to slide the pulleys from the face of the door leaf.
Page 7
Step 6: With the automator unlocked, position the rack bar on the gear and aligned Step 4: Pre-align the automation to the gate, positioning the rack over the gear with the gate. and pushing the assembly against the gate. Then mark the fixing holes in the floor It is necessary to leave approximately a clearance of 2 mm between the top of the or concrete base.
Page 8
Step 8: If the door leaf is warped, provide shims to ensure the alignment of the ANALOG END OF COURSE INSTALLATION rack. There are cases where the rack should pass the length of the sheet. In this case, arrange a French hand so that you do not jump its teeth when starting the Step 1: With the gate closed, place the magnet holder in the rack, positioned in machine.
Page 9
Step 2: Open completely the gate and place the other magnet holder on the rack, If necessary, invert the connector on the board. facing the automated REED. This magnet will act as an end of course of opening. After attaching the magnet holders, make final adjustments by moving them to the right or left, depending on the setting you want.
Page 10
Technology: the central part of the automation. Once this Voltage: is done, consult the control panel manual that Central: Size: is available for download at www.ppa.com.br Assembly: Fairing: and make all connections and configurations. Gear: MAINTENANCE In the table below, we will mention some PROBLEMS - DEFECTS, PROBABLE CAUSES AND CORRECTIONS - which may occur in your Automator.
Need help?
Do you have a question about the DZ RIO 350 JET FLEX and is the answer not in the manual?
Questions and answers