
Subscribe to Our Youtube Channel
Related Manuals for Duplo DocuCutter CC-229


Summary of Contents for Duplo DocuCutter CC-229
- Page 1 DocuCutter CC-229 ver. ST20180814C Operational Manual Revision Date: 08/24/18 Before operating the machine, read this manual. Follow all safety precautions. Duplo USA Corporation 3050 S. Daimler St, Santa Ana, CA 92705 www.duplousa.com...
- Page 2 Declaration of Conformity DocuCutter CC-229 UL60950-1, 2 EN60950-1: 2006/ EN61000-3-2 Edition, A11: 2009/A1:2010 EN61000-3-3 2007-03-27 EN61000-6-2 CSA 22.2 No EN61000-6-4 60950-1-07, 2 IEC61000-4-2 Edition, 2007-03 IEC61000-4-3 IEC61000-4-4 IEC61000-4-5 IEC61000-4-6 IEC61000-4-8 IEC61000-4-11 EN60950-1 IEC60950-1 EN50581 CISPR 16-2-3 CISPR 16-2-1 CISPR 16-2-2 Conformity of FCC Class A This equipment has been tested and found to comply with the limits for a Class A digital device, pursuant to part 15 of the FCC Rules.
-
Page 3: Table Of Contents
Table of Contents SAFETY PRECAUTIONS ............................... 4 Introduction ..................................4 Specifications ..................................5 Accessories ..................................5 Major Components and Assemblies ........................... 6 Control Panel ..................................7 Installation ..................................8 Setting Up Procedure ................................. 9 Pre-Define Jobs ................................. 10 pre-define Job Layouts ..............................11 Selecting a job ................................... -
Page 4: Safety Precautions
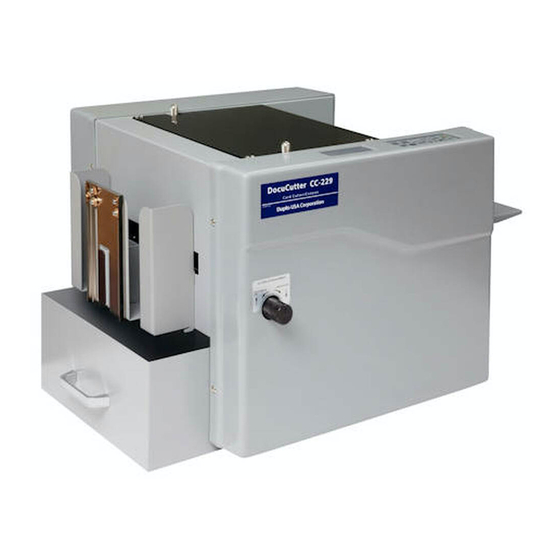
Si toma las medidas pertinentes para que este producto se elimine mediante un tratamiento, recuperación y á reciclaji adecuados, contribuir a evitar posibles efectos negativos en el medio ambiente y la salud humana. INTRODUCTION The DocuCutter CC-229 is designed to simplify business card, greeting card, invitation card, photo and Page 4... -
Page 5: Specifications
post card cutting or Cutting/Creasing in letter size which printed by digital press, color laser printer or inkjet image printer in one pass. SPECIFICATIONS Paper Size LT / Legal Size/ 9” x 14” (Max) Paper Weight 120gsm ~ 300gsm {subject to change} Feeder Capacity 75 sheets (200gsm) Receiving Tray... -
Page 6: Major Components And Assemblies
MAJOR COMPONENTS AND ASSEMBLIES Control Panel Feed Rollers Top Cover Feed Tray Tension Adjustment Lever Catcher – Set Up for Business Card Side Guide Waste Bin Feed Tray Slitting Alignment Knob Die Module Skew Correction Thumb Nut Cutting Knife Slitter Module Die Module Catcher –... -
Page 7: Control Panel
CONTROL PANEL Keys Functions Start and Stop the cutter Change job Select batch count Confirm job and batch count setting Reset error and counter. Move paper forward Move paper backward Change paper weight. Page 7... -
Page 8: Installation
INSTALLATION Waste Bin Sensor Trigger Install the waste bin trigger onto waste bin; make sure the trigger is fastening tight and secure for engagement with waste bin sensor correctly. Waste Bin Slide the waste bin into the slot. Make sure waste bin is all the way inside. Stack Tray Mounting Hook the tray onto the mounting slot on... -
Page 9: Setting Up Procedure
SETTING UP PROCEDURE Thumbscrew knob To set the width of paper, loosen thumbscrew Markings knob on the side guide and slide to position. Use marking as reference point. Fan paper before loading. This will reduce static and toner adhesion due to printing. For best result, the paper stack should be flat. -
Page 10: Pre-Define Jobs
PRE-DEFINE JOBS DocuCutter CC-229 offers 7 pre-defined jobs Job # Description Finish Size Layouts Business Card 2” x 3.5” 10 up Notes Card 5” X 3.5” 4 up Postcard 5” x 7” 2 up Postcard 4.25x5.5” 2 up Greeting Card 10”x7”... -
Page 11: Pre-Define Job Layouts
PRE-DEFINE JOB LAYOUTS Job #1 Business Cards 2” x 3.5” Page 11... - Page 12 Job #2 Note Cards 5” x 3.5” Page 12...
- Page 13 Job #3 Postcards 5” x 7” Page 13...
- Page 14 Job #4 Postcards 4.25” x 5.5” Page 14...
- Page 15 Job #5 Greeting cards ”10 x 7” Page 15...
- Page 16 Job #6 Folded Business Cards 4” x 3.5” Page 16...
- Page 17 Job #7 Table Tents 5” x 3.5” Page 17...
-
Page 18: Selecting A Job
SELECTING A JOB Note: There are 13 selectable memories. 7 are set jobs and 6 can be customized. Actions Turn on the power. Previous job will appear. Press until the desire job is display. 01 → 02 → 03 → 04 … 13 Press to select job Press... - Page 19 USER DEFINE JOB Note: User define job can only be job #8 - #13. 1. Press to select desire job# (8-13) to program then press Figure 2 2. Press and hold for 2 seconds to enter “User Define Settings Mode” as seen. Size Original paper size (length) Finished length...
- Page 20 Press to save the job. BATCH COUNT 1. Press into Batch Count edit mode 2. Press to set batch count to desire number. Count will increment by factor of 10. Maximum batch count setting is 50. 3. Press to save batch count setting. Figure 3 4.
-
Page 21: Crease Skew Adjustment
CREASE SKEW ADJUSTMENT Skew adjustment is needed only when folding finished paper is skew. 1. The crease module has 2 thumbscrews. Loosen thumbscrew on operator side only. Loosen thumbscrew on operator side. Figure 5 Loosen lock nut. Turn adjustment screw to ½ turns. Adjustment thumbscrew Lock nut... -
Page 22: Slitter Alignment
SLITTER ALIGNMENT Adjust slitter to align with images when needed. 1. Loosen a bit the slitter lock thumbscrew. 2. Turn the slitter adjustment knob clockwise or counter-clockwise 1 full. 3. Run one sheet through to see if slitter is correction position by pressing start button. 4. -
Page 23: Empty The Waste Bin
EMPTY THE WASTE BIN The cutter display waste bin full warning when the sheet count is reached 80. 1. Remove waste and empty it. 2. Then place waste back into position. 3. Press to clear error. RESET COUNTER Hold for 2 seconds the counter to clear counter. CLEAR JAM In case jam occurs in the machine follow these steps to clear jam. -
Page 24: Error Message And Trouble Shooting Guide
ERROR MESSAGE AND TROUBLE SHOOTING GUIDE Error Message Displayed Remedy Paper Out Add paper to feed tray. Miss Feed 1. Adjust the feed tray tension 2. Side guide too tight. Adjust side guide. 3. Fan the paper and reload the paper onto feed tray. Cutter Sensor Error Call for service Top Cover Error... - Page 25 Duplo USA Corporation 3050 South Daimler St. Santa Ana, CA 92705 P: (949) 752-8222 F: (949) 752-7766 www.duplousa.com Page 25...
Need help?
Do you have a question about the DocuCutter CC-229 and is the answer not in the manual?
Questions and answers