Table of Contents
Advertisement
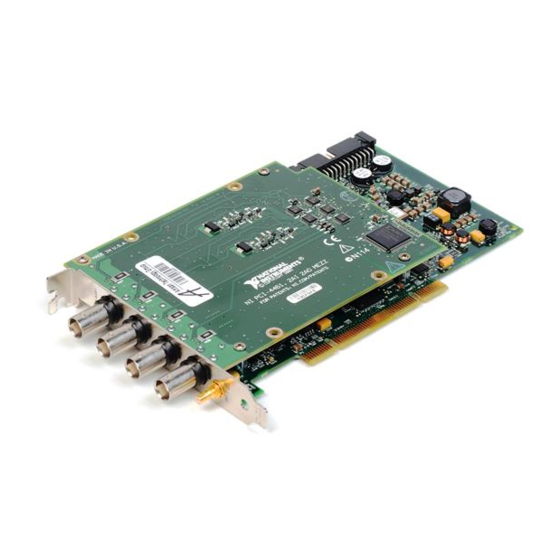
NI 446X Calibration Procedure
Contents
This document contains information about calibrating National
Instruments PCI/PXI-4461 and PCI/PXI-4462 (NI 446X) devices.
This document does not discuss programming techniques or compiler
configuration. The National Instruments DAQmx driver includes help files
that have compiler-specific instructions and detailed function explanations.
You can install these help files when you install NI-DAQmx on the
calibration computer.
NI 446X devices should be externally calibrated at a regular interval as
defined by the measurement accuracy requirements of your application.
NI recommends that you perform a complete calibration at least once every
year. Based on your measurement accuracy needs, you can shorten this
interval to 90 days or six months. Self-calibration can be performed as
needed or when the temperature varies by 5 °C or more from the last
external calibration.
Conventions ............................................................................................ 2
Calibration Options ................................................................................. 3
Self-Calibration................................................................................ 3
External Calibration ......................................................................... 3
Software and Documentation Requirements........................................... 3
Software ........................................................................................... 3
Documentation................................................................................. 4
Password and User Information .............................................................. 5
Getting Calibration Information.............................................................. 6
Test Equipment ....................................................................................... 9
Test Conditions ....................................................................................... 9
Calibration Process ................................................................................. 10
Calibration Process Overview ......................................................... 10
Initial Setup...................................................................................... 10
Self-Calibration................................................................................ 11
NI 446X Verification Procedure ...................................................... 11
Verifying Analog Input Performance ....................................... 11
Verifying Analog Output Performance .................................... 19
Advertisement
Table of Contents


Need help?
Do you have a question about the 446 Series and is the answer not in the manual?
Questions and answers