Go Rhino 3000 Series Installation Instructions Manual
Step guard chevrolet silverado 1500
Hide thumbs
Also See for 3000 Series:
- Installation instructions (3 pages) ,
- Assembly instructions (2 pages)
Advertisement
Quick Links
INSTALLATION INSTRUCTIONS
PRODUCT SAFETY & LEGAL DISCLAIMER
IMPORTANT READ ALL INSTRUCTIONS CAREFULLY BEFORE INSTALLING, FAILURE TO DO SO
•
MAY CAUSE PERSONAL INJURY OR DAMAGE TO PRODUCT AND/OR PROPERTY.
Review the product package and contents prior to beginning the installation. Take care when
•
opening the packaging and removing items. If a return is needed you will want to return the product in
its original packaging if possible.
This instruction guide is provided as a GENERAL installation guide, some vehicles vary dimensionally
•
and may require additional steps.
Test fit the product on the vehicle prior to any third party modifications and or finishing. The
•
manufacturer and/or distributors do not accept responsibility for third party charges, labor and or
third part replacement modifications. Some modifications may void the factory warranty.
Exercise due-diligence when installing this product. The manufacturer and distributors of this product
•
do not accept any responsibility for vehicle damage or personal injury resulting from the installation of
this product. Careless installation and operation can result in serious injury or equipment damage.
This product is for general off-road use. All liability for installation and use rests with the
•
owner/operator.
INSTALLER: Once installation is complete, please return this guide along with other documentation
•
included in this product back to the consumer for future reference. The manufacturer/distributors of
this product do not guarantee this particular version will be available at a later date.
REV.01
© 2016 Go Rhino Products. All rights reserved
www.gorhino.com
589 W. Apollo St., Brea, CA 92821
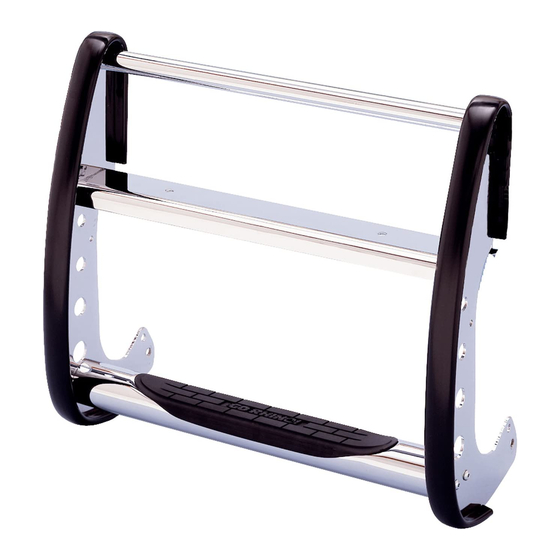
PART NO.
● 3176M
PRODUCT DESCRIPTION:
● 3000 Series Step Guard
APPLICATION:
● Chevrolet Silverado 1500 (Excludes
models with Safety Package- Safety
Package II
P: 888 427 4466
1
Advertisement


Need help?
Do you have a question about the 3000 Series and is the answer not in the manual?
Questions and answers