Table of Contents
Advertisement
Advertisement
Table of Contents

Summary of Contents for ACME VENOM LED-460
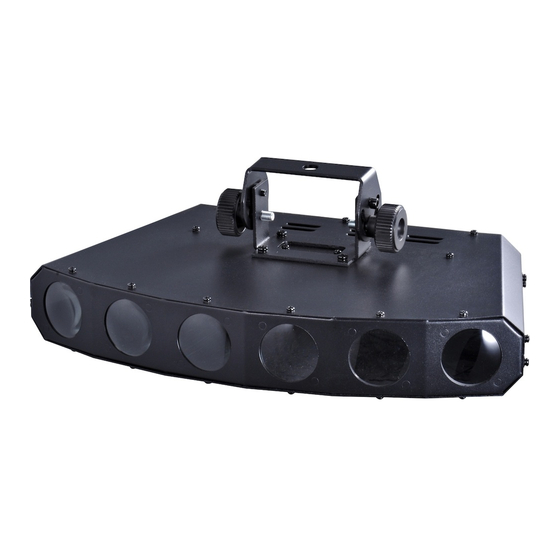
- Page 1 VENOM LED-460 User Guide Please read the instruction carefully before use...
-
Page 2: Table Of Contents
Contents 1. Safety Instructions ....................2 2. Technical Specifications ..................3 3. Installation ......................3 4. How to Set the Fixture ................... 4 4.1 Control Panel ....................4 4.2Main Function ....................5 5. How to Control the Unit ..................9 5.1 Master/Slave Built In Preprogrammed Function .......... -
Page 3: Safety Instructions
1. Safety Instructions Please read the instructions carefully which includes important information about the installation, operation and maintenance. WARNING Please keep this User Manual for future consultation. If you sell the fixture to another user, be sure that they also receive this instruction booklet. ... -
Page 4: Technical Specifications
2. Technical Specifications Featuring 6 high-power 3W Tri-color LEDs. Each color of R, G, B can be controlled individually. DMX 3/18 channels switchable. Smooth 0~100% dimming and variable strobe speeds. Three operation modes: DMX, Mater/Slave mode, Sound Active. ... -
Page 5: How To Set The Fixture
The equipment must be fixed by professionals. And it must be fixed at a place where is out of the touch of people and has no one pass by or under it. 4. How to Set the Fixture 4.1 Control Panel ○... -
Page 6: Main Function
○ 10 Microphone: Receive music for the sound active. ○ 11 DMX input: For DMX512 link, use 3/5-pin XLR plug cable to input DMX signal. ○ 12 DMX output: For DMX512 link, use 3/5-pin XLR plug cable to link the next unit. ○... - Page 8 DMX 512 Address Setting Press the MENU button up to when the is shown on the display. Pressing the ENTER button and the display will blink. Use the DOWN and UP button to change the DMX 512 address. Once the address has been selected, press the ENTER button to setup or automatically exit menu mode without any change after 60 seconds.
- Page 9 Once selected, press the ENTER button to setup or automatically exit menu mode without any change after 60 seconds. To go back to the functions without any change press the MENU button Blackout Mode Press the MENU button up to when the is shown on the display.
-
Page 10: How To Control The Unit
Firmware version Press the MENU button up to when the is blinking on the display. Pressing ENTER button and the display will show the version of software of the unit. To go back to the functions press the MENU button. 5. -
Page 11: Easy Controller (By Ca-8)
5.2. Easy Controller (by CA-8) The easy remote control is used only in master/slave mode. By connecting to the 1/4” microphone jack of the first unit, you will find that the remote controller on the first unit will control all the other units in Stand by, and Mode selection. Blackout Blackout the unit Select Color... -
Page 12: Dmx 512 Configuration
6. DMX 512 Configuration 3 Channels Mode: 7 Channels Mode:... -
Page 13: Dmx 512 Connection
18 Channels Mode: 7. DMX 512 Connection The DMX512 is widely used in intelligent lighting control, with a maximum of 512 channels. -
Page 14: Troubleshooting
1. Connect the fixture together in a “daisy chain” with the XLR plug cable from the output of the fixture to the input of the next fixture. The cable cannot be branched or split to a “Y” cable. Inadequate or damaged cables, bad solder joints or corroded connectors can easily distort the signal and shut down the system 2. -
Page 15: Cleaning And Maintenance
5. Check if the DMX cables run near or run alongside to high voltage cables that may cause damage or interference to DMX interface circuit. C. Some fixtures don’t respond to the easy controller 1. You may have a break in the DMX cabling. Check the LED for the response of the master/ slave mode signal. - Page 16 Declaration of Conformity We declare that our products (lighting equipments) comply with the following specification and bears CE mark in accordance with the provision of the Electromagnetic Compatibility (EMC) Directive 2004/108/EC. EN55103-1: 2009 ; EN55103-2: 2009; EN61000-3-2: 2006 + A1:2009 + A2:2009; EN61000-3-3: 2008. &...
- Page 17 Innovation, Quality, Performance...


Need help?
Do you have a question about the VENOM LED-460 and is the answer not in the manual?
Questions and answers