Advertisement
Quick Links
Quick Installation Guide
EC533-KD-AI6881/3G46E
Package Contents
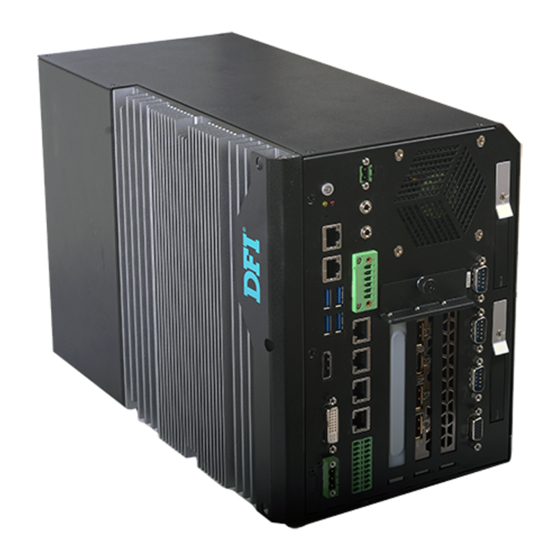
Front View
Graphics Card Power
USB 3.0
Power button
Status/HDD
Reset
LAN 2
LAN 1
USB 3.0
DVI-I
(1)
(DVI-D signal)
COM6
AI6881
COM5 (/power)
COM4 (/power)
DIO
1
2 4 5
3
DIO
6 8 9
7
Notes:
1.
This port can be in DVI-D or HDMI (HDMI available upon request).
2.
This port is a DP/HDMI combo port but can only transmit HDMI signals (unless wired as a DP port).
Please plug in a DP or an HDMI cable with the right orientation and alignment to avoid damage
to the connector. You should feel resistance (due to a pin on the right) if the cable is not inserted
correctly. For detailed instructions, see https://youtu.be/SUj07rfN5l8.
Aligning side
(left)
DFI reserves the right to change the specifications at any time prior to the product's release. For
the latest revision of related technical documents and further information, please refer to related
technical docs on our website at go.dfi.com/EC533-KD-AI or scan the QR code on the right.
• 1 EC533-KD-AI6881 System Unit
• 1 Quick Installation Guide
• Mounting Screws for Mini PCIe and M.2
Mic-in Line-out
Remote
power on/off
COM3
Expansion
COM2 (/power)
slots
COM1 (/power)
VGA
2 3 4 5
1
RS232
(/power)
6 7 8 9
Angled-corner
pin
SATA 1
SATA 2
Graphics Card Power
Power button
Status/HDD
Reset
LAN 2
LAN 1
USB 3.0
(1)
DVI-I
(DVI-D signal)
3G46E
1 2 3 4 5
RS422
Full Duplex
Angled-corner
(up)
www.dfi.com
Remote power
on/off
Line-out
Mic-in
PoE 1~4
DIO
Expansion slots
RS485
6 7 8 9
Align this edge with the
left side of the connector
SATA 1
SATA 2
COM3
COM2 (/power)
COM1 (/power)
VGA
1
2
3
4 5
6
7
8 9
1
Advertisement

Subscribe to Our Youtube Channel
Related Manuals for DFI EC533-KD-AI6881


Summary of Contents for DFI EC533-KD-AI6881
- Page 1 (left) (up) DFI reserves the right to change the specifications at any time prior to the product's release. For the latest revision of related technical documents and further information, please refer to related technical docs on our website at go.dfi.com/EC533-KD-AI or scan the QR code on the right.
- Page 2 Installing a 2.5" SATA Drive The SATA drive bay can be easily accessed witout opening the system. However, the system does not support hot-swapping hard drives; turn off the system first before proceeding with the following procedure for installing a SATA drive. Locate the drive bay on the front panel and open it by releasing the handle.
- Page 3 Note: The EC532-KD-AI6881 provides one PCIe x16 and one PCIe x4 (x 1 lane) expansion slots with the H320-2E riser card. The EC533-KD-AI6881 and EC533-KD- AI3G46E one PCIe x16 and two PCIe x4 (x 1 lane) slots with the H320-3E riser card.
- Page 4 Board Jumper Settings Clear CMOS Data Parallel Normal (default) 1-2 On Front Audio S/PDIF Auto Power-on Clear CMOS Data 2-3 On Power Front Select (JP11) DIO Power Button Panel Status LED USB 2.0 HDD LED USB 2.0 13-14 DDR4_1 SODIMM Reset DDR4_2 SODIMM System...
Need help?
Do you have a question about the EC533-KD-AI6881 and is the answer not in the manual?
Questions and answers