
Related Manuals for Satel GSM-X


Summary of Contents for Satel GSM-X
- Page 1 GSM-X Communication module Quick installation guide Full manual is available on www.satel.eu Firmware version 1.02 gsm-x_sii_en 08/18 SATEL sp. z o.o. • ul. Budowlanych 66 • 80-298 Gdańsk • Poland tel. +48 58 320 94 00 www.satel.eu...
- Page 2 The name plate of the device is located on the enclosure base. FreeRTOS is used in this device (www.freertos.org). SATEL's goal is to continually upgrade the quality of its products, which may result in some changes of their technical specifications and firmware. The current information on the introduced modifications is available on our website.
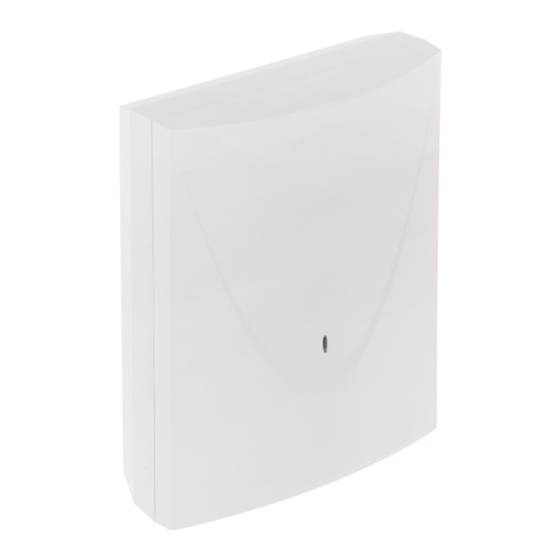
- Page 3 2-pole disconnector, short-circuit protection with a 16 A time delay circuit breaker. The GSM-X module should be installed indoors, in spaces with normal air humidity. When selecting the mounting location, remember that thick masonry walls, metal partitions, etc. will reduce the range of radio signal.
- Page 4 The module can also be installed in SATEL’s OPU-4 P enclosure. It is recommended that you use this enclosure, if you are planning to install the GSM-X-ETH Ethernet module on the electronics board or the module is to be supplied from a power supply unit connected to the APS connector (e.g.
- Page 5 RESET pins for emergency update of the module firmware. Shorting the pins enters the module starter mode in which the module is waiting for the firmware update. RS-232 port. USB MINI-B socket. APS connector for a SATEL power supply unit (e.g. APS-412). connectors for the GSM-X-ETH module. Description of terminals – inputs.
- Page 6 RING, TIP – analog telephone line input (from telephone provider). 1.2.3 Antenna The GSM-X module is delivered with an antenna installed inside the enclosure. The antenna can be replaced with an external antenna mounted on the enclosure or at some distance from it.
- Page 7 RS-232 ports on module and control panel. To connect the module PIN5 connector to the control panel RJ connector, use the RJ/PIN5 cable offered by SATEL. Fig. 6. Connecting the RS-232 ports on module and computer. Shown on the left is PIN-5...
- Page 8 1.6 Connecting the power supply and starting the module The module may be powered from the control panel, from an expander with power supply, or from a power supply unit. SATEL offers power supplies (e.g. APS-412), which can be connected to the APS connector on the electronics board.
-
Page 9: Gsm-X-Eth Module Installation
(MAN, WAN). For establishing connection with public networks, use a router or xDSL modem. 1. Use the GX Soft program to configure settings of the GSM-X-ETH Ethernet module (see full manual of the GSM-X module). -
Page 10: Specification
GSM-X SATEL 3. Specification GSM-X Number of inputs........................4 Number of outputs: OC type.................4 power supply..............1 Supply voltage ....................12 V DC ±15% Standby current consumption ..................100 mA Maximum current consumption ..................275 mA OC type outputs ....................50 mA / 12 V DC AUX output....................
Need help?
Do you have a question about the GSM-X and is the answer not in the manual?
Questions and answers