Advertisement
Quick Links
Advertisement

Related Manuals for Anviz T50


Summary of Contents for Anviz T50
- Page 1 T50 user manual(V1.2) Subject to change without notice...
-
Page 2: Secure Access Control
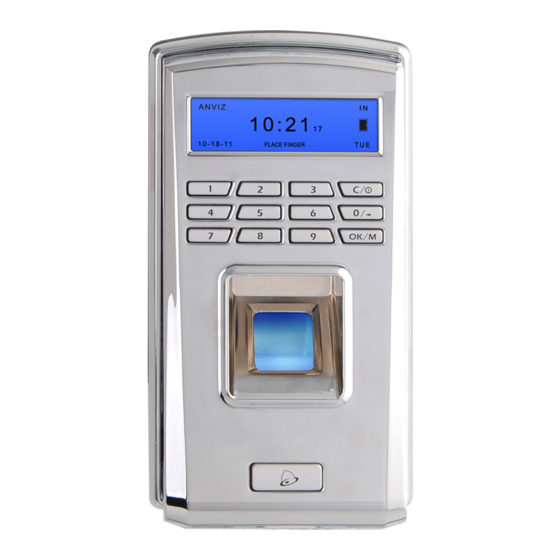
Product Introduction T50 Product introduction T50 is a new standalone time attendance and access control system produced by this company in 2011. With the use of Anviz optical fingerprint sensor and new fingerprint recognition algorithm, T50 can identify all difficult fingerprints and has solved the long-lasting problem in fingerprint recognition field. - Page 3 Optional waterproof cover for outdoor use; Doorbell button for direct connection with door bell Wall mounted. Combined 2-in-1 function for both time attendance and access control. Technical Parameter Items Parameter Size 137MM×65MM×40MM Material ABS plastic Sensor Optical CMOS FP capacity 1000 Record capacity...
-
Page 4: Chapter 2 Operation Guide
Chapter 2 Operation Guide This chapter is mainly about appearance illustration and relevant system settings such as how to add and delete users etc. - Page 5 Operation Guide Keypad Introduction Default Interface Connect device to 12v power. Device will make 4 short beeps and enter default interface as following, 08-23-11 11:16:32 IN / PLACE FINGER Management Menu In order to manage data, you need to enter management menu. Firstly press [OK/M] key to password verification interface, PW ××××...
- Page 6 000001 Input new user ID (max. 6 digit, i.e. 000001). Press [OK/M] to confirm. Then press [0/→] to choose FP 1 or 2 or password to register. 2.3.1.1 FP registration: Select FP1 (or FP2) and press [OK/M] to confirm and start FP registration. 000001 PLACE FINGER Place finger needed to register on scanner window.
- Page 7 If the fingerprint has been registered, device will sound “di-di-” indicating this fingerprint repeats and interface will show “FAIL” like this, 000001 FAIL 2.3.1.2 Password registration: Press [0/→] and switch to PW option, 000001 Press [OK/M] to confirm and start password registration, 000001 Input user password through keypad (max.
- Page 8 000001 DEL. Input the user ID needed to be deleted (i.e. 000001). Press [OK/M] to confirm. Device will sound 4 short beeps indicating the user deletion is successful. 000001 DEL. 2.3.3 Set Date/time Press [0/→] to select [TIME] option ADD DEL. TIME SET.
- Page 9 ADD DEL. TIME SET. Press [OK/M] to enter admin password setting interface, Input admin password through keypad (6 digits). Press [OK/M] to confirm and device will sound two short beeps which prompts input password again. After inputting the same password twice, press [OK/M] to confirm. And device will sound 4 short beeps indicating success.
- Page 10 08-23-11 000001 PW ×××× IN / If device sounds a long beep prompting verification fails. 08-23-11 000001 PW ×××× FAIL IN / 2.3.5.2 Fingerprint Verification In default interface, place registered finger on scanner window. After a short beep, move the finger away. If device sounds 4 short beeps, prompting verification is successful.
- Page 11 2.3.7 Reset: Restarts Device Press the ‘Reset’ button at the button of the device until LCD go out. Now release the button the device will restart. Notice:Resetting wil not delete any information or settings stored in the device.
Need help?
Do you have a question about the T50 and is the answer not in the manual?
Questions and answers