Table of Contents
Advertisement
Quick Links
Advertisement
Table of Contents

Related Manuals for Anviz W3


Summary of Contents for Anviz W3
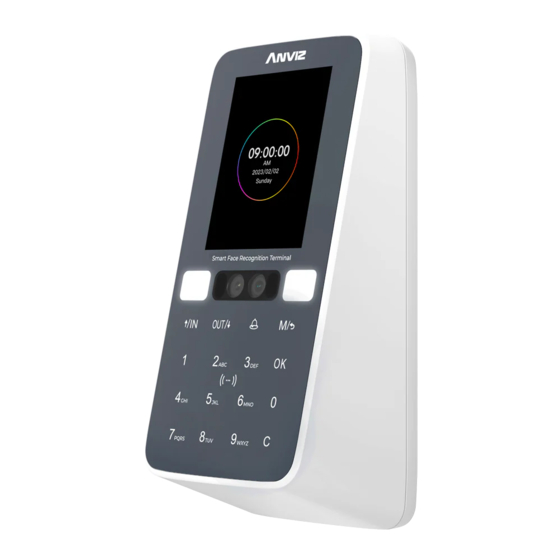
- Page 1 Smart Face Recognition Terminal User Guide Rev: 2023/12...
-
Page 2: Table Of Contents
CONTENTS Product Introduction Settings Menu Apperance Description & Components Device Information Safety Instructions Time Installation Display Settings Wiring Connection Basic Information Test Device Operation Adavanced General Settings Enroll Face T&A (Time Attendance) Application Verify Mode User FN Settings Add User Auto FN Modify User Delete User... -
Page 3: Safety Instructions
• The recommended power of W3 terminal is DC 12V 2A. The device will functioness effective in case the power supply cable extended too long. • If there is no ambient light, it will affect the face recognition distance of W3. Please use it under normal indoor lighting conditions... -
Page 4: Installation
Installation The Sunlight and Hard Light may lead to big differemce between site image and registered image; backlight, side-light and strong light will influence the recognition experience. (Notice: from the view of human eyes, the color changes on face skin may result in wrong recognition of of identity;... - Page 5 Installation Position 190cm ( 74.80”) 120cm 140cm (47.24”) ( 55.12”) Floor Fig.(1) Installation Position 60cm(23.62”) 100cm( 39.37”) ( Recommended Distance for Face Recognition) Suggested installation height (the distance between the lens and the ground is 1.2m( 47.24” ), as the recognizable body height range, 0.6m( 23.62”...
-
Page 6: Wiring Connection
Tap “OK” again to save the configuration, and jump to the next row. Tap “M” to reture to the previous page. • W3 uses the keypad to input, and tap the numbers according to the function order on the screen. -
Page 7: Enroll Face
Menu Option Enroll Face: Shortcut to register users’ faces. User: To Add, Modify, Delete, Search basic user information, and set Admin Level. Record: Inquire about user records on the device. Network: Set up the device network. Ethernet, Wi-Fi, Internet, Comm. Mode, and Cloud. Settings: Device basic parameter settings. -
Page 8: Add User
User Add User 1 On the User page, tap number “1” to access the Add User interface. 2 Input the user’s basic information on this page (Including User ID, Name, Password, Card ID, Mode, Admin, Group ID, Schedule, and Expiry date.) 3 Select the desired item, and then change the settings by tapping “↑/IN”... -
Page 9: Modify User
User Modify User Administrator can modify the registered user information. 1 On the User page, tap number “2” to access the modify interface. 2 Input the registered user ID to modify the user information. (Including the face template, mode, Admin, Group ID, schedule, and the Start & Expiry date.) 3 Select the desired item, and then change the settings by tapping “↑/IN”... -
Page 10: Search User
User Search User Search users on this page. 1 On the User page, tap number “5” to access the search user interface. 2 Input the User ID, and tap “OK” to search the user. 3 Tap “↑/IN” or “↓/OUT” to specify the user id for the search. 4 Tap “OK”... -
Page 11: Data Menu
Data Menu 1 Tap ”M”, then enter the admin ID and password to access the main menu. 2 On the Main page, tap number “4” to access the Data interface. Record 1 On the Data page, input the User ID, and tap “OK” to check the user’s punch records. 2 Tap “↑/IN”... -
Page 12: Network Settings
2 On the Main page, tap number “5” to access the network configuration interface. Ethernet Please make sure that the network cable is already connected to the W3. Set up the IP address for the device via the network cable. -
Page 13: Wifi
AP: The access point function creates a local area wireless network. Connect a PC or smartphone to the W3 WIFI AP and input its default IP address (192.168.0.218) in the browser to login into the W3 web server to manage the device. -
Page 14: Internet
Network Settings Choose WiFi: Select the WiFi name in ESSID and input the password, then select “Done” on this page to connect. Add WiFi: Add a new WiFi, modify the WiFi ESSID manually and click “done” to start the WiFi authentication process. -
Page 15: Comm. Mode
Network Settings Comm. Mode 1 On the Network page, tap number “5” to access the communication mode setting interface. 2 Select the “Comm mode”, and tap “OK” to change the mode. 3 Change the settings by tapping “↑/IN” or “↓/OUT”. 4 Tap “OK”... -
Page 16: Cloud
4 Tap “OK” to save the configuration, and jump to the next row. 5 Tap “M” to reture to the previous page. The W3 device supports Anviz CrossChex Cloud System communication. For more details, please refer to the Cloud menu. - Page 17 Settings 1 Tap ”M”, then enter the admin ID and password to access the main menu. 2 On the Main page, tap number “7” to access the settings interface. Device View the Device ID, Admin PIN Code, Web activation and web port information. 1 On the Settings page, tap number “1”...
-
Page 18: Time
Settings Time Set date and time, and Set the mode to accurate the time. 1 On the Settings page, tap number “1” to access Time interface. 2 Select the desired item and tap “OK”, then change the settings by tapping “↑/IN” or “↓/OUT”. 3 Tap “OK”... - Page 19 Settings DST: Daylight-saving time settings. The Daylight-saving time is a manual method to set the local area time zone Deviation, according to where the device is located. 1 On the Settings page, tap number “2” to access the Time settings interface, then tap number “2”. 2 Select the desired item and tap “OK”...
-
Page 20: Test
Settings Language: Select to switch the system language. Power saving: Energy saving display settings. Standby(min): Input the numbers to set the standby period of the device. Light Level: Set the LED light brightness (off, low, medium, high) Basic Info You can view the device Serial number, employee No., card count, face No., log, firmware version, kernel version and file system version. - Page 21 Advanced On the Main page, tap number “8” to access the Advance settings interface. T&A (Time Attendance Settings) 1 On the Advanced page, tap number “1” to access the Time Attendance settings of the device. 2 Select the desired item and tap “OK” then change the settings by tapping “↑/IN” or “↓/OUT”. 3 Tap “OK”...
-
Page 22: Application
Advanced Application On the Advanced page, tap number “2” to access the Application interface. Access (Access Control Settings) 1 On the Application page, tap number “1” to access the Access Control Settings interface. 2 Select the desired item and tap “OK” then change the settings by tapping “↑/IN” or “↓/OUT”. 3 Tap “OK”... - Page 23 Advanced Time Zones At this interface, you can set rules for access control restriction according to the weekday and time. Can create up to 32 different access rules, they can be assigned to a user group. (section Group) 1 On the Application page, tap number “2” to access the Time Zones Settings interface. 2 Select the desired item and tap “OK”...
- Page 24 Advanced Mask 1 On the Application page, tap number “5” to access the Mask Settings interface. 2 Select the desired item and tap “OK” then change the settings by tapping “↑/IN” or “↓/OUT”. 3 Tap “OK” to save the configuration, and jump to the next row. 4 Tap “M”...
- Page 25 Advanced Shifts Set up the shift starting time and end time. The terminal will follow the shift schedule to calculate employees’ time attendance records and export by Excel or display in the web server. 1 On the Application page, tap number “7” to access the Shift Schedule Settings interface. 2 Select the desired item and tap “OK”...
-
Page 26: Verify Mode
Advanced Verify Mode 1 On the Advanced page, tap number “4” to access the Verify Mode Settings interface. 2 Select the desired item and tap “OK” then change the settings by tapping “↑/IN” or “↓/OUT”. 3 Tap “OK” to save the configuration, and jump to the next row. 4 Tap “M”... -
Page 27: Faq
By using your Anviz, you agree to be bound by the Anviz Privacy Policy. Anviz brand and product are trademarked and protected under law of the United States. Unauthorized use is prohibited. For more information visit www.anviz.com, or email marketing@anviz.com... -
Page 28: Warranty And Service
Anviz decides to repair or replace parts after user confirmation. • When the repair is completed, Anviz notifies the user of that and sends the product back to you. • An RMA number is valid for two months from the date of its issuance.
Need help?
Do you have a question about the W3 and is the answer not in the manual?
Questions and answers