Table of Contents
Advertisement
Advertisement
Table of Contents

Subscribe to Our Youtube Channel
Related Manuals for Anviz T5


Summary of Contents for Anviz T5
- Page 1 T5 Pro / T5 User Manual (V1.1) © 2001-2013 Anviz Global Inc.
- Page 2 User Manual PREFACE Honorable customers: Thank you for choosing products from Anviz Global Inc. Our products contain world cutting edge technologies like Fingerprint/card Recognition, Computer Communication, as well as Microelectronics. With the combination of three technologies: Electronics, Optics, and Computer Communication; Anviz Global Inc. is fast becoming the first choice for standalone time &...
-
Page 3: Table Of Contents
User Manual CONTENTS Product Introduction ....................3 1.1. Product overview ..................3 1.2. Module ..................... 3 1.3. Size ......................4 Operation Guide ..................... 6 2.1. Interface Introduction ................6 2.2. Upper Electricity ..................6 2.3. Register User ..................7 Register User’s Fingerprint ............7 2.3.1. - Page 4 User Manual Chapter 1. Product Introduction This chapter introduces the advantages, performance, and functionality for T5Pro / T5.
-
Page 5: Product Introduction
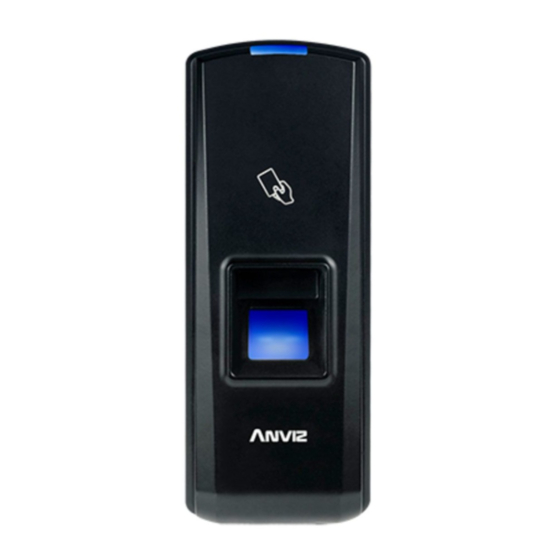
1.1. Product overview T5 Pro is one of the most compact access control devices in the world, and is suitable for installing on a door frame. It is combined with biometric fingerprint and RFID Card for higher security requirements. With master cards, you can register or delete users under offline state. -
Page 6: Size
TCP/IP, RS485, USB Device, Wiegand Out, Support FP, Card, Card+FP, Identification Mode; IP54; Standard EM RFID, Optional Mifare Card. It is a standalone access controller, has all T5 functions, and T5Pro has a relay output that can direct lock control. - Page 7 User Manual Chapter2. Operation Guide This chapter is about the hardware operation and contains information on how to set the administrator, and how to add/delete users, etc.
-
Page 8: Operation Guide
User Manual Operation Guide 2.1. Interface Introduction Interface: LED Indicator Three different colors (Blue, red and green) FP sensor Place finger on sensor Bottom: Note: The operation will not delete any user data stored in the device. 2.2. Upper Electricity The DC 12V Power supplies the power to the device. -
Page 9: Register User
User Manual 2.3. Register User Register User’s Fingerprint 2.3.1. At first, swipe the Enroll Card. The blue LED will flash quickly, and enter into the registration stage. Now, we can register the user finger. Note: If the finger has been already registered, the red LED will flash twice and follow with 2 beeps. -
Page 10: Register Card + Fingerprint
User Manual 2.3.3. Register Card + Fingerprint If the User Card has been already registered, the red LED will flash twice and follow with 2 beeps. 2.4. Delete users 2.4.1. Delete user’s fingerprint Swipe Delete Card. The red LED will flash quickly, and enter into the deletion stage. -
Page 11: Function Button
User Manual Note: If the fingerprint has not been deleted from the unit, the red LED will flash twice and two long beeps will occur. Therefore, try again. 2.5. Function button Press the button until you hear beeps. This will eliminate the Enroll Card and Delete Card information in the device. -
Page 12: Illustration For Pressing Fingerprint
User Manual 2.7. Illustration for pressing fingerprint Correct method: Wrong method: Valid Left Right Defluxion Down 1. Please register the thumb or index finger if possible. 2. Place the center of the finger flat on the center of the scanner window and press a little hard on scanner so it can scan as large finger area as possible to extract enough minutia. - Page 13 User Manual Chapter 3. Frequently asked questions and answers.
-
Page 14: Faq
User Manual 3.1. Fingerprint has been enrolled but gets failure in identification. Reason Solution 1. The fingerprint was not Enroll the finger again. captured properly. 2. The fingerprint is too dry or 1. Touch the forehead to increase oily too wet with oil or cosmetics. level of the finger;... -
Page 15: The Fp Scanner Is Off And Employee Can't Identify
User Manual The FP scanner is off and Employee can’t 3.4. be identified. Reason Solution 1. Unit in sleeping status. Press the finger to activate. 2. Terminal is not communicating 1. Cease communication between or has a line obstruction. terminal and PC. Verify the ethernet cable is communicating properly. - Page 16 User Manual Chapter 4. Appendix The main theme of this chapter includes additional information in regards to wiring.
-
Page 17: Appendix
User Manual Appendix 4.1. Wiring Instruction The following shows the wiring ports on the back of device: T5Pro: P1: There are 2 ports for the power supply. -
Page 18: Wiring Diagram Of T5Pro
User Manual P2: There are wiring terminals for Wiegand Output and RS485 interface. P3: There are wiring ports for Door Sensor, Exit Button, GND and Relay. Different relay state: 4.2. Wiring diagram of T5Pro/T5 T5Pro: Connect to Power Supply control. - Page 19 User Manual...
- Page 20 User Manual T5Pro: Connect to Switching Power Supply(SPS). T5Pro/T5: Connect to controller as a access control reader:...
- Page 21 User Manual T5Pro/T5: Communicate with PC : Note: Please verify master card to enable the USB communication function.
Need help?
Do you have a question about the T5 and is the answer not in the manual?
Questions and answers