
Related Manuals for Anviz W 1


Summary of Contents for Anviz W 1
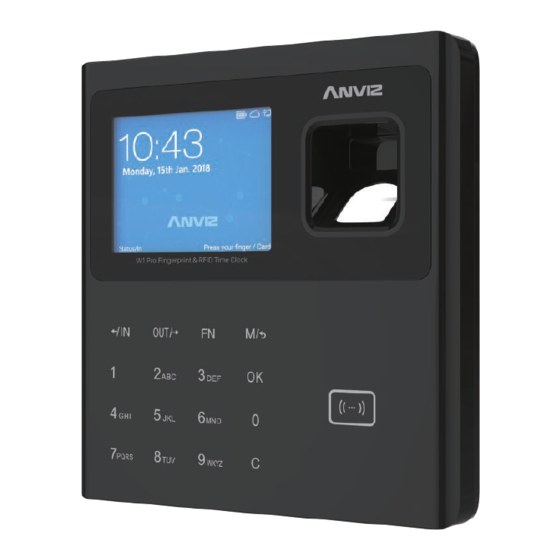
- Page 1 W Series Color Screen Fingerprint & Card Time Attendance and Access Control...
- Page 2 W1 & W2 Features * Standard 2.8-inch TFT LCD, 512MB Flash, industrial high speed CPU * Touch keypad & touch active sensor * Identification mode: Fingerprint, Password, Card (optional) * Cloud management systerm support * Support webserver: basic setting, personnel inquiry and management, records inquiry * DDNS: Support dynamic domain name server which offers a persistent domain name for non-static IP devices * Support TCP/IP network communication, the access control data and events will push to the...
- Page 3 Mini USB Power DC input port RJ45 Network interface TCP/IP - 2 -...
- Page 4 Mini USB BELL- BELL+ OPEN 485A 485B Extended function interface TCP/IP RJ45 Network interface J12 Extended function interface: Wiegand 26 Output Active doorbell Relay Output Funcition Passive Exit Button doorbell Wiegand Wiegand Door Bell- Door Bell+ DATA1 Output DATA0 Output ②...
- Page 5 W2 & Switching Power Supply Passive doorbell Exit button BELL- BELL+ OPEN 485A 485B Door Open Sensor Wiegand Card Reader W2 & Anviz SC011 DC12V Active doorbell ② ④ ⑥ ⑧ BELL- BELL+ OPEN 485A 485B - 4 -...
- Page 6 Anviz Wiegand date output format: ALL registered users output devieces’ last eight serial number. (For example, SN of one device is 1050000014470004, then Anviz Wiegand output 14470004.) Wiegand 26 date output format (W2 & other access control): Card user: Output card number.(Decimal) Fingerprint user: Output ID number.
- Page 7 1. Turn on the Device Plug in the power supply and wait for the device boot up. 2. Add Users to Device Scan the same finger three times to enroll the fingerprint. * RFID Card is the optional feature. If you have the card option and want to enroll the card, use the up & down key to move the cursor to card number field.
- Page 8 5. Setup the Device Communication or close Ehernet - 7 -...
- Page 9 - 8 -...
- Page 10 How to connect the Device with Software? Loose the screw on the bottom of device, then pull up the front case, seperate from back panel Connect USB cable between with device and PC which has installed software Local Area Network (TCP/IP) Right click on the device icon and choose ‘Set the IP configuration’...
Need help?
Do you have a question about the W 1 and is the answer not in the manual?
Questions and answers