Advertisement
Advertisement
Table of Contents

Related Manuals for Nucraft Flow Wall Mounted Credenza


Summary of Contents for Nucraft Flow Wall Mounted Credenza
- Page 1 Flow Wall Mounted Credenza Installation Instructions...
- Page 2 Before Beginning Installation • Read through the entire instruction thoroughly • A minimum of 2 persons is required for this assembly • These instructions reflect typical assemblies. They may not match your specific configuration. • NOTE: The architectural wall must be able to support 100 pounds of weight per linear foot of credenza. –...
- Page 3 Required Tools • Drill Driver • Phillips Head Screwdriver • Tape Measure • Level...
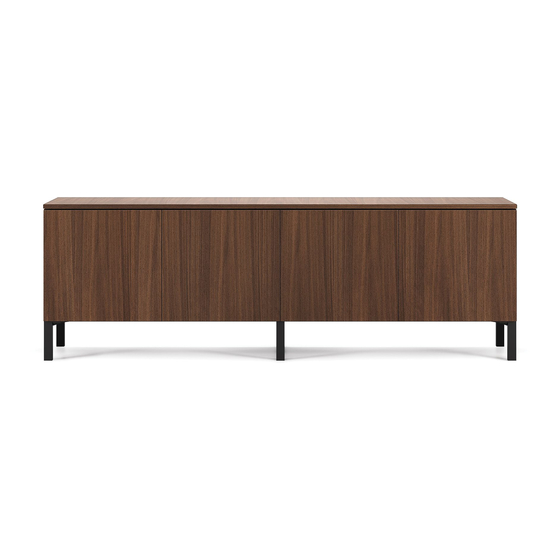
- Page 4 Flow Wall Mounted Credenza...
- Page 5 Step 1: Wall Z-brackets Install Z-brackets on Wall: Locate the position for the bottom Z-bracket. For a wall mounted credenza, with a top height of 29.5”, your bottom Z-bracket should be 13.75” from the floor. – NOTE: Measure form the lowest point you can. Do not measure from the top of the carpet. Secure the bottom Z-bracket into place, ensuring that it is level.
- Page 6 Step 1 cont: Wall Z-brackets Locate and attach the second Z-bracket, above the first Z-bracket. There should be 10” of space between the two Z-brackets. So, for wall-mounted credenza with a top height of 29.5”, your top Z- bracket should be 25 & 5/16” from the floor. Again, ensure it is level. Place the credenza on to the Z-brackets.
- Page 7 Cross Section of Architectural Wall...
Need help?
Do you have a question about the Flow Wall Mounted Credenza and is the answer not in the manual?
Questions and answers