Advertisement
Quick Links
Advertisement

Summary of Contents for Nucraft Crossbeam
- Page 1 Crossbeam Installation Instructions...
-
Page 2: Before Beginning Installation
Before Beginning Installation • Read through the entire instruction thoroughly • A minimum of 2 persons is required for this assembly • These instructions reflect typical assemblies. They may not match your specific configuration. -
Page 3: Required Tools
Required Tools • Hardware: Drill Driver • #2 Phillips • Socket or Wrench Set HW1094 HW1093 HW3717 HW1107 HW0613 HW0565... - Page 4 Crossbeam...
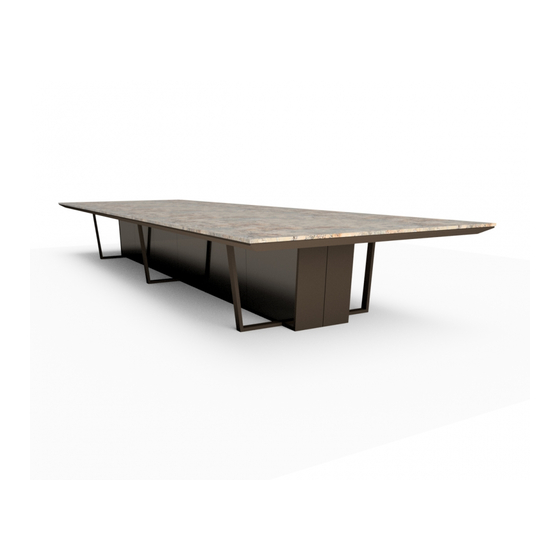
- Page 5 Crossbeam Work Surface Sub Top Power Drawers Frame Access Panels Cross Legs Base Extrusion Vertical Supports...
- Page 6 Step 1: Base Extrusion Placement Note: If base frame is 1 piece, continue to step 3. • Base frame is made of two halves. • Place the first half in desired final location. This half has the center cross leg and the stud weldment. –...
- Page 7 Step 2: Vertical Supports • A vertical support column will need to be added at the middle seam. – 216” size tables will use a square plate in this location. It secures the same way. • The bottom plate of the support will align with the center stud weldment bolts. –...
- Page 8 Step 3: Work Surface Frame • Frames are made of 3 or 4 sections. Each section is labeled for correct placement. • Begin at one end, and work towards the opposite end. Place the u-slots of the frame in the channels of the vertical supports.
- Page 9 Step 4: Add Sub Top • Set sub top onto frame. – The sub top outer cleats will sit around the frame. • If multi-piece sub top, join pieces together with the provided tite-joint hardware. • Attach sub top to frame with HW0613 through the welded frame tabs.
- Page 10 Step 5: Level Frame • Use a level on all three sections of frame. • Use set screws in the center of each vertical supports to make adjustments. • Then secure the 4 HW1093 on each vertical support u-channel.
- Page 11 Step 6: Power Drawer Assembly If applicable: • The slides for the drawer assembly will already be attached to the underside of the sub top. • Move the slide brackets past the magnets to allow the drawer box to click, the back tab, into place. •...
- Page 12 Step 7: First Set of Access Panels • The access panels will be labeled for correct placement. • If applicable: The first set will have brackets for the modular power system in place. • Panels attach with preinstalled monarch clips, which hang on the frame stretcher bar brackets. •...
- Page 13 Step 8: Modular Power If applicable: • Modular power will need to be secured to the access panels on one side of the table base. • The duplex brackets will already be in place. Snap the duplexes into the bracket. •...
- Page 14 Step 9: Power Matrix If applicable: • Power Matrix units attach to the underside of the sub top, before the work surface is put in place. • Then use adjusters to flush the top of the of the power matrix door to the top surface of the table.
-
Page 15: Step 10: Work Surface
Step 10: Work Surface Center the work surface to the base by finding the midpoint of each. Then align those together. • Veneer and Laminate work surfaces will secure with HW0565 through the pilot holes on the underside of the sub top. •... - Page 16 Step 11: Second Set of Access Panels • The access panels will be labeled for correct placement. • Add second set of base panels by hanging the monarch clips on the panel to the brackets on the stretcher bars of the frame. •...


Need help?
Do you have a question about the Crossbeam and is the answer not in the manual?
Questions and answers