Table of Contents

Related Manuals for SEWOO LK-P32


Summary of Contents for SEWOO LK-P32
- Page 1 SEWOO TECH CO.,LTD. 374-2, Gajang-dong, Osan-si, Gyeonggi-do, 447-210, Korea TEL : +82-31-459-8200 FAX : +82-31-459-8880 www.miniprinter.com MODEL : LK-P32 MOBILE PRINTER P32 Rev. A 08/14 All specifications are subject to change without notice...
-
Page 2: Table Of Contents
Table of Contents 1. Safety Caution 2. Unpacking 3. Product Overview 4. Usage and Installation 4-1. Control panel usage 4-2. Battery installation 4-3. Battery removal 4-4. Battery charging 4-5. Roll paper installation 4-6. Self test 5. Peripherals Connection 5-1. Bluetooth connection 5-2. -
Page 3: Safety Caution
1. Safety Caution For higher reliability and safety, consider the following precautionary measures. WARNING Read and follow the instructions carefully before running of the product. Failure to follow these instructions could result in fire, electric shock, or other injuries, or property damage Indication Prohibition Must follow... -
Page 4: Unpacking
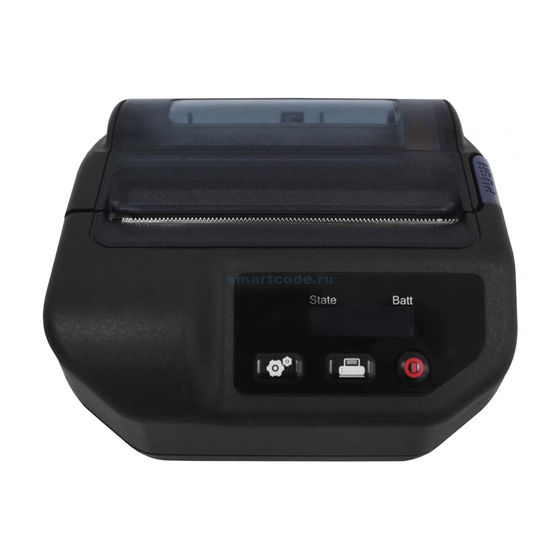
2. Unpacking 3. Product Overview Standard Front Control button Open Paper feed button button Printer Printer Power button Rear Battery Roll paper USB Cable Charger Battery... -
Page 5: Usage And Installation
4. Usage and Installation 4-1 Control panel usage 4-1-1. Printer status icons ※ Bluetooth Battery On Line Cover Open Head Cover Open On Line Head Overheated No Paper Button Name function TPH Overheated No Paper This button is used to turn the printer on and off. ESCPOS When the printer is off, press this button for approximately Power... - Page 6 4-1-3. Configuration setting Parameter Action/Explanation ※ Navigate the LCD menus by pressing button. Auto Gap or BM (Black Mark) and BAT Auto Setting (Battery) Calibration Parameter Action/Explanation Current Media Mode: Gap or BM Calibration Displays the Media type that is currently set BAT (Battery) Calibration Media : Current Media Media Type: Journal...
-
Page 7: Battery Installation
4-2 Battery installation 4-3 Battery removal Hook Remove the battery holding it up as shown above. 1. Align battery hook as shown in the picture 2. Push the battery into the printer until it locks in place. As the battery is not charged at the time of your purchase, charge the battery prior to using the printer NOTE (Use Battery charger or Cradle to charge) -
Page 8: Battery Charging
4-4 Battery charging 4-5 Roll paper installation 1. Be sure that the printer is turned off 2. After open the USB JACK cover, insert USB JACK into the printer. 3. Plug the power code to electrical outlet. Press the PUSH button to open the Insert the paper in the right direction paper cover 4-4-1 The status of lamp in charging... -
Page 9: Self Test
4-6 Self test The sample of self test printout Turn off the power pressing the While you are pressing the FEED power button for approximately button, press the power button 3 seconds. 1. To print ASCII pattern additionally, press the Feed button once more NOTE 2. -
Page 10: Peripherals Connection
5. Peripherals Connection 5-2 Interface cable connection This printer can communicate with peripheral devices via Bluetooth and cables. 5-1 Bluetooth connection 1. Connect USB into the cable connector on the printer. 1. Printer can be connected to the PDA and PC which can do wireless communication. -
Page 11: Printer Specificaiton
6. Printer Specification 6-1 Specification Size W X D X H(mm) 109 X 104 X 48.5 Printing Method Direct Thermal W X D X H” 4.29 X 4.09 X 1.9 Printing Speed Max. 70mm/sec Weight 335g (with battery) Resolution 203 DPI X 203 DPI Temperature Operation -10 ~ 50℃...
Need help?
Do you have a question about the LK-P32 and is the answer not in the manual?
Questions and answers