Table of Contents

Related Manuals for SEWOO LK-P30IIW


Summary of Contents for SEWOO LK-P30IIW
- Page 1 SEWOO TECH CO.,LTD. 374-2, Gajang-dong, Osan-si, Gyeonggi-do, 447-210, Korea TEL : +82-31-459-8200 FAX : +82-31-459-8880 www.miniprinter.com MODEL : LK-P30ⅡW MOBILE PRINTER P30 Ⅱ W Rev. A 01/16 All specifications are subject to change without notice...
-
Page 3: Table Of Contents
Table of Contents 1. Safety Caution 9. Printer cleaning 2. Unpacking 10. Printer specification 3. Product overview 10-1. Specification 4. Usage and Installation 11. CPCL Command Compatibility 12. Certification 4-1. Control panel usage 4-2. Battery Installation 13. Setting up the software 4-3. -
Page 4: Safety Caution
1. Safety Caution For higher reliability and safety, consider the following precautionary measures. WARNING Read and follow the instructions carefully before running of the product. Failure to follow these instructions could result in fire, electric shock, or other injuries, or property damage Indication Prohibition Must follow... -
Page 5: Unpacking
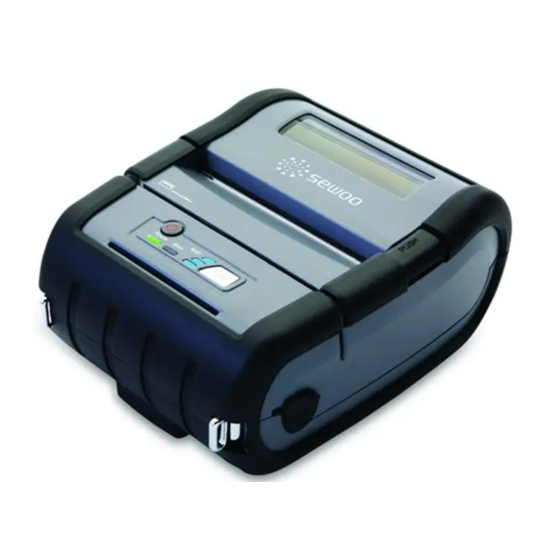
2. Unpacking 3. Product overview Standard Front Power switch Open Button Control Printer Battery Belt Buckle Quick Manual Panel Paper feed button DC Power Charger CD (Manual) USB Cable Shielded Roll paper Rear Optional Battery Holder (Cradle) Cigar Jack Charger Leather case Battery Belt clip... -
Page 6: Usage And Installation
4. Usage and Installation 4-1 Control panel usage 4-2 Battery Installation Hook Button Name function This button is used to turn the printer on and off. Power When the printer is off, press this button for approximately 3 seconds button and it will turn on the power. -
Page 7: Battery Removal
4-4 Battery charging 4-3 Battery removal 180˚ Lamp 1. Be sure that the printer is turned off 2. After open the DC JACK cover, insert DC JACK into the printer. Rotate the belt clip as shown 3. Plug the power code to electrical outlet. 4-4-1 The status of lamp in charging Status charging... -
Page 8: Battery Charger Usage Optional
4-5 Battery charger usage 4-6 Usage of Cigar Jack Charger for charging Optional Optional Lamp Printer DC Jack 1. Insert the battery into the battery holder as shown above 2. Connect the DC JACK to the power electrical outlet. 3. Plug the power code into the electrical outlet. 4. -
Page 9: Belt Clip Usage
4-8 Roll Paper installation 4-7 Belt Clip usage Insert the belt clip screw into the hole of Belt clip Press the PUSH button to open Insert the paper in the right the paper cover direction Pull a short length of paper out of Tear off the additional paper using the printer and close the cover. -
Page 10: Leather Case Usage (Optional)
4-9 Leather case usage 4-10 Self Test Optional Turn off the power pressing the While you are pressing the FEED Open the leather case Place the printer into the leather power button for approximately button, press the power button case 3 seconds. -
Page 11: Msr Usage (Optional)
4-11 MSR usage Optional The sample of self test printout When the printer is installed initially or when you face a problem, you can run the self test and check the information about -Control Circuit, Mechanism, Print Quality, ROM Version After checking with self-test and no issues are found, you can examine other devices and software. -
Page 12: Ic Card Usage (Optional)
5. Peripherals connection 4-12 IC CARD usage This product can communicate with other devices via Wi-Fi(802.11b/g/n) communication and cable. Optional 5-1 Wi-Fi(802.11b/g/n) Connection Insert the card in the direction of the arrow as shown in the picture. 1. The Printer can be connected to devices equipped with Wi-Fi(802.11b/g/n) communication capacity (PDAs, PCs, etc.) 2. -
Page 13: Interface Cable Connection
6. Roll media specification 5-2 Interface Cable Connection Serial Core Diameter(A) 12.5mm +/-0.5mm Roll Max.diameter(B) Max. Φ56mm 1. Connect USB or Serial cable into the cable connector on the printer. Media Width (C) 25.5±0.5 mm ~ 79.5±0.5 mm Thickness 0.06 ~ 0.16mm NOTE Use the cable offered by the manufacturer (USB, Serial) 2. -
Page 14: Label Specification
8. Black Mark 7. Label specification 10 ~ 80 10.5 14 ~ 72 (PRINT WIDTH ) 20 ~ 76 25 ~ 80 (MAX PAPER WIDTH) 14 ~ 72 (PRINT WIDTH ) 25 ~ 80 (MAX PAPER WIDTH) -
Page 15: Printer Cleaning
10. Pritner Specification 9. Printer cleaning 10-1 Specification If the interior of the printer is dusty, printing quality can lowered. In such a case, follow the instructions below to clean up the printer. Printing Method Direct Thermal NOTE Printing Speed 100mm/sec 1. -
Page 16: Cpcl Command Compatibility
11. CPCL Command Compatibility thickness 0.06mm ~ 0.16mm NOTE External Diameter Max. Φ 56mm Compatible with only Partially Internal Diameter 12.5mm +/-0.5mm commanders provided Compatible Compatible Compatible by the manufacturer. 50km Reliability ○ △ ● Battery Continuous Printing 36min Standby for 19hour Printing length: 186m Printer Commands Compatibility... - Page 17 Graphics Compatibility ○ Line Print Mode Compatibility LINE ○ SETLP ○ INVERSE-LINE ○ SETLF ○ PATTERN ○ Moving With X and Y Coordinates ○ GRAPHICS ○ LMARGIN ○ ○ SETBOLD ○ Advanced Commands SETSP Compatibility ○ CONTRAST ○ Special ASCII Characters ○...
-
Page 18: Certification
12.Certification FCC Information CAUTION Antenna shall be mounted in such a manner to minimize the potential This device complies with part 15 of the FCC Results. Operation is subject to for human contact during normal operation. The antenna should not the following two conditions: be contacted during operation to avoid the possibility of exceeding the (1) This Device may not cause harmful interface, and... -
Page 19: Setting Up The Software
13. Setting up the software Please refer to the programming manual included in CD.
Need help?
Do you have a question about the LK-P30IIW and is the answer not in the manual?
Questions and answers