Table of Contents
Advertisement
Advertisement
Table of Contents

Subscribe to Our Youtube Channel
Related Manuals for Akuvox R23C


Summary of Contents for Akuvox R23C
- Page 1 R23C R23P R23X Door Phone User Manual...
- Page 2 About This Manual Thank you for choosing Akuvox’s R23X door phone. This manual is intended for end users, who need to properly configure the door phone. It provides an overview of the most essential functions and features of the product, the information detailed in this user manual applicable to firmware version 26.0.2.57 rom or lower version.
-
Page 3: Table Of Contents
2. Daily Use ......................................3 2.1. Making a Call ..................................3 2.2. Receive a Call ..................................3 2.3. Unlock by RF Card (R23C only) .............................. 3 3. Configuration ....................................4 3.1. Web Login ....................................4 3.1.1. Obtaining IP Address ..............................4 3.1.2. - Page 4 3.4. Call Setting ....................................7 3.4.1. No Answer Call ................................7 3.4.2. Push Button ................................... 7 3.5. Card Setting( R23C only ) ............................... 8 3.5.1. Import/Export Card Data ..............................8 3.5.2. Obtain and Add Card ..............................8 3.5.3. Door card Management ..............................9...
-
Page 5: Product Overview
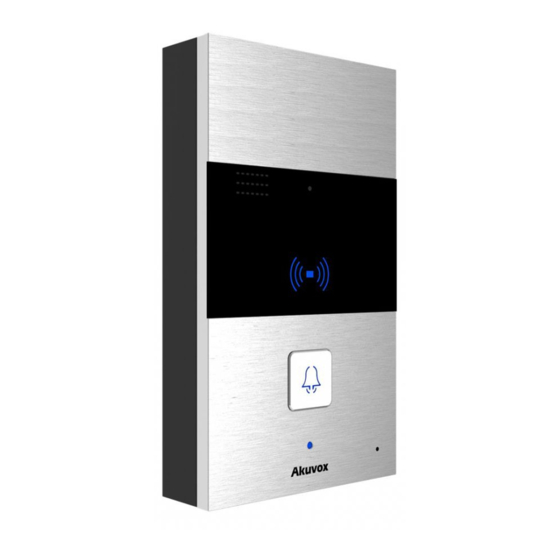
1.1. Instruction Akuvox R23A is a SIP-compliant, hands-free one button video R23C outdoor phone. It can be connected with your Akuvox IP Phone for remote unlock control and monitor. Users can operate the indoor phone to communicate with visitors via voice and video, and use RF card to unlock the door. -
Page 6: Connector Introduction
1.2. Connector Introduction Connector Ethernet(POE) connector which can provide both Ethernet(POE) power and network connection. External power supply terminal if POE is not 12V/GND available. RS485 terminal automation system RS485A/B control(e.g. Elevator control). Trigger signal input terminal(e.g. Press indoor DOOR1/2 button to open relay). -
Page 7: Daily Use
R23C R23P 2.3. Unlock by RF Card (R23C only) Place the predefined RF card on the card sensor area. The door phone will announce ‘the door is now opened’ and open the door. 13.56MHz RF card is supported by R23C. -
Page 8: Configuration
3.1. Web Login 3.1.1. Obtaining IP Address The Akuvox R23X uses DHCP IP address by default. If IP address is unknown, hold the call button for a short period of time(about 5s) after LED light turns blue, R23X will announce its IP continuously. -
Page 9: Basic Setting
User name: admin Password: admin 3.2. Basic Setting 3.2.1. Time/Lang Go to Phone->Time/Lang to select local Time Zone for NTP server. 3.2.2. Voice Go to Phone->Voice, to configure volume and upload tone file. (1) Mic Volume: To configure Microphone volume. (2) Speaker Volume: To configure Speaker volume. -
Page 10: Ip Address Setting
(4) IP Announcement: To setup the IP Announcement active time. Over the configured value, the phone will not announce its IP address, even you hold the button. (5) Ring Back Upload: To upload the ring back tone you need. (6) Open door Tone Upload: To upload the Open door tone you need. 3.3. -
Page 11: Static Ip
3.3.2. Static IP If selected, you could manually set IP address, Subnet Mask, Default Gateway and DNS server. 3.4. Call Setting Go to Intercom->Basic, to configure basic call setting. 3.4.1. No Answer Call Enable it, if there is no answer from push button number over 60s (default value), R23X will call predefined 'No Answer Call' number. -
Page 12: Card Setting( R23C Only )
Go to Intercom -> Card setting, to manage card access system. 3.5.1. Import/Export Card Data R23C supports import or export the card data file, which is convenient for administrator to deal with a large number of cards. 3.5.2. Obtain and Add Card ①Switch card status to 'Card Issuing' and click 'Apply';... -
Page 13: Door Card Management
3.5.3. Door card Management Valid card information will be shown in the list. Administrator could delete one card’s access permission or empty all the list.
Need help?
Do you have a question about the R23C and is the answer not in the manual?
Questions and answers