Advertisement
Quick Links
Advertisement

Related Manuals for Nucraft Merino Series


Summary of Contents for Nucraft Merino Series
- Page 1 Merino Installation Instructions...
-
Page 2: Before Beginning Installation
Before Beginning Installation • Read through the entire instruction thoroughly • A minimum of 2 persons is required for this assembly • These instructions reflect typical assemblies. They may not match your specific configuration. - Page 3 Required Tools and Hardware • Drill Driver Hardware 1 • #2-#3 Phillips Bit • #2 Square Bit • 3/8” Nut Driver Hardware 2 • Laser Level • 5/16” Wrench Hardware 3 Hardware 4 Hardware 5...
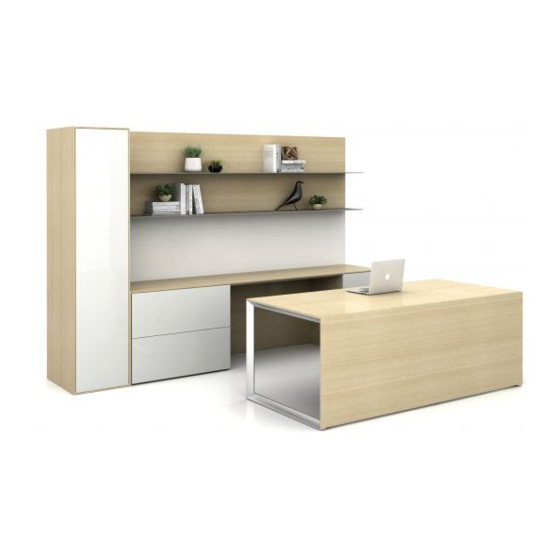
- Page 4 Merino Freestanding...
- Page 5 Merino Freestanding Exploded Freestanding Desk Work Surface Lateral File Pedestal Box Box File Pedestal Tack Board Overhead Tower...
- Page 6 Merino U-Shape...
- Page 7 Merino U-Shape Exploded Desk Work Surface Lateral File Pedestal Box Box File Pedestal Tack Board Overhead Tower Access Panel Corner Support Bridge...
- Page 8 Merino L-Shape...
- Page 9 Merino L-Shape Exploded Desk Work Surface Lateral File Pedestal Box Box File Pedestal Tack Board Overhead Overhead Hood Corner Support Power Option...
- Page 10 Merino T-Shape...
- Page 11 Merino T-Shape Exploded Desk Work Surface Lateral File Pedestal Box Box File Pedestal Support Tack Board Overhead Overhead Hood Access Panel Tower...
- Page 12 Step 1: Installing the Credenza • Locate the pedestals and set in place with a level. • Align work surface with mitered edge on pedestals. Attach using hardware #3 and #5. • If station has additional work surfaces, attach the same way. Then connect using mending plates and screws (hardware #4).
- Page 13 Step 2: Attaching Corner Support • Install connector pins (hardware #1) to the work surface. • Lower the work surface onto the corner support, aligning the pins with the corresponding holes in the corner support. • Secure by turning clockwise by a half turn.
- Page 14 Step 3: Installing Stanchions • (If wall hung, skip to Step 5.) • Loosen the stanchion channel bolts. DO NOT remove. Cross Member Locations • Slide the stanchions in the channels. Adjust glides on the stanchions until scribe line is flush with work surface.
- Page 15 Step 4: Installing Tack Board and Overhead • Attach the tack board using the pre-installed Z-clips on the back side. Press down to fully engage. • Hang the overhead on the top of the stanchions. • Adjust side to side to align with work surface.
- Page 16 Step 5: Attaching the Access Panel • Align the access panel so the raffix connectors are in line with the studs. • Place on studs and tighten with a Philips screwdriver by turning clockwise.
- Page 17 Step 6: Installing Wall Mounted Tack Board and Overhead • Ensure work surface is level. • Reference numbers in the table below. Measurements are to the bottom of cleat. • Attach wall cleats. (Lag screws for a backed wall, toggles for non backed wall.) •...
- Page 18 Step 7: Attaching the Sliding Hood • Remove the wing nuts from the track on the back of the overhead. • Lifting hood over the back of the overhead, carefully align the holes on the hood with the studs in the tracks.
- Page 19 Step 8: Installing Glass Desk • Locate the glass top (packed on its own). • With the desk in place and properly leveled to ensure proper miter alignment, place glass top into place. • Use glass pods for this installation.
Need help?
Do you have a question about the Merino Series and is the answer not in the manual?
Questions and answers