Nucraft Two4Six Media Table Installation Instructions Manual
Hide thumbs
Also See for Two4Six Media Table:
- Installation instructions manual (23 pages) ,
- Installation instructions manual (16 pages) ,
- Installation instructions manual (9 pages)
Advertisement
Quick Links
Advertisement

Related Manuals for Nucraft Two4Six Media Table


Summary of Contents for Nucraft Two4Six Media Table
- Page 1 Two4Six Media Table Installation Instructions ID: 0077...
-
Page 2: Before Beginning Installation
Before Beginning Installation Read through the entire instruction thoroughly A minimum of 2 people are required for this assembly These instructions reflect typical assemblies; They may not match your specific configuration Nucraft – Two4Six 2015... -
Page 3: Required Tools
Required Tools Drill Driver #2 and #3 Phillips Bit Level Nucraft – Two4Six 2015... -
Page 4: Base Options
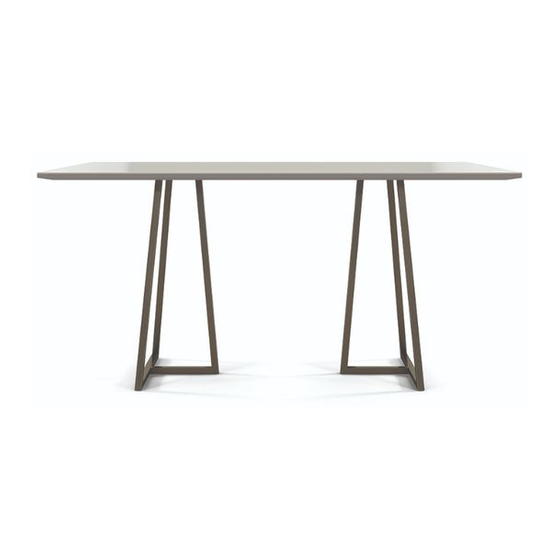
Base Options NOTE: Two different base styles may be used on one worksurface Nucraft – Two4Six 2015... - Page 5 Top Shapes Nucraft – Two4Six 2015...
- Page 6 Table Type Table Type Pages Credenza Base Pages 7 - 13 Slab Base Pages 14 - 21 Wall Mount Pages 22 - 27 Nucraft – Two4Six 2015...
- Page 7 Credenza Base - Post Leg/Open Leg Setup Credenza Base with Post Credenza Base with Leg and Monitor Panel Open Frame Leg Nucraft – Two4Six 2015...
- Page 8 Loosen the glides at the bottom of the stanchions. The glides should be fully extended, as they will be adjusted later Lift the fixed wall onto the stanchions as shown at right. Adjust the glides to level the back wall Nucraft – Two4Six 2015...
- Page 9 Make sure the legs are angled toward the outside corners of the table Secure with screws HW0741 NOTE: Do not overtighten The screws as this may damage the worksurface Nucraft – Two4Six 2015...
- Page 10 Open Frame Base Align the predrilled holes in the top with the holes in the base and secure with screws HW0741 NOTE: Do not overtighten The screws as this may damage the worksurface Nucraft – Two4Six 2015...
- Page 11 Set top on credenza and align the predrilled holes in the top with the slots in the plates on the credenza Insert the adjustment knobs and adjust the top location to the customer’s preference Attachment Plates here Nucraft – Two4Six 2015...
- Page 12 Check for levelness and extend or retract glides as needed Repeat the above procedure along the width of the top Double check both directions NOTE: Glides are located at these locations for adjustment Nucraft – Two4Six 2015...
- Page 13 Part can be attached at ends or along the length of the table. Additionally the power rail can be adjusted toward or away from the edge of the table Nucraft – Two4Six 2015...
- Page 14 Slab Base - Post Leg/Open Leg Setup Slab Base with Post Slab Base with Open Frame Leg Nucraft – Two4Six 2015...
- Page 15 Make sure the legs are angled Inset toward the outside corners of the table Secure with screws NOTE: Do not overtighten HW0741 The screws as this may damage the worksurface Nucraft – Two4Six 2015...
- Page 16 Open Frame Base Align the predrilled holes in the top with the holes in the base and secure with screws HW0741 NOTE: Do not overtighten The screws as this may damage the worksurface Nucraft – Two4Six 2015...
- Page 17 Electrical wires should be run from the worksurface, between the base and the wall, to the ground The Slab Base can now be attached to the wall using z- brackets Nucraft – Two4Six 2015...
- Page 18 One of these individual parts is attached on the steel frame at 4 locations. A second metal clip is attached to the panel. When the panel is attached correctly, the two parts should engage as shown. Nucraft – Two4Six 2015...
- Page 19 When all electrical routing is complete, secure L bracket to top with thumbscrew NOTE: Do not overtighten The screws as this may damage the worksurface Nucraft – Two4Six 2015...
- Page 20 Check for levelness and extend or retract glides as needed Repeat the above procedure along the width of the top Double check both directions NOTE: Glides are located at these locations for adjustment Nucraft – Two4Six 2015...
- Page 21 Part can be attached at ends or along the length of the table. Additionally the power rail can be adjusted toward or away from the edge of the table Nucraft – Two4Six 2015...
- Page 22 Wall Mount Attachment - Post Leg/Open Leg Setup Slab Base with Post Wall Mount Attachment with Open Frame Leg Nucraft – Two4Six 2015...
- Page 23 Make sure the legs are angled Inset toward the outside corners of the table Secure with screws NOTE: Do not overtighten HW0741 The screws as this may damage the worksurface Nucraft – Two4Six 2015...
- Page 24 Open Frame Base Align the predrilled holes in the top with the holes in the base and secure with screws HW0741 NOTE: Do not overtighten The screws as this may damage the worksurface Nucraft – Two4Six 2015...
- Page 25 Using the provided brackets, secure the opposite end of the table directly into the wall Ensure that the fasteners are secured into a stiff material, such as a stud. HW0741 Nucraft – Two4Six 2015...
- Page 26 Check for levelness and extend or retract glides as needed Repeat the above procedure along the width of the top Double check both directions NOTE: Glides are located at these locations for adjustment Nucraft – Two4Six 2015...
- Page 27 Part can be attached at ends or along the length of the table. Additionally the power rail can be adjusted toward or away from the edge of the table Nucraft – Two4Six 2015...
Need help?
Do you have a question about the Two4Six Media Table and is the answer not in the manual?
Questions and answers