Table of Contents
Advertisement
Quick Links
Advertisement
Table of Contents

Related Manuals for SIG T-Clips 70


Summary of Contents for SIG T-Clips 70
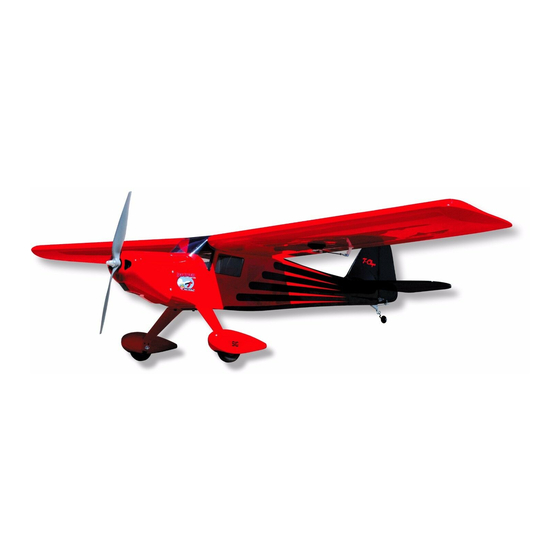
- Page 1 SIG MFG. CO., INC. PO Box 520 Montezuma, IA 50171-0520 www.sigmfg.com...
- Page 2 The biggest decision you will have to make is whether to power your T-CLIPS with a glow engine (2-stroke or 4-stroke) or an elec- tric motor. We have flown the T-CLIPS 70 with a variety of both types of power systems, and we make the following recommen- dations based on our successful on-field experience.
-
Page 3: Required Tools
K 4 cell 5000mah or 6 cell 4000mah LIPO BATTERY PACK The following is a complete list of all parts contained in this kit. You can fly your T-CLIPS 70 with a 4 cell (4S1P) or 6 cell (6S1P) Before beginning assembly, we suggest that you take the time to Lipo pack. -
Page 4: Covering Material
measured on the bottom of the iron using a thermometer. K (1) 17-3/4" long Wire Pushrod, threaded on one end, If you do not have a thermometer, you can find the correct tem- with M2 Hex Nut; for throttle perature by trial and error. Set your iron to a medium setting. K (2) 28"... -
Page 5: Wing Assembly
servo mounting screws. Use the screws supplied with your radio WING ASSEMBLY system to mount the servo in place on the servo mount. Repeat this procedure to mount the servo in the opposite wing panel. The wings are designed as a 2-piece system, with separate right and left wing panels joined by an aluminum tube Wing Joiner and a hardwood locating Pin at the rear. -
Page 6: Very Important
e) Turn the part over and glue the other side of the hinge. Con- horn. Lay the other end of the pushrod wire over the outer hole tinue this process until you have glued both sides of all the hinges! in the servo arm. -
Page 7: Fuselage Assembly
❑ 9) Check the orientation of the landing gear to make sure you by sliding the piece of Fuel Tubing over the arms of the clevis. Also tighten the M2 Hex Nut up against the back of the clevis. know which way is forward. The two outer holes for mounting the gear to the fuselage go to the front. -
Page 8: Tail Wheel Installation
❑ 16) Glue the fin in place using slow drying epoxy glue. Apply a taining plate. Continue turning in the screws until the horn and retaining plate are snug against both surfaces of the elevator. Do thin coat of glue to the bottom of the fin and to the exposed wood not over tighten the screws and crush the wood. -
Page 9: Radio Installation
the clasp at the halfway point on the wire, and then drill a hole for tape, or with two small balsa wood sticks held together with small the M2 x 15mm Bolt. Insert the bolt through the hole and tighten rubber bands. -
Page 10: Electric Power System
❑ 31) Install your ESC ❑ 27) For the T-CLIPS 70, you need a distance from the back a) Solder appropriate battery connectors (not supplied) to the edge of the motor mount to the motor’s thrust washer to end up... - Page 11 battery leads of your ESC. wood top piece. Glue the top and sides together securely. b) Decide where you want to install your ESC. We fastened b) Take one of the supplied Velcro® straps and pull the short ours to the inside of the fuselage with common Velcro® tape (not "fuzzy"...
-
Page 12: Cowling Installation
K 36) With a fully cowled motor, it is very important to make sure your power system is getting proper cooling. Air flowing into the front of the cowling must have a place to exit the cowl. In fact it’s best to have more air exit area than inlet area to create a positive air flow through the cowling - an actual suction effect - drawing the heated air out of the cowling so that more cool air can come... - Page 13 Flat Metal Washers)4), and Lock Nuts(4) to fit your engine. For K 39) Set your engine in place on the beams of the engine 6-32 mounting bolts the correct clearance hole would be a 5/32" mounts. Slide the engine forward or aft on the engine mounts until dia.
- Page 14 c) Now install the plywood fuel tank rear mount at the back of sliding the plain end of the wire in from the front. Steer the the tank, right up against the back side of the front fuselage for- pushrod through the hole you drilled in the firewall; then through mer.
-
Page 15: Install Side Windows
CONGRATULATIONS! ter result if you take the time to develope a pattern and mark it on Your T-CLIPS 70 is completely assembled. However, it is NOT the cowling for guidance when you are cutting. ready for flight! There are a few very critical pre-flight tasks we must perform before flying. -
Page 16: Customer Service
CUSTOMER SERVICE Flying machines of any form, either model-size or full-size, are not toys! SIG MFG. CO., INC. is committed to your success in both assembling Because of the speeds that airplanes must achieve in order to fly, they T-CLIPS and flying the ARF.
Need help?
Do you have a question about the T-Clips 70 and is the answer not in the manual?
Questions and answers