SIG J-3 CUB Building And Flying Instructions
Hide thumbs
Also See for J-3 CUB:
- Assembly instructions manual (6 pages) ,
- Assembly instructions/use and care manual (9 pages) ,
- Building and flying instructions (45 pages)
Table of Contents
Advertisement
Quick Links
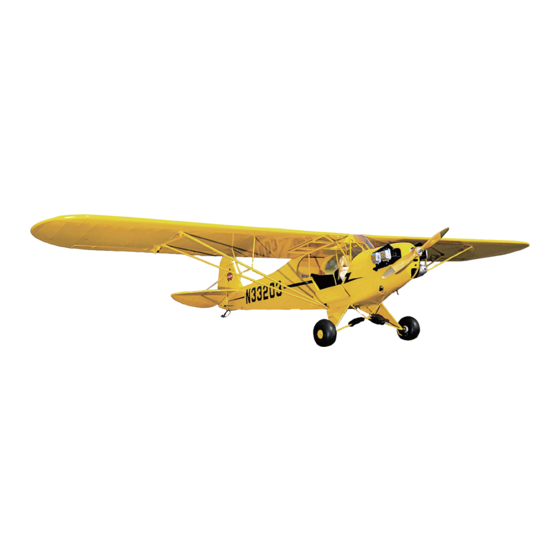
This model of the famous Piper Cub is a natural for radio control, but can also be flown free flight - an increase in dihedral is
recommended for this application - or converted to control line by the addition of leadout guides to the wing tip and a bellcrank in
the cabin. The stable flight characteristics make it a good RC scale trainer for inexperienced fliers, but it can be stunted by expert
expert pilots. Built-up construction is strong and light, will not be difficult if you study the plans and the instructions in this manual
carefully. Read all of the manual before beginning construction.
Advertisement
Table of Contents

Related Manuals for SIG J-3 CUB


Summary of Contents for SIG J-3 CUB
- Page 1 This model of the famous Piper Cub is a natural for radio control, but can also be flown free flight - an increase in dihedral is recommended for this application - or converted to control line by the addition of leadout guides to the wing tip and a bellcrank in the cabin.
- Page 2 If difficulty is encounted, do not force the part from the sheet. Use a modeling knife to cut it free. Wax paper may be used to protect the plan during building when the glue used is an aliphatic resin such as Sig Bond, a white variety such as Sig Superweld or Sig Epoxy.
- Page 3 Place the rib-spar assembly over the plans, align the ribs and pin down. Glue ribs with Sig Super Weld to the 1/8"x3/8" shaped trailing edge and to the 1/4"x1/2" piece that forms the front of the aileron cavity in the wing.
- Page 4 P. Add the 1/16" sheet front planking. Q. Put the 1/16"x1/8" capstrips on top of all ribs, including the aileron, except for the two end W-2s and W-5. R. Remove wing panel from the plan. The 1/8"x1/4" bottom front spar should be inset into W-8 as was the top front spar.
- Page 5 Glue the outer center ribs up against the ends of the wing panels and to the plywood wing joiners. Sheet the center section with 1/16" balsa. Fill all dents and cracks with Sig Epoxolite putty. Sand entire wing carefully with a sanding block and finish with hand-held fine sandpaper.
- Page 6 6. FUSELAGE Protect the plans with wax paper. Pin down 1/4" square pieces to form a fuselage side frame, gluing with Sig Bond. Each side is composed of two separate sections, with the split occuring at the double 1/4" square located at Former 2. This is to permit incorporation of the taper toward the nose when the sides are joined together.
- Page 7 Set the fuselage side frames over the top view on the plans and join, using 1/4" square cross pieces and the plywood former F-3. At the split line of the front section of the side frames, sand a bevel in the back edge so that it fits up against the other section snugly when the taper toward the nose is incorporated.
- Page 8 Cut out 1/8" of the 1/4" sq. bottom longerons and glue on the 1/8" plywood tail wheel bracket mount. Bend the tail wheel wire, insert through the nylon tail wheel bracket. Bend the steering arm in the top. Screw the bracket to the plywood mount.
-
Page 9: Landing Gear
Bind the 1/16" formed wires in place with fine copper wire (not furnished) such as Sig Copper Wire SH330. Some slight rebending of individual wires may be necessary to get an exact fit When the gear is lined up properly, solder all of the copper wired connections together. - Page 10 Supercoat Thinner. If you brush, reduce the clear until it brushes easily and flows out nicely. The clear dope should fill the pores of the silk well. Next apply a fairly heavy coat of Sig Sanding Sealer.
- Page 11 The mist coat of clear forms a barrier between the wet, heavy coat of clear and the trim colors, so that the heavy coat of clear will not soften the trim colors and cause them to bleed and run. "DKM" STIK-TITE PRESSURE SENSITIVE DECALS Cut out the decals with a pair of sharp scissors.
- Page 12 1/4" square balsa. The 1/16" wire ends are wrapped with thread and coated with glue. A variety of quickly detachable pushrod retainers are available from the Sig Catalog for hooking the pushrods to the servos.
- Page 13 13. FLYING If you are a newcomer to model flying it is suggested that you not attempt flying without the assistance of a modeler with experience. Contact your local model club or ask your hobby dealer for the names of good fliers in your vicinity and a suitable location for flying.
- Page 15 LIMIT OF LIABILITY: In use of our products, Sig Mfg. Co.'s only obligation shall be to replace such quantity of the product proven to be defective. User shall determine the suitability of the product for his or her intended use and shall assume all risk and liability in...
Need help?
Do you have a question about the J-3 CUB and is the answer not in the manual?
Questions and answers