Advertisement
Quick Links
Installation Instructions
Surface Fixed
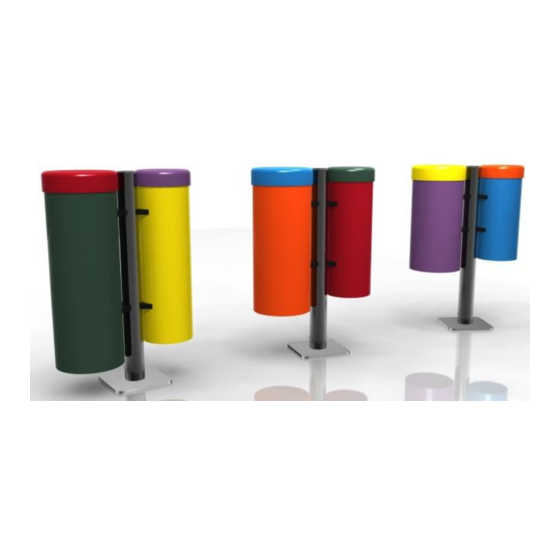
Congas
Page 1 of 2
Instrument
Components:
x4
M10x50 Security Screw
x4
M10x50x3 Square washer
x2
PU 200 Mount
x2
PU 250 Mount
Metric
Conversion:
178mm/ 7"
Weight of heaviest part
850mm/ 33"
1.5m/ 59"
Weight of heaviest part
Weight of heaviest part
Played with hands
BS EN 1176
(1.1)
(1.2)
3.8kg
(Large drum Small Congas)
4.5kg
(Large drum Medium Congas)
5.2kg
(Large drum Large Congas)
Surface Fix
Components:
M10x70 Security Screw
1. Attach the steel leg to each
of the congas with the
M10x50 security screws,
square washers and PU
mounts. (1.1) (See Assembly
Guide)
2. Attach Surface Fixing posts
to legs(1.2) (See Ground Fix
Post Installation Sheet)
3.Locate Plate in desired
location and mark holes to fix
to desired surface.
4. Fix to Surface using
recommended ground
anchors not supplied
5. Make sure all fixings are
covered and secure using
cover caps provided
x1
x4
x1
M10 Barrel Nut
2 Part Cover Cap
1.5m
Small – 850mm
Medium – 850mm
850mm
Large- 850mm
from Plate
Ground Surface
Spares available from
Ground Anchors
percussionplay.com
not supplied
local distributor
Install Instrument
1.5m
with 1.5m free space
(from widest point)
around it.
14.8 Kg
15 Kg
or from your
20 Kg
Advertisement

Subscribe to Our Youtube Channel
Related Manuals for Percussion Play Congas


Summary of Contents for Percussion Play Congas
- Page 1 Installation Instructions 1. Attach the steel leg to each of the congas with the M10x50 security screws, Install Instrument square washers and PU 1.5m 1.5m with 1.5m free space mounts. (1.1) (See Assembly (from widest point) around it. Guide) Surface Fixed Congas 2.
- Page 2 Assembly Guide PPCONG Tools: TX 45 Driver Bit PPCONG PLAN Surface Fixed Thread Lock Solution Congas Required (Not Supplied) Page 2 of 2 COMPONENTS LIST: (1.1) Instrument M10x30 Pin torx X4 M10x50 Security Screw X4 Components: M10x50x3 square washer X4...
-
Page 3: Installation Instructions
Installation Instructions 1. Attach the steel legs to the base of the instrument with the M8 Nyloc Nuts and 2 part security caps. (1.1) (See 1.5m Install Instrument 1.5m Assembly Guide) with 1.5m free space (from widest point) around it. Surface Fixed 2. -
Page 4: Instrument Components
Assembly Guide PPDUO Tools: TX 30 Driver Bit TX 45 Driver Bit Surface Fixed Page 2 of 3 COMPONENTS LIST: 2 Part Cover Cap X8 Thread Lock Solution M8 Nyloc nut X8 Required (Not Supplied) M10 Nut X8 Instrument (1.1) M10x200 Threaded Bar X4 Components: Saddle Strap X2... - Page 5 Surface Fix Post Installation Tools: TX 45 Driver Bit Surface Fixed Page 3 of 3 (1.1) Components: Thread Lock Solution Required (Not Supplied) M10 Barrel Nut M10x70 Security Screw Locate the Surface fix Fix instrument to Surface Fix Surface Plate to the Plate into the leg of the fix plate using M10 bolt ground surface Ground...
- Page 6 Installation Instructions 1. Attach Surface Fixing plates 1.5m to the base of each chime(1.1) 1.5m 1.5m (See Surface Fix Plate Installation Sheet) Install Instrument Surface Fixed with 1.5m free space (from widest point) Emperor Chimes around it. Page 1 of 2 2.Locate Chimes to desired location and mark holes to fix 2490mm...
- Page 7 Surface Fix Plate Installation Tools: TX 45 Driver Bit Ground Fixed Emperor Chimes Page 2 of 2 (1.1) (1.1) Components: Thread Lock Solution Required (Not Supplied) M10 Barrel Nut M10x50 Security Screw Locate the Surface fix Fix instrument to Surface Fix Surface Plate to the Plate into the leg of the fix plate using M10 bolt...
- Page 8 Installation Instructions 6. Beaters can be fixed to 5. Make sure all fixings are 1. Carefully lay 2 x legs on a covered and secure using Steel posts with fixings level surface and check provided cover caps provided distance between legs is equal.
- Page 9 Assembly Guide PPFREC Tools: TX 30 Driver Bit TX 45 Driver Bit Surface Fixed COMPONENTS LIST: Freechimes Alto/ Soprano Saddle Strap X2 Page 2 of 3 M6x20 Pin torx X4 M8 X 40 Pin Torx X4 M10x50 Pin torx X4 M10x70 Pin torx X2 Thread Lock Solution M10 Barrel Nut Pin torx X2...
- Page 10 Surface Fix Post Installation Tools: TX 45 Driver Bit Surface Fixed Freechimes Alto/ Soprano Page 3 of 3 Components: Ground fix tube protrudes 300mm Thread Lock Solution Required (Not Supplied) from ground surface that inserts into the base of the chime post M10 Barrel Nut M10x70 Security Screw Locate the Surface fix...
Need help?
Do you have a question about the Congas and is the answer not in the manual?
Questions and answers