Advertisement
Quick Links
KNX
Push button sensor 3
Push button sensor 3 basic 1-gang
Order No. : 5111 00
Push button sensor 3 basic 2-gang (1+1)
Order No. : 5112 00
Push button sensor 3 basic 3-gang
Order No. : 5113 00
Push button sensor 3 comfort 1-gang
Order No. : 5131 00
Push button sensor 3 comfort 2-gang (1+1)
Order No. : 5132 00
Push button sensor 3 comfort 3-gang
Order No. : 5133 00
Push button sensor 3 comfort 4-gang (1+3)
Order No. : 5134 00
Push button sensor 3 comfort 6-gang (3+3)
Order No. : 5136 00
Operating instructions
1 Safety instructions
Electrical equipment may only be installed and fitted by electrically skilled persons.
Failure to observe the instructions may cause damage to the device and result in fire and
other hazards.
These instructions are an integral part of the product, and must remain with the end
customer.
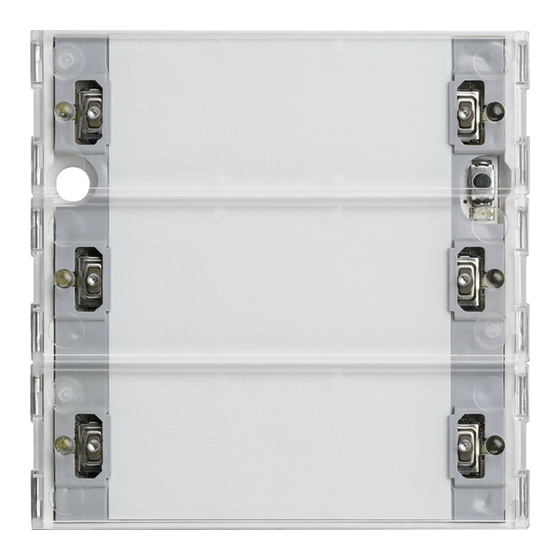
2 Device components
(1) Operating rocker
(2) Status LED
(3) Illuminable text field
3 Function
System information
This device is a product of the KNX system and complies with the KNX directives. Detailed
technical knowledge obtained in KNX training courses is a prerequisite to proper understanding.
32574912
10410684
Figure 1
24.02.2016
1/5
Advertisement

Related Manuals for Gira 5111 00


Summary of Contents for Gira 5111 00
-
Page 1: Safety Instructions
Push button sensor 3 Push button sensor 3 basic 1-gang Order No. : 5111 00 Push button sensor 3 basic 2-gang (1+1) Order No. : 5112 00 Push button sensor 3 basic 3-gang Order No. : 5113 00 Push button sensor 3 comfort 1-gang Order No. -
Page 2: Operation
Push button sensor 3 The function of this device depends upon the software. Detailed information on loadable software and attainable functionality as well as the software itself can be obtained from the manufacturer´s product database. Planning, installation and commissioning of the device are carried out with the aid of KNX-certified software. - Page 3 Push button sensor 3 Mounting and connecting the device Figure 2 (4) Bus coupler 3 (5) Frame (6) Push button sensor (7) Retaining screw (8) Inscription panel (9) Rocker cover (10) Programming button and LEDs Figure 3 (11) Anchor (12) Fastening screws (13) Central bar for double frame without central bar The bus coupler 3 is connected to the bus and mounted in an appliance box.
-
Page 4: Technical Data
Push button sensor 3 Mount the double-height push button sensors on two appliance boxes with a second support ring . For mounting on an appliance box, use the enclosed screw/anchor set. Carefully remove the rocket covers (9) and inscription signs (8) from the push button sensor (6). -
Page 5: Warranty
The warranty is provided in accordance with statutory requirements via the specialist trade. Please submit or send faulty devices postage paid together with an error description to your responsible salesperson (specialist trade/installation company/electrical specialist trade). They will forward the devices to the Gira Service Center. Gira Giersiepen GmbH & Co. KG...