Do you have a question about the DDL-7000A-7 Series and is the answer not in the manual?
Questions and answers
Jitendra
April 3, 2025
Speed p 68 se 4000 se jyada nahi hota hai
1 comments:
Mr. Anderson
April 3, 2025
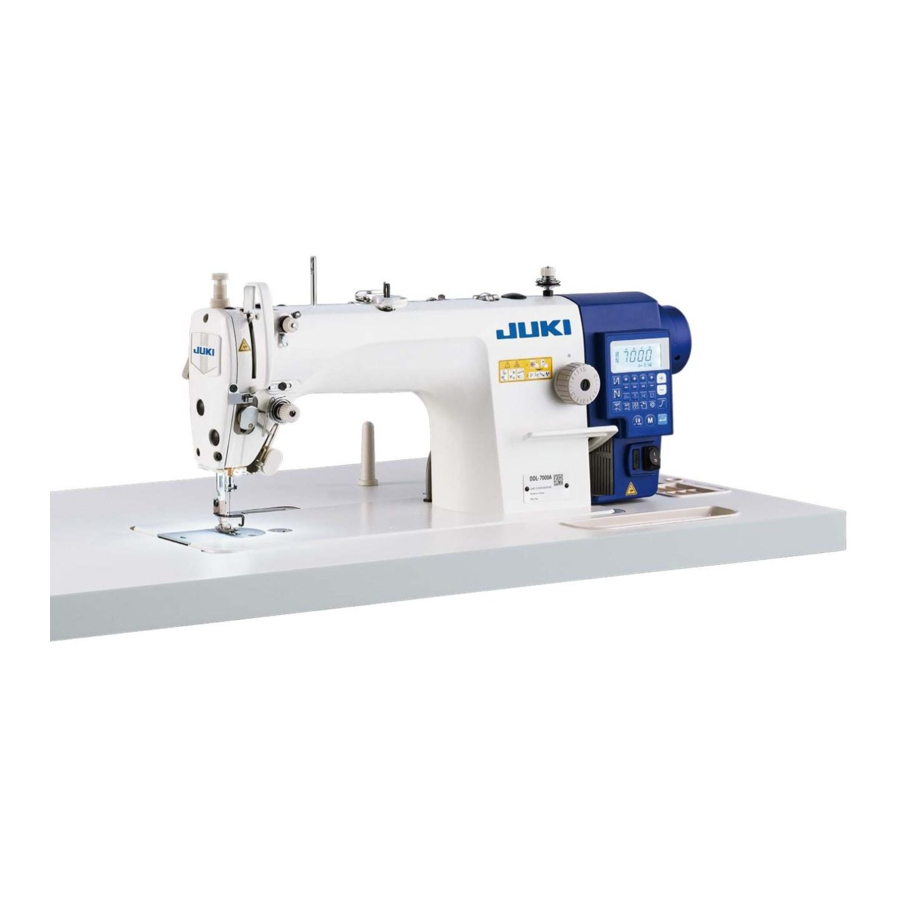
The maximum speed of the JUKI DDL-7000A-7 Series sewing machine is 4000 stitches per minute.
This answer is automatically generated
Anatalio garcia
February 20, 2025
No reverse or backing
1 comments:
Mr. Anderson
February 20, 2025
The JUKI DDL-7000A-7 Series sewing machine has a function setting (P139) that controls reverse feed stitching. If the reverse feed stitching function is not enabled (set to 0), the machine will not perform reverse or backing stitches. To enable reverse stitching, the function must be set to 1, which allows reverse feed stitching when the reverse switch is pressed.


Need help?
Do you have a question about the DDL-7000A-7 Series and is the answer not in the manual?
Questions and answers
Speed p 68 se 4000 se jyada nahi hota hai
The maximum speed of the JUKI DDL-7000A-7 Series sewing machine is 4000 stitches per minute.
This answer is automatically generated
No reverse or backing
The JUKI DDL-7000A-7 Series sewing machine has a function setting (P139) that controls reverse feed stitching. If the reverse feed stitching function is not enabled (set to 0), the machine will not perform reverse or backing stitches. To enable reverse stitching, the function must be set to 1, which allows reverse feed stitching when the reverse switch is pressed.
This answer is automatically generated