
Subscribe to Our Youtube Channel
Related Manuals for Enelion Vertica


Summary of Contents for Enelion Vertica
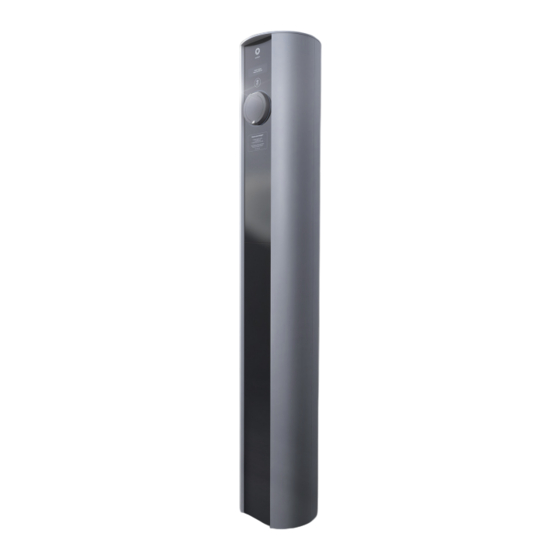
- Page 1 Enelion Vertica 22 kW Installation manual for the specialists ver. 1.6 © Enelion 05.2017...
- Page 3 Additional important information. Technical Specifications Two charging panels: socket / cable (depends on version), 3x400V AC ~ 50Hz, 22kW (32A) for one charging panel, 3P+N+PE, Standby power - 4W for one charging panel. Installation manual ver. 1.6, © Enelion 05.2017...
-
Page 4: Safety Instructions
ENELION LTD assumes no liability for claims resulting from this! Electrical hazard! Pull the charging cable only at the plug and not at the cable out of the connector. -
Page 5: Electrostatically Sensitive Components
Important information Intended use ATTENTION! NOTICE Risk of damage! Enelion Vertica is a charging terminal for outdoor area at which electrically operated vehicles can be Make sure that the charging station is not damaged charged. by improper handling (anchoring, housing cover, socket, inner parts etc.). - Page 6 Distance Screw Hex M2.5x8 Wago Distance Screw Hex M2.5x20 Computer with gsm (optional) DIN Rail Connector Mount Lower Alu Plate Lower Panel DIN Rail - Short Pilot RP Mount v2 Top Gasket fig.1 Wago Connection Terminal Installation manual ver. 1.6, © Enelion 05.2017...
-
Page 7: Before Installing
2 RFID cards, 2 RFID key holders. Upon receipt of shipment, examine the package for damage. If the shipping container must be opened outdoors, take proper precautions to prevent the entrance of moisture. fig.4 Installation manual ver. 1.6, © Enelion 05.2017... -
Page 8: Installation Overview
Level position of top basket with screws under the plate. Screws should touch te concrete. Use M12 wrench. • after concrete solidify, remove top base. fig.7 Installation manual ver. 1.6, © Enelion 05.2017... - Page 9 After installing the case, tightly screw the nuts on ø12 rods fig.10. • Do not put the bottom plexi panels yet. fig.8 fig.9 PART QUANTITY Basis Plate(bottom)/ Leveling Plate (top) Threaded Rod M12 Nut M12 Washer M12 fig.10 Installation manual ver. 1.6, © Enelion 05.2017...
- Page 10 At the end of the sliding in, a plug on the panel will get inside the socket in the case - fig.13. • On the top, screw two screws to the case - fig.20. • Repeat all above with the second charging panel. fig.13 Installation manual ver. 1.6, © Enelion 05.2017...
- Page 11 Open slot fig.16, • Insert SIM card with goldenpins faced to pins on GSM module fig.17. • Close slot - fig 18. • Lock slot - fig 19. fig.14 fig.15 fig.16 fig.17 fig.18 fig.19 Installation manual ver. 1.6, © Enelion 05.2017...
- Page 12 Installation guidelines Closing the terminal • Put a lid on the top and screw two security screws to the case - fig.21. fig.20 fig.12 fig.21 Installation manual ver. 1.6, © Enelion 05.2017...
-
Page 13: First Start
To add users and assign RFID cards. • To make tariff plans to sell energy to users. • To configure static and dynamic load balancing. To enable Enelion Admin Software please contact us: info@enelion.com Installation manual ver. 1.6, © Enelion 05.2017... - Page 14 www.enelion.com...
Need help?
Do you have a question about the Vertica and is the answer not in the manual?
Questions and answers