Advertisement
Advertisement
Table of Contents

Related Manuals for ACME BF-1500ND B


Summary of Contents for ACME BF-1500ND B
- Page 1 BF-1500ND B BF-750ND B BF-1500ND B BF-750ND B User Guide Professional Entertainment Technology...
-
Page 2: Table Of Contents
TABLE OF CONTENTS 1. Introduction 2. Safety Precaution 3. Technical Specifications 4. General Functions 5. How To Change The Lamp 6. How To Control the Unit A. By Master/Slave Built In Preprogrammed Function B. By Easy Controller C. By universal DMX Controller 7. -
Page 3: Introduction
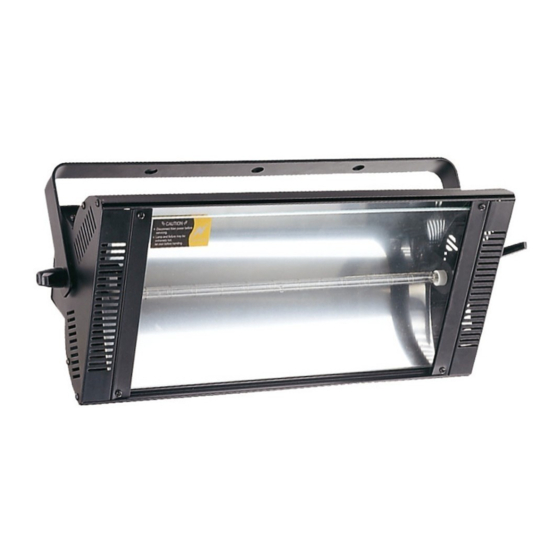
1. Introduction Congratulations on the purchase of your new strobe light. We are confident you will enjoy many trouble free hours with this unit. To assist with the care and use of the product we have prepared this short guide. 2. -
Page 4: Technical Specifications
Installation The unit should be mounted via its screw holes on the bracket. Always ensure that the unit is firmly fixed to avoid vibration and slipping while operating. Make sure that the bracer can support the weight more than 10 times of the unit. And use safety chain which can hold over 12 times weight of the unit when you fix the equipment. -
Page 5: How To Change The Lamp
1. POWER INPUT: AC 230V 50Hz (BF-1500ND B) AC 230V- 50Hz/120V-60Hz (BF-750ND B) 2. FUSE: 20A/15A 3. DMX IN: XLR male socket, use to receive DMX signals. 4. DMX OUT: XLR female socket, use to transmit DMX signals. 5. Remote controller input: By connecting to the 1/4 “microphone jack to control the unit for Stand by, Function and Mode. - Page 6 2. Open the glass base-cover. 3. Loose the screws of the lamp wire from terminator. 4. Take out the old lamp and replace the new one to the fixture. 5. Connect the lamp wire to the terminator. 6. Reverse the procedures from step 2 to step 1.
-
Page 7: How To Control The Unit
6. How To Control the Unit You can operate the unit in three ways: A. By Master/slave Built-in Preprogrammed Function By linking the units in master/slave connection, the first unit will control the other units to give an automatic light show. You will know which unit is the master because its DMX input jack will have nothing plugged into it. -
Page 8: By Universal Dmx Controller
• Under Manual status ( LED light on ), press the button for choosing next pattern, triggered by music. • Under Auto status ( LED light blinking ), press the button briefly to choose the patterns ( 6 patterns varied with different speeds: fast, normal, or slow ). Hold on the button to choose the 6 patterns varied with 3 different brightness. -
Page 9: Dmx512 Configuration
7. DMX512 Configuration DMX512 configuration Channel 1 Channel 2 DMX512 Level rang 0~255 Strobe Speed Dimmer 240~255 Speed 15 Dimmer 15 224~239 Speed 14 Dimmer 14 208~223 Speed 13 Dimmer 13 192~207 Speed 12 Dimmer 12 176~191 Speed 11 Dimmer 11 160~175 Speed 10 Dimmer 10... -
Page 10: Troubleshooting
The DMX512 is widely used in intelligent lighting control, with a maximum of 512 channels. 1. If you using a controller with 5 pins DMX output, you need to use a 5 to 3 pin adapter-cable. 2. At last unit, the DMX cable has to be terminated with a terminator. Solder a 120 ohm 1/4W resistor between pin 2(DMX-) and pin 3(DMX+) into a 3-pin XLR-plug and plug it in the DMX-output of the last unit. -
Page 11: Fixture Cleaning
※ Caution • Do not obstruct the air vents. • Do not touch the unit while it’s hot. • No user serviceable parts inside, please refer to the nearest authorized technical assistance office for service 10. Fixture Cleaning The cleaning of internal and external optical lenses and/or mirrors must be carried out periodically to optimize light output. - Page 12 EC Declaration of Conformity We declare that our products (lighting equipments) comply with the following specification and bears CE mark in accordance with the provision of the Electromagnetic Compatibility (EMC) Directive 89/336/EEC. EN55014-2: 1997 A1:2001, EN61000-4-2: 1995; EN61000-4-3:2002; EN61000-4-4: 1995; EN61000-4-5: 1995, EN61000-4-6:1996, EN61000-4-11: 1994.
Need help?
Do you have a question about the BF-1500ND B and is the answer not in the manual?
Questions and answers