
Related Manuals for Kyoto Kagaku MW2A


Summary of Contents for Kyoto Kagaku MW2A
-
Page 1: Table Of Contents
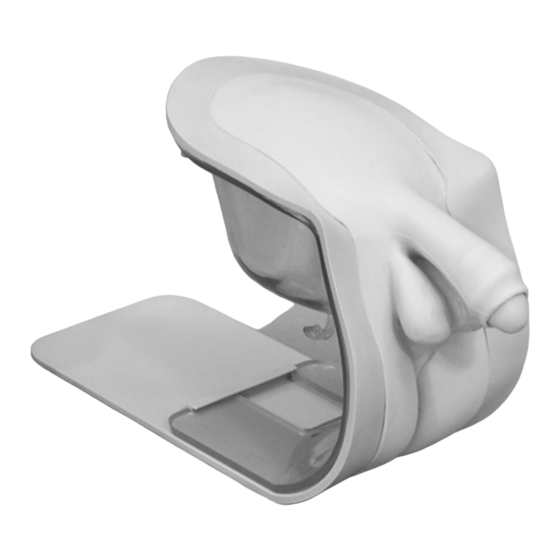
Attention Do not let ink from pens, newspapers, product manual or other sources contact the manikin. Ink marks on the manikin will be irremovable. Genital Unit for MW2A (male) Instruction manual Contents Before you start ● Set includes /DOs and DON’Ts Preparation ●... -
Page 3: Before You Start
Set includes Before you start DOs and DON’Ts Please read carefully before use Set Includes Before your first use, ensure that you have all components listed below. Female genitalia organ unit Valve (total 3 pcs; one is incorporated in the genitalia unit and two are for future replacement) Irrigation bottle Lubricant... -
Page 4: Preparation Catheterization/Enema
Preparation Preparation (Catheterization/Enema) 1 Connection of Irrigation/drainage tubes 1. Attach the irrigation/drainage tube with clamp to the connectors at the upper end of the urinary bladder reservoir. Connection of Irrigation/drainage tubes clamp connection to the irrigation bottle The clamp is near the tube connectors far end of the tube. - Page 5 Preparation Preparation(Catheterization/Enema) 2 Connect the Irrigation bottle and ll the bladder with water 1. Connect the irrigation bottle to the irrigation tube 2. Close the clamp of irrigation tube before lling which has clamp at near the far end and put the ...
-
Page 6: Training Session Training Session
Training session Training session 1 Training procedure 1. Sterilizing of meatus urethra. For training of sterilizing of meatus urethra, use water instead of actual antiseptic. 2. Inserting the catheter Put the catheter in the tray, drip small quantity of lubricant to its tip. Ensure that about 5cm from the tip is coated by lubricant. - Page 7 Training session Training session Manual bladder compression 2 Close the clamps on the irrigation tube and drainage tube for manual bladder compression session. The clamp of the irrigation tube The clamp of the drainage tube Close the clamp Training for enema 3...
-
Page 8: After Training
After training After training Drainage of water 1 1. Close the clamp of the irrigation tube. Drain the water from the irrigation bottle and tube. 2. Detach the rectum unit for enema training. Loosen the metal clip (large) by tucking small wings together with ngers and remove the rectum unit from the hook of the bladder reservoir. - Page 9 After training After training 2 Drainage of water in the bladder reservoir b) Remove the skin with the bladder holder from the outer frame. Then peel the skin from the bladder holder. c) Find the metal clip (small) that holds the joint between the valve and the urethral tube. Loosen the clip by tucking small wings together with ngers and pull out the urethral tube carefully.
- Page 10 After training After training 3 Wipe of the valve and mail meatus 1. After the training, wipe the valve and the urethral tube thoroughly. Wipe the joint between the valve and the urethral tube to remove the lubricant, using mildly soapy water and let it dry naturally.
- Page 11 After training After training Assembly for storage 4 2. Set the bladder reservoir into the bladder holder. Tightly press down the reservoir into the holder to leave no spaces on the bottom between the reservoir and frame. No space Remaining space 3.
- Page 12 After training After training Assembly for storage 4 6. Put the skin over the bladder holder and insert two upper projections of the skin in two upper holes of the bladder holder. 7. Set the bladder holder to the genital organ frame. a) Set the lower edge of bladder holder to the b) To t the upper side of the skin in the genital stopper on the frame.
- Page 13 After training After training Assembly for storage 4 8. Connect the rectum unit. Set the rectum unit to the tube connector of the genitalia unit. Then set it on the hook. Set the rectum unit with correct Caution angle as shown in the picture. 9.
-
Page 14: Faqs
Trouble Trouble shooting shooting FAQ s Quick check-up before calling the customer service, when the you have problems in using the simulator. Look in the “cases” section for a description of the problem to find a possible solution. Catheterization training Cases Reason Solution... - Page 16 Caution Do not let ink from pens, newspapers, product manual or other sources contact the manikin. Ink marks on the manikin will be irremovable. For inquiries and service, please contact your distributor or KYOTO KAGAKU CO., LTD. code name replacement valve for MW2A/B (a set of 6)
Need help?
Do you have a question about the MW2A and is the answer not in the manual?
Questions and answers