Table of Contents
Advertisement
Quick Links
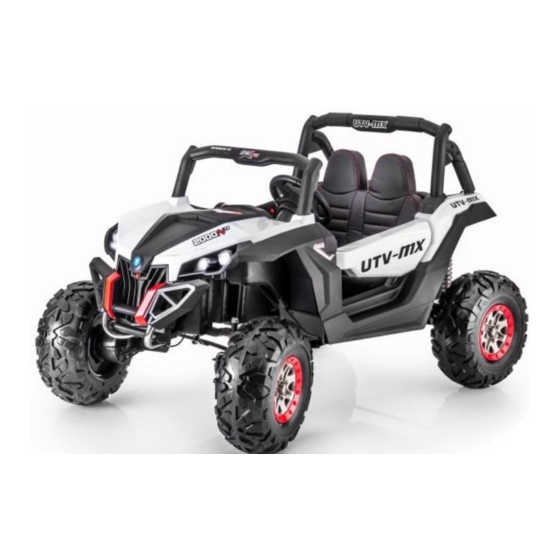
UTV SCREEMER
Kids Ride on Vehicle
Assembly and Operation Instructions
Please read this instruction manual carefully. It is important to read and
follow all of the steps during assembly to ensure proper operation and safety
of the child. Please keep this manual for future reference.
Scan this QR Code
to view the
Assembly Video
Advertisement
Chapters
Table of Contents

Related Manuals for Supertrax UTV SCREEMER


Summary of Contents for Supertrax UTV SCREEMER
- Page 1 UTV SCREEMER Kids Ride on Vehicle Assembly and Operation Instructions Please read this instruction manual carefully. It is important to read and follow all of the steps during assembly to ensure proper operation and safety of the child. Please keep this manual for future reference.
-
Page 2: Specifications
SPECIFICATIONS: Battery Type: 12V10AH Avg. Speed: 2 – 3 MPH Age Range: 2 – 6 Years Charging time: 8-12 hrs -MAXIMUM Minimum 1 Charge per month Max. Weight: 110 lbs Avg. Use Time: 48-90 Minutes (depending on use) Product Size: 49”L x 32”W x 32”H Remote Battery: 2 - AAA (not... - Page 3 Parts List by Part Number: Part Name Part Name Part Name Vehicle Body Wheel Cover Steering Wheel Gear Box Windshield M5x40 Mach. Screw Wheel Seat #5 Nut #10 Washers Rear Light Bar Remote Control Lock Nut Rear Axle Charger...
-
Page 4: Vehicle Body 1
• Check that all parts are present before beginning assembly. All assembly videos can be found on YouTube under SUPERtrax Attach the rear Shock Absorbers: 1. Turn the vehicle body upside down 2. Remove zip ties from the rear shocks to allow them to move freely. -
Page 5: Gear Box
Installation of the Rear Axle & Wheels: 1. Cut off the plastic ties that secure the gear box to the rear axle frames. Note: It is not necessary to disconnect the electrical connection. 2. Insert the rear axle into the holes on the rear axle frames as noted in picture below. -
Page 6: Wheel
Installation of the Front Wheels: 1. While the vehicle body is upside down, slide the wheel onto the front axle. Aligning the tire with the gear box. 2. Slide the washer onto the rear axle. 3. Thread a lock nut onto the front axle, tightening the nut using the tool provided. -
Page 7: Seat
Installing Front and Rear Roll Bars 1. Insert the tabs of the front roll bar into the holes in the vehicle body. Push downward until you hear it click into place. 2. Insert two screws, one on each side, through the vehicle wall and into the front roll bar to secure it to the vehicle. - Page 8 Connecting Vehicle to the Battery 1. Open the hood by pressing the hood button located on the front of the vehicle, as shown in figure 3, while lifting upward. 2. INSPECT WIRING, power connections should be red wire to positive (+) side of battery and black wire to negative (-) side of battery.
- Page 10 Connecting the Remote Control to the Car and Remote Control Function 1. Install batteries. 2. Hold down the connection button for 2-5 seconds, the status indicator light will flash, release button and then turn on the car. 3. The status indicator light will stop flashing when the connection is successful.
- Page 11 WARNING: - Use only the rechargeable battery and charger supplied with your vehicle. NEVER substitute the battery or charger with another brand. Using another battery or charger may cause damage. - NEVER modify the electric circuit system. Tampering with the electric system may cause permanent damage to the system.
-
Page 12: Charger
TROUBLE SHOOTING GUIDE: Problem Possible Cause Possible Solutions Car will not move Battery voltage is low. Charge the battery Battery connector or Re-connect the battery wires are loose. connector to the car Battery is damaged or Replace battery dead. Electrical box or motor is Replace motor damaged The battery will not...
Need help?
Do you have a question about the UTV SCREEMER and is the answer not in the manual?
Questions and answers